
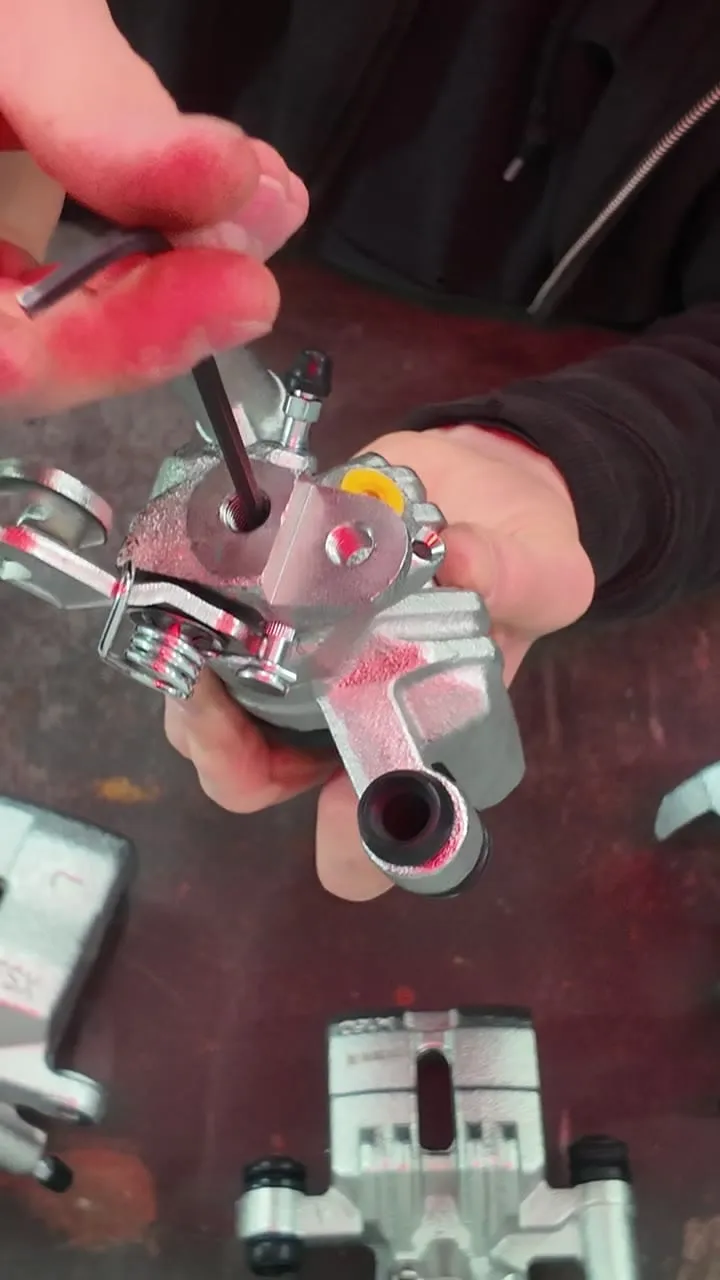
The MX-5 handbrake gets a bad name, and most of the time it is not the design, it is years of neglect on a part nobody thinks about. On these cars the parking brake lives inside the rear calipers, not as a separate drum, and that mechanism needs to be free and set up correctly to work. Here is what actually goes wrong and how we put it right.
How it works
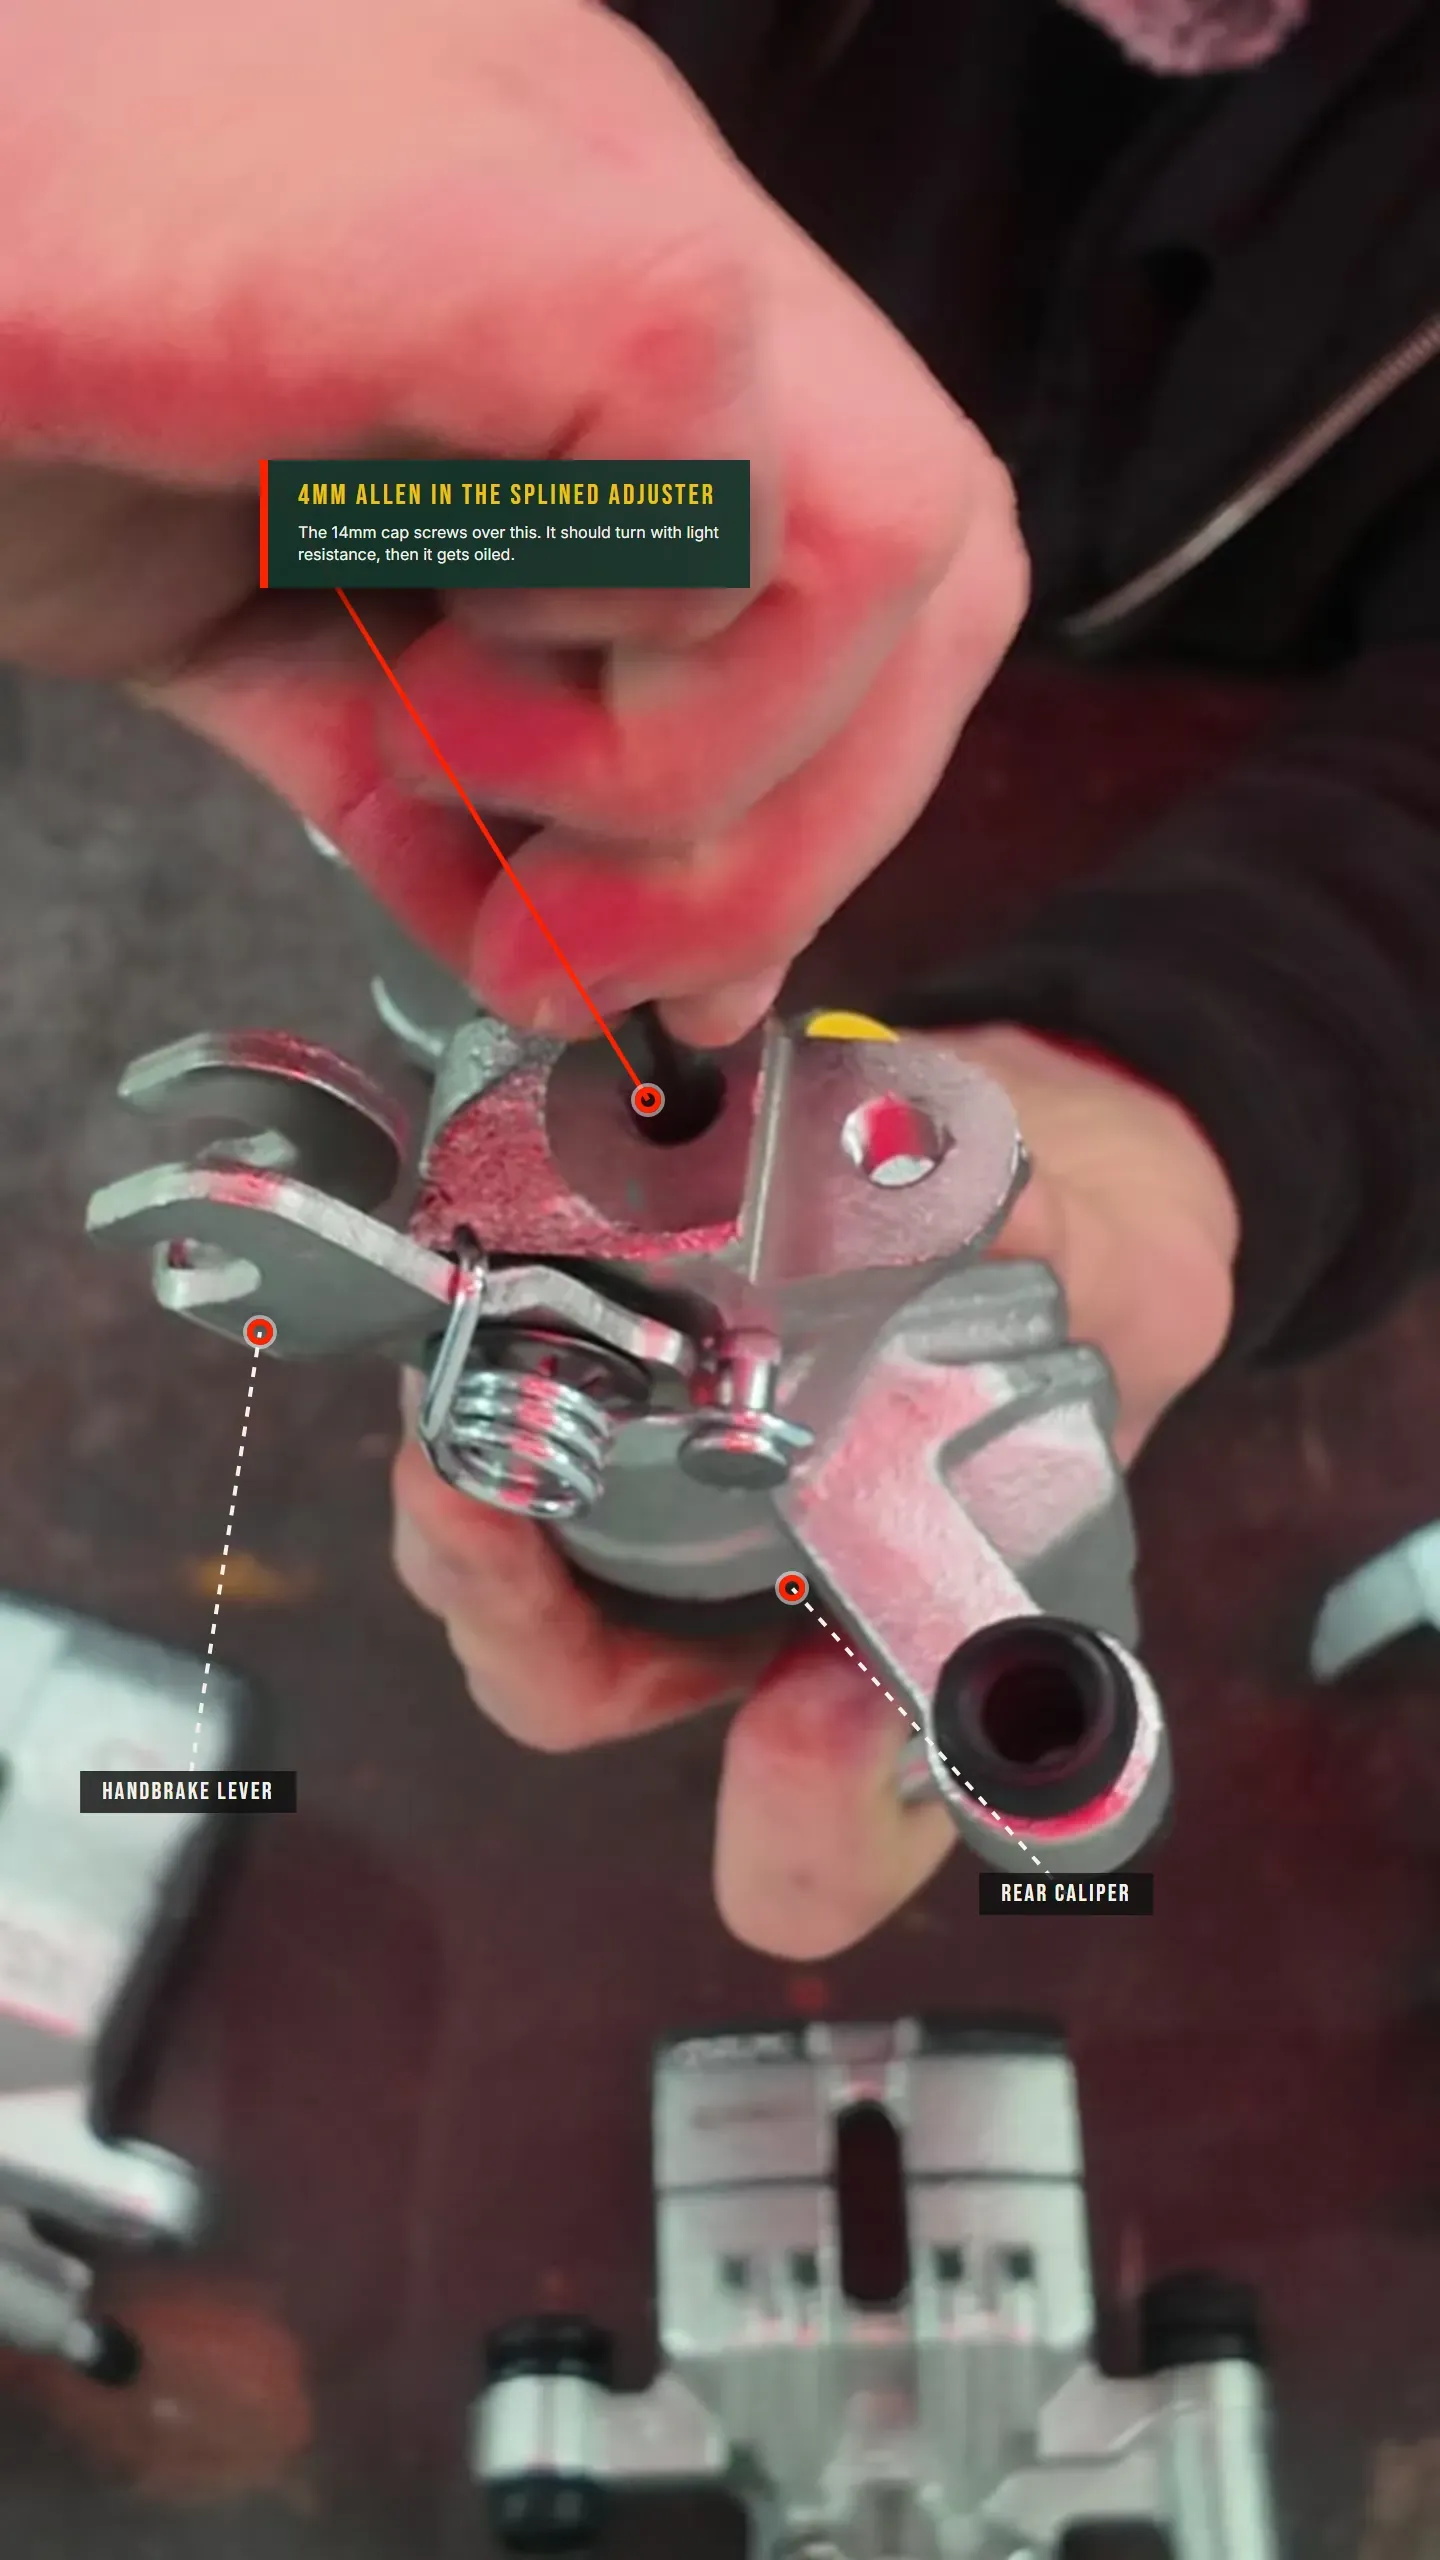
Each rear caliper has its own handbrake mechanism. On the back of the caliper a splined key sits in a small bore, capped off by a 14mm bolt. Undo that bolt and the splined key is exposed, and you turn it with a 4mm Allen key. Turning the key winds the piston to take up the gap between pad and disc, and pulling the lever clamps the pads on. It is neat, but it has a weak spot.
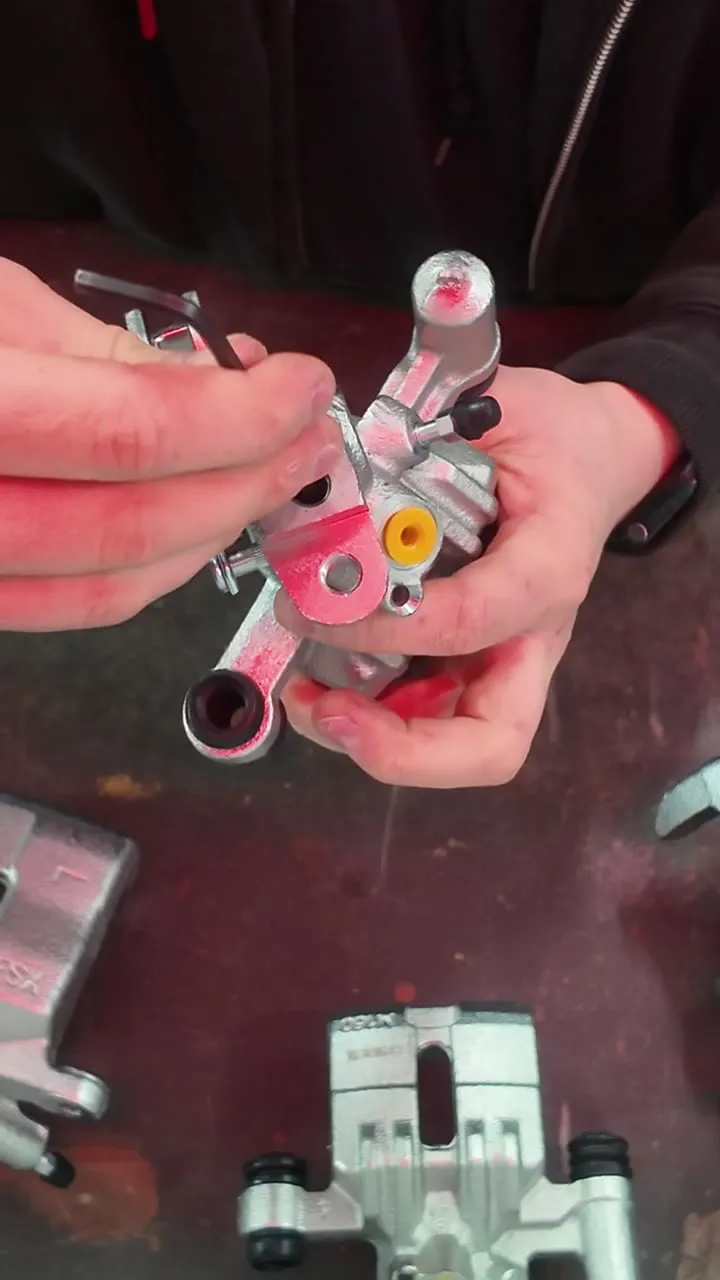
| Quick reference | Size |
|---|---|
| Caliper adjuster cap bolt | 14mm |
| Splined adjuster key | 4mm Allen |
| In-car lever adjuster nut | 10mm |
| Cable bracket to chassis bolts | 14mm |
The problem nobody checks
That little adjuster sits exposed to the weather, so water, road grime and rust work their way in and bind it solid. The usual story is someone goes to adjust the handbrake, puts a key in the adjuster, feels resistance, and forces it, stripping the drive. Once that is stripped, the caliper will not adjust at all.
The fix is to look after it before it seizes. On every brake service, even one where you are only greasing sliders and checking pistons, it is worth undoing the 14mm bolt, checking the splined key turns freely with the 4mm Allen, cleaning out any debris and moisture, oiling it and putting it back together. If it already feels tight, free it up first rather than forcing it: clean it out, blow it dry, oil it, and work it gently until it turns with only light resistance and you can feel it driving the piston. That one habit adds years to a caliper.
Setting it up, in the right order
Order matters here, and getting it wrong is why a lot of "adjusted" handbrakes still feel awful.
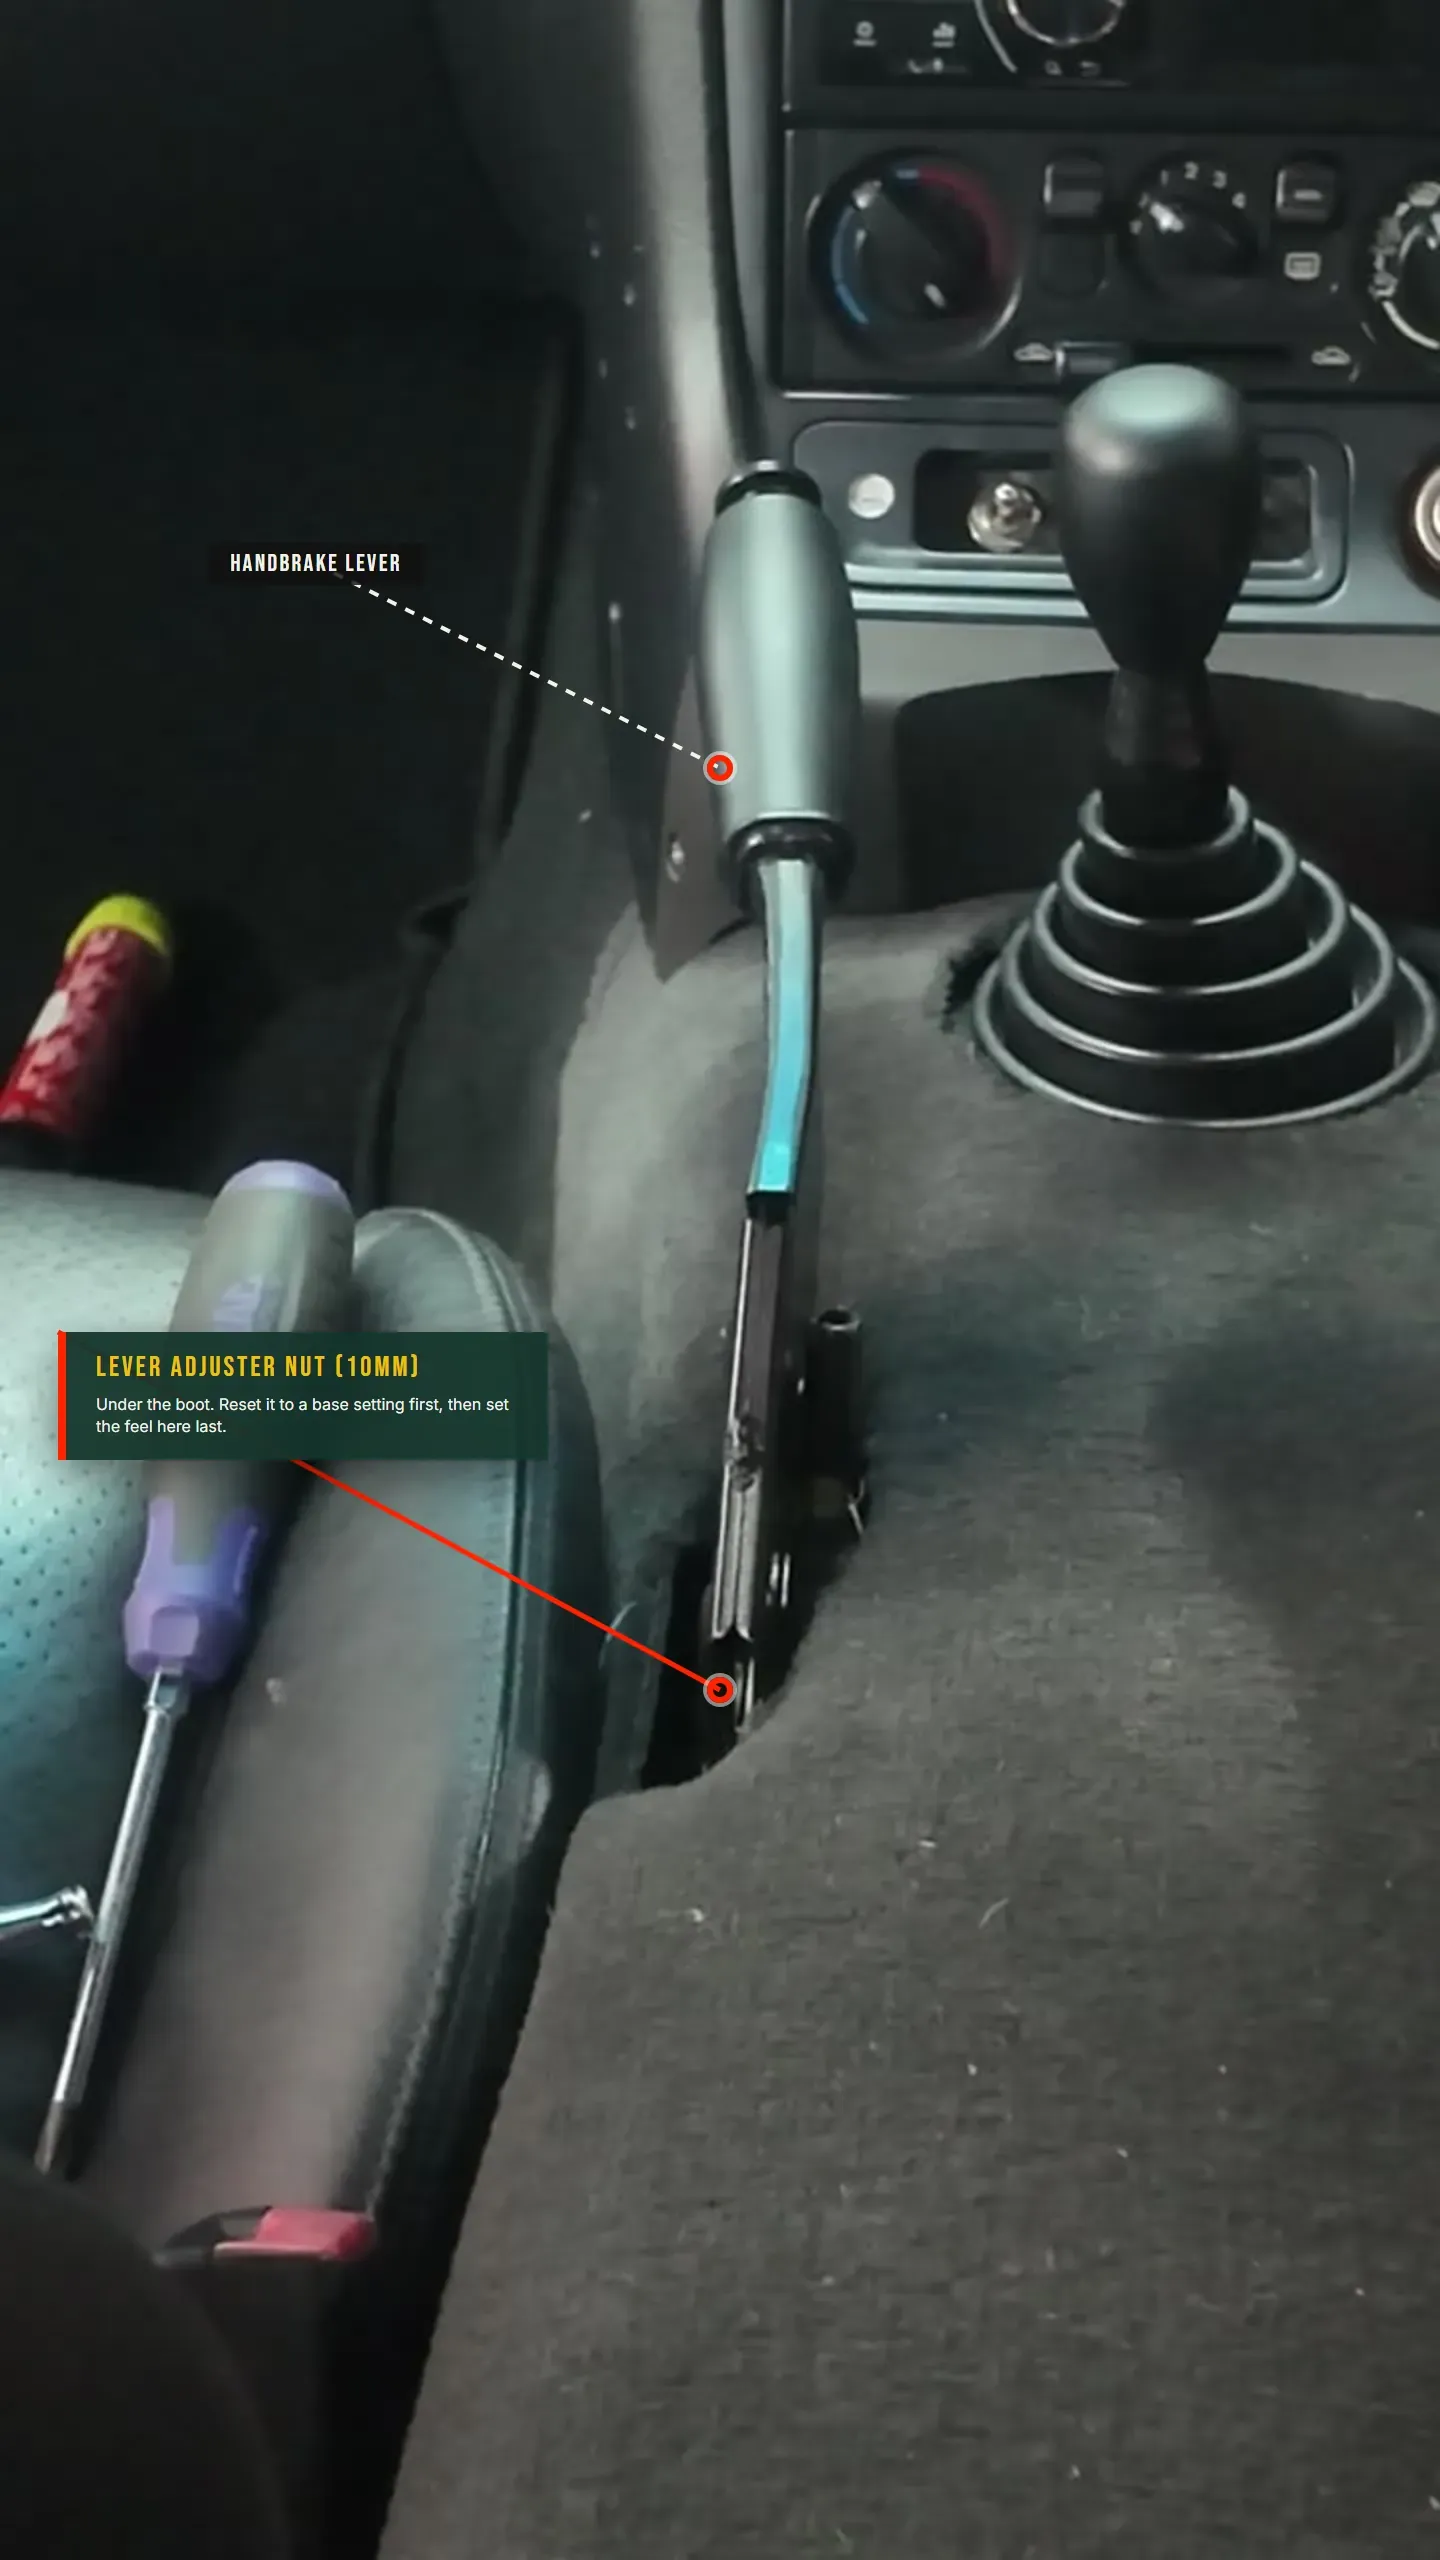
- Reset the lever adjuster first. Inside the car, under the handbrake cover (one screw, then it unclips), there is a 10mm nut. Wind it back to a base setting so the cables are not already pulled tight. If you leave this at full adjustment, you will have nothing left to fine-tune with later.
- Set the caliper adjusters. With the caliper on and the brakes bled, turn each caliper's adjuster up until it is tight against the disc, then back it off slightly, and repeat that a couple of times to settle the pad. Then back off about half a turn and refit the 14mm bolt. Check the disc spins freely with the handbrake off and locks when it is on. Do both sides the same so they are balanced.
- Set the feel inside. Back in the car, wind that lever adjuster in until the handbrake feels firm. Around five clicks of travel is what you want, not a long floppy pull. Do not go mad on fresh pads: bed them in first and re-check the feel after a few hundred miles.
When adjustment is not enough: stretched cables
If the cables themselves are tired, no amount of adjusting will save it. Old cables bind, get stiff to pull on and off, and pull unevenly, so one side bites before the other. At that point they need replacing, not winding up tighter.
On a Mk2 that means dropping the exhaust and the fuel filter cover to get at them, freeing the bracket and the retaining clip, undoing the 14mm bolts that hold the cable bracket to the chassis, and feeding the old cable out from above the tank. The important detail on the new cable is setting the mounting bracket position to match before it goes back in. Then it is a reverse of the strip, and a fresh adjustment from step one above.
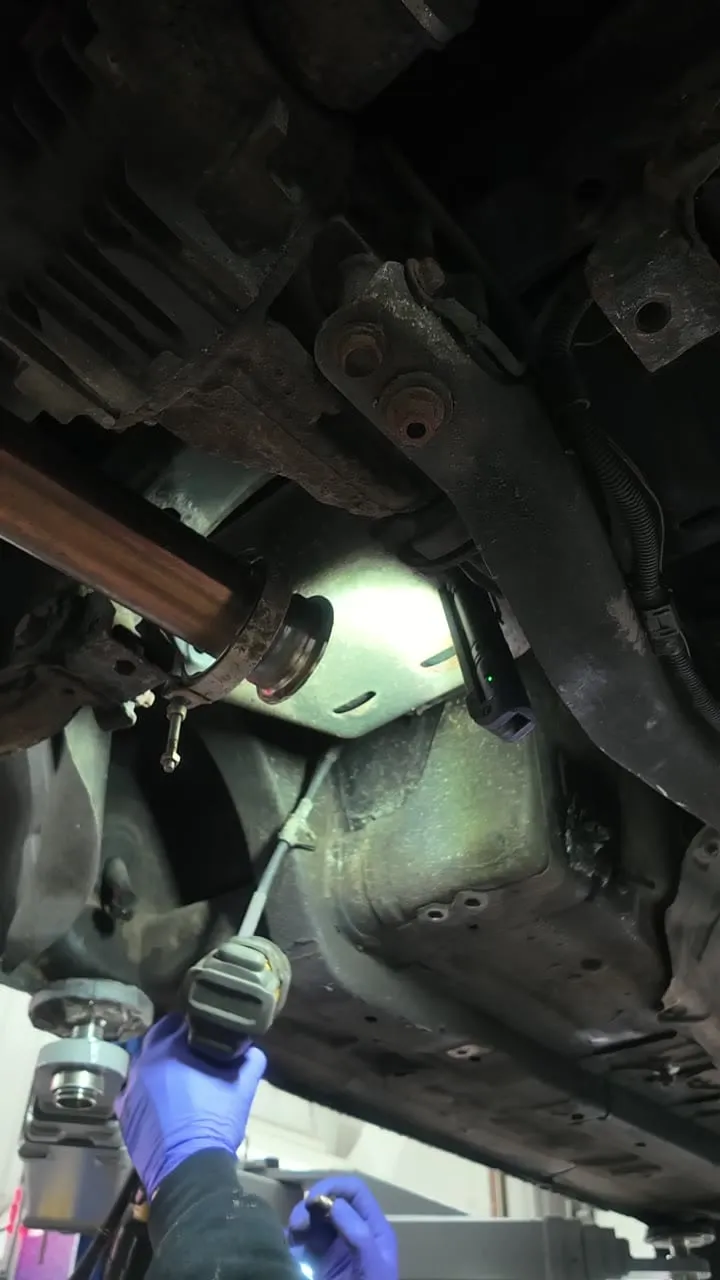
With free adjusters, fresh cables where they are needed, and the setup done in the right order, the MX-5 handbrake holds perfectly well. It was never really the car's fault.