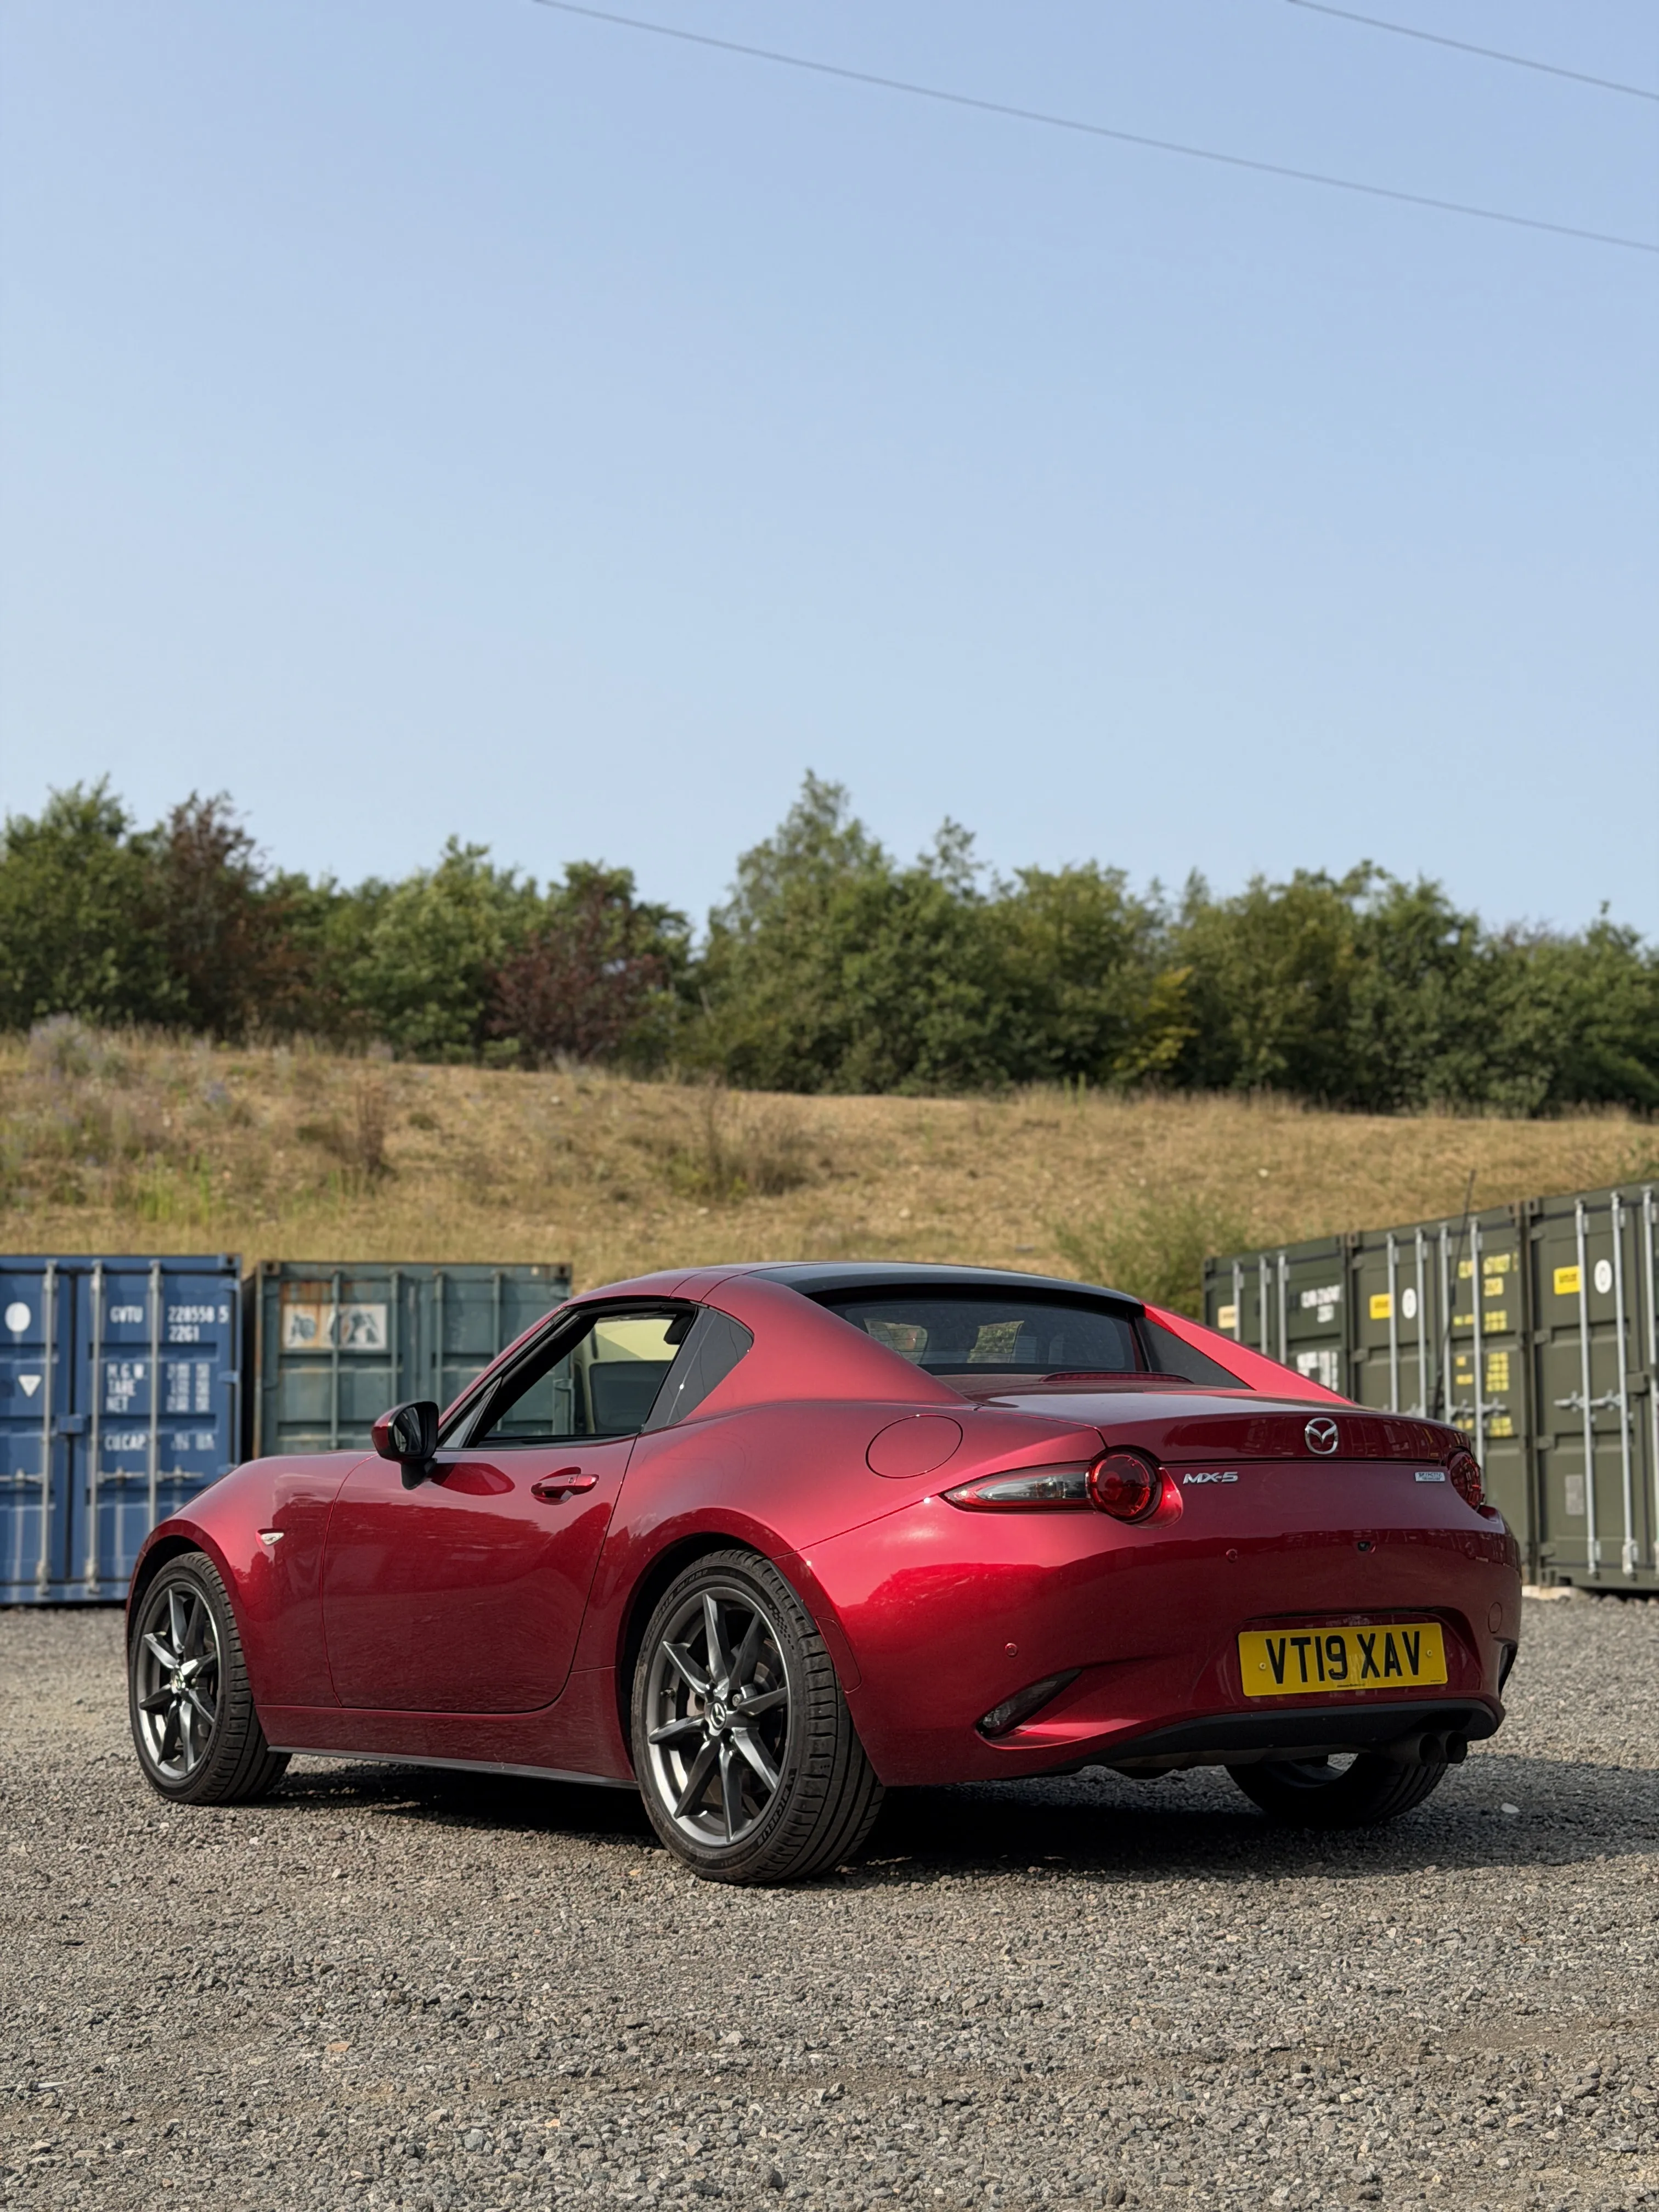
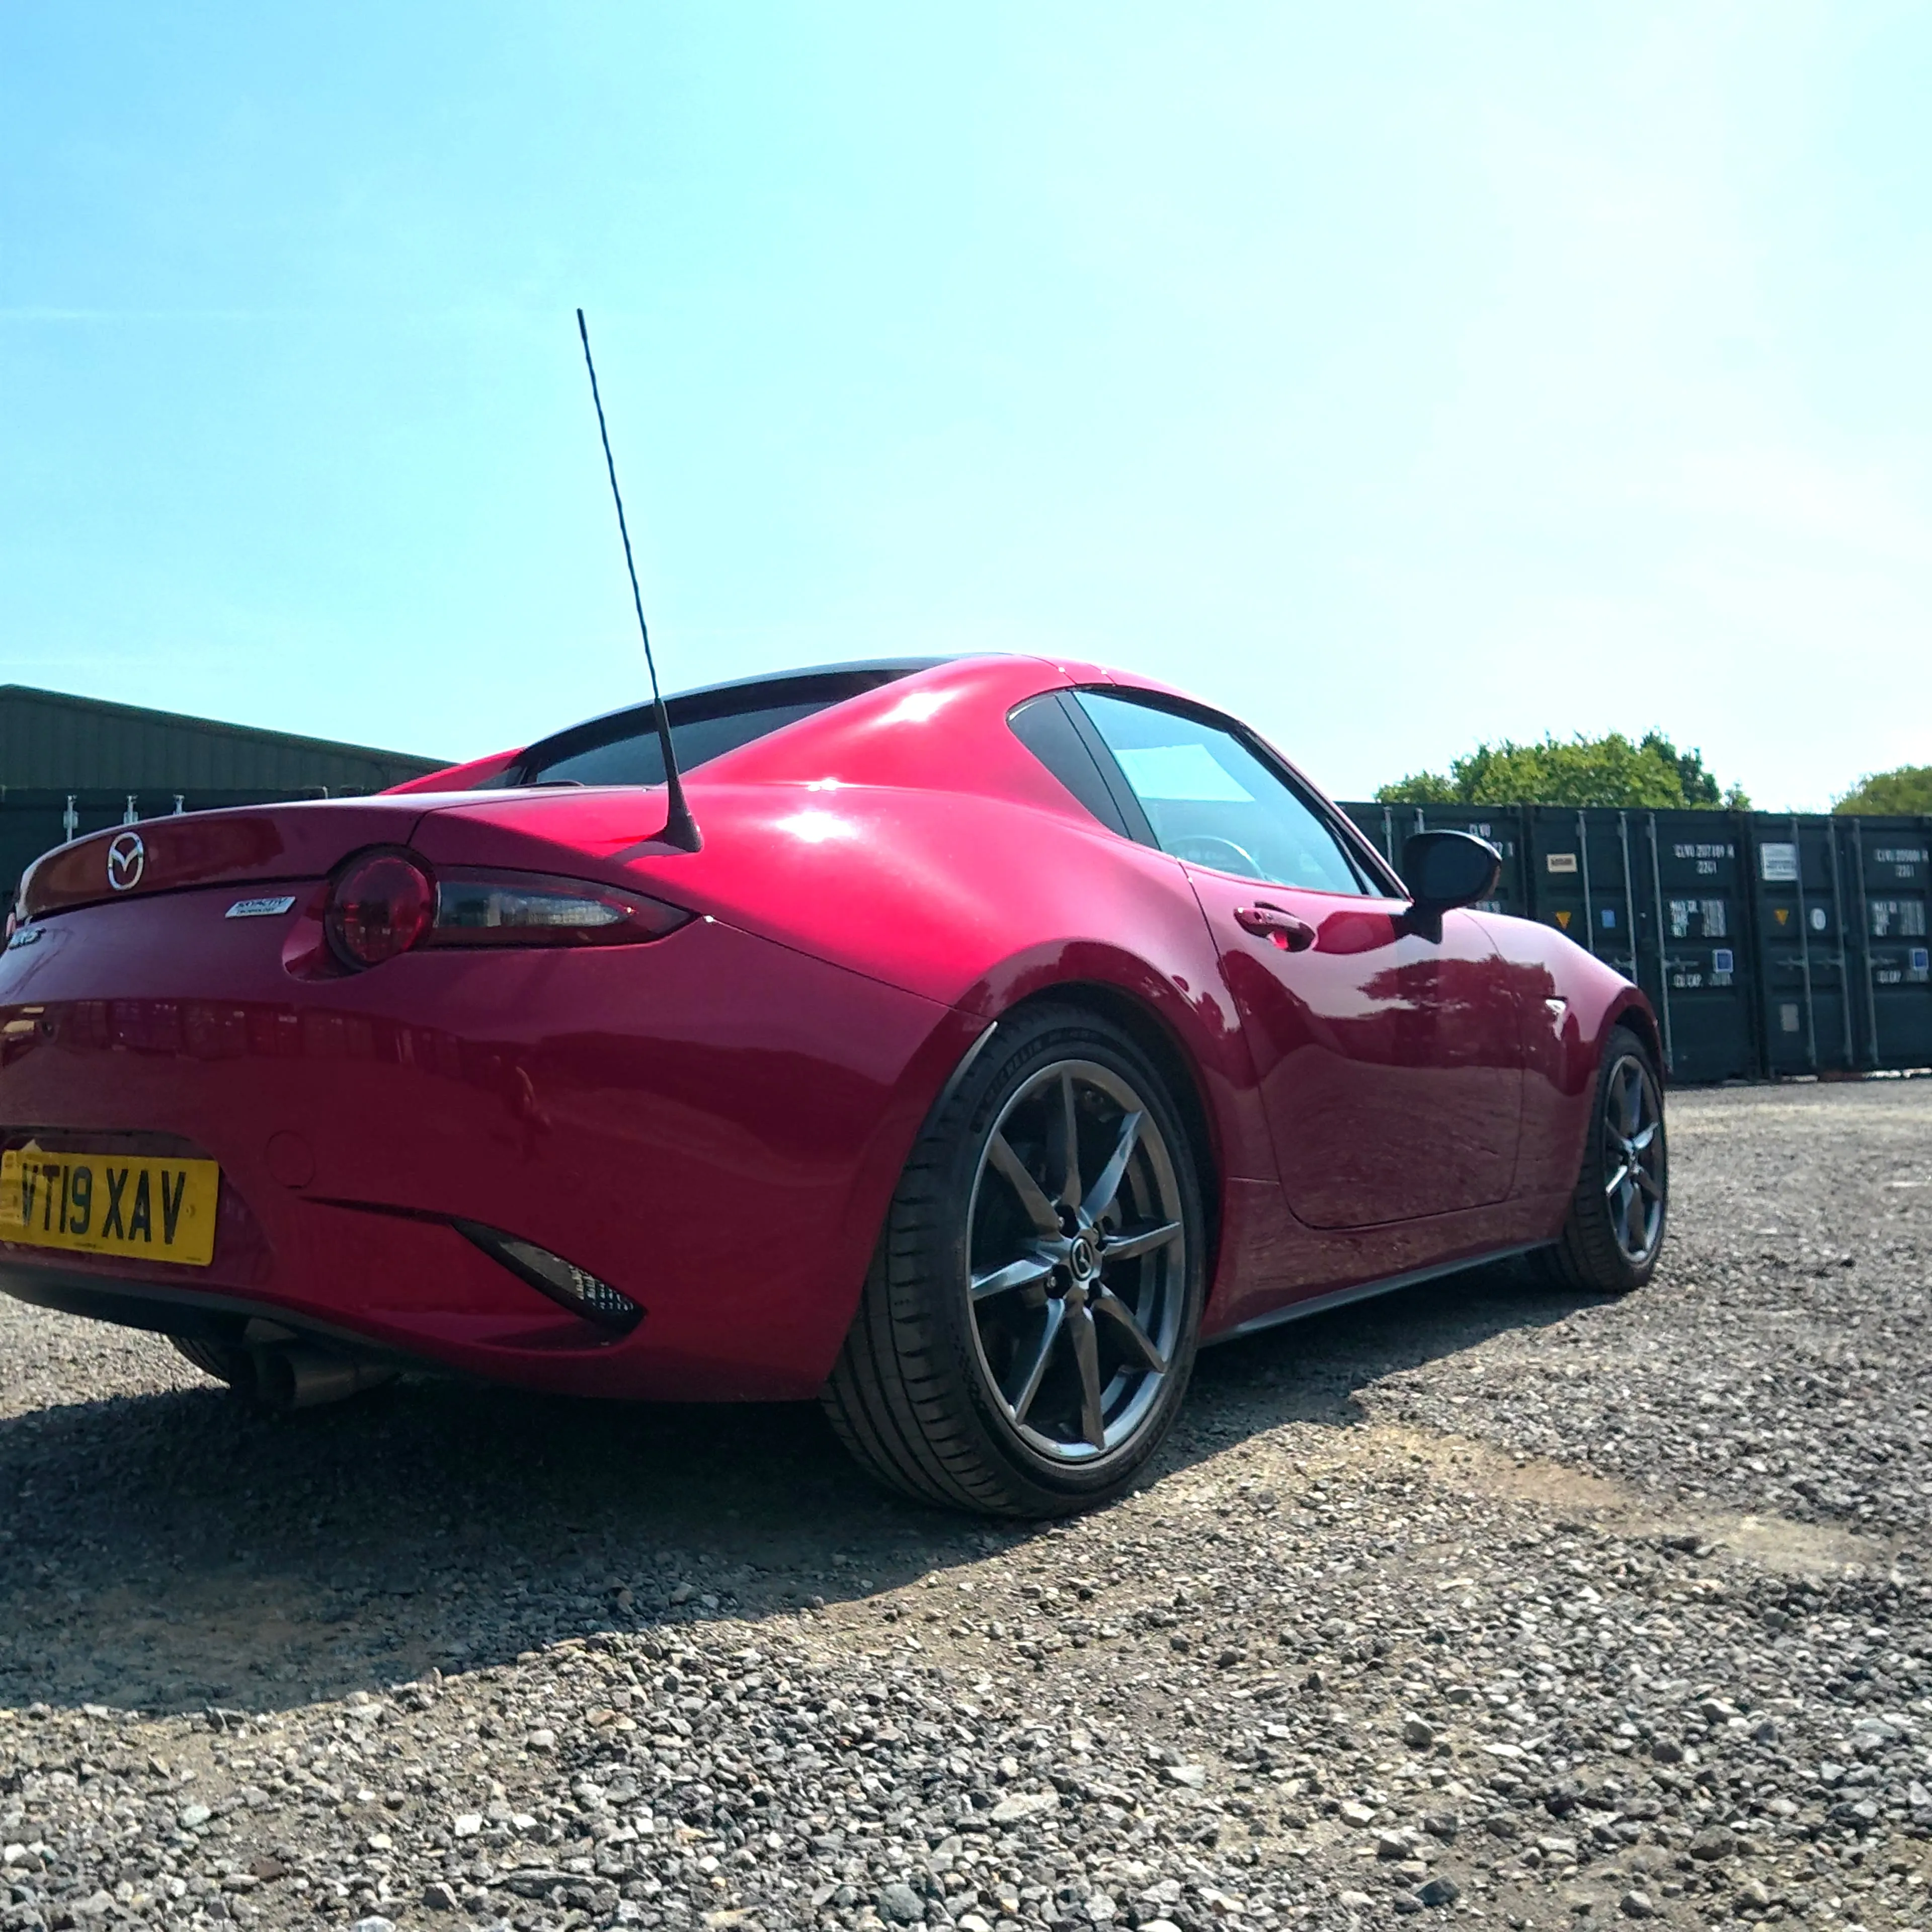
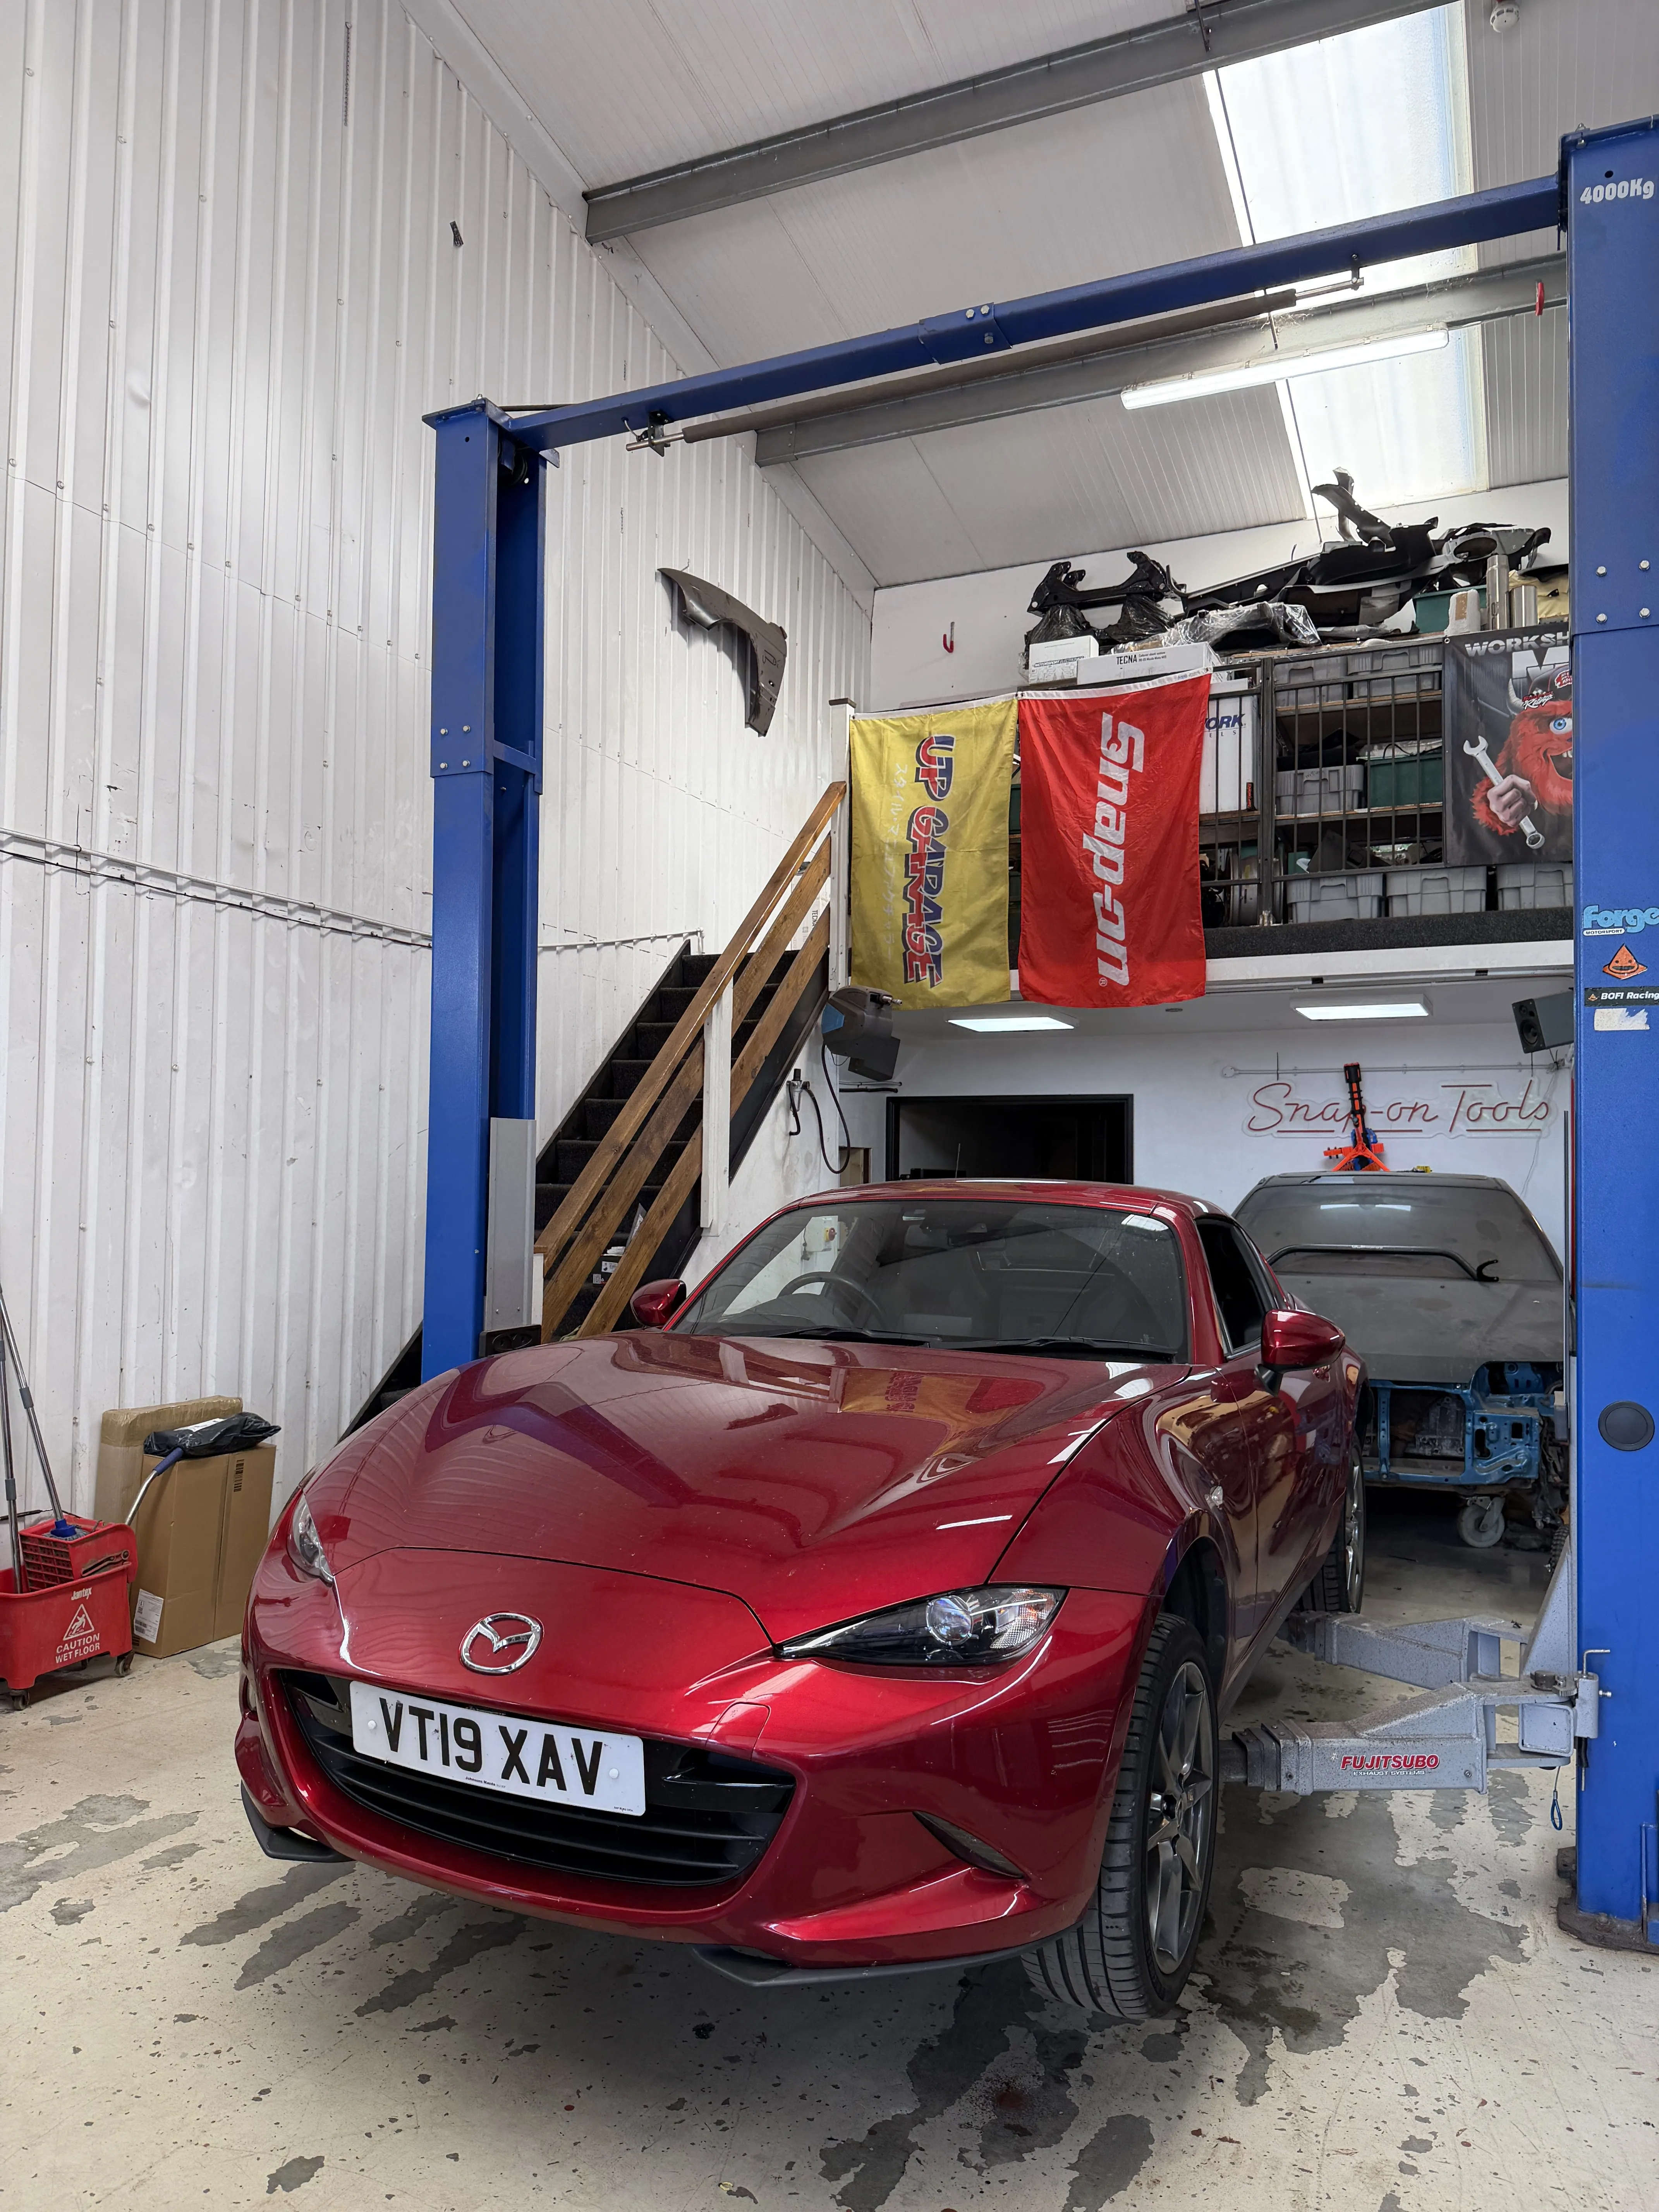
This one is a 2019 ND RF, the 2.0 with the retractable roof, standard and well kept. The owner wanted a fast road setup, not a slammed car: better body control, damping he can adjust to suit the road, and nothing that ruins the ride. That is exactly what the Supermiata Tecna is for, so a set went on, along with remote damping adjuster cables for the rears and a pair of neoprene coilover socks. Here is the full job, how the car is set up afterwards, and what it is like to drive.
The kit
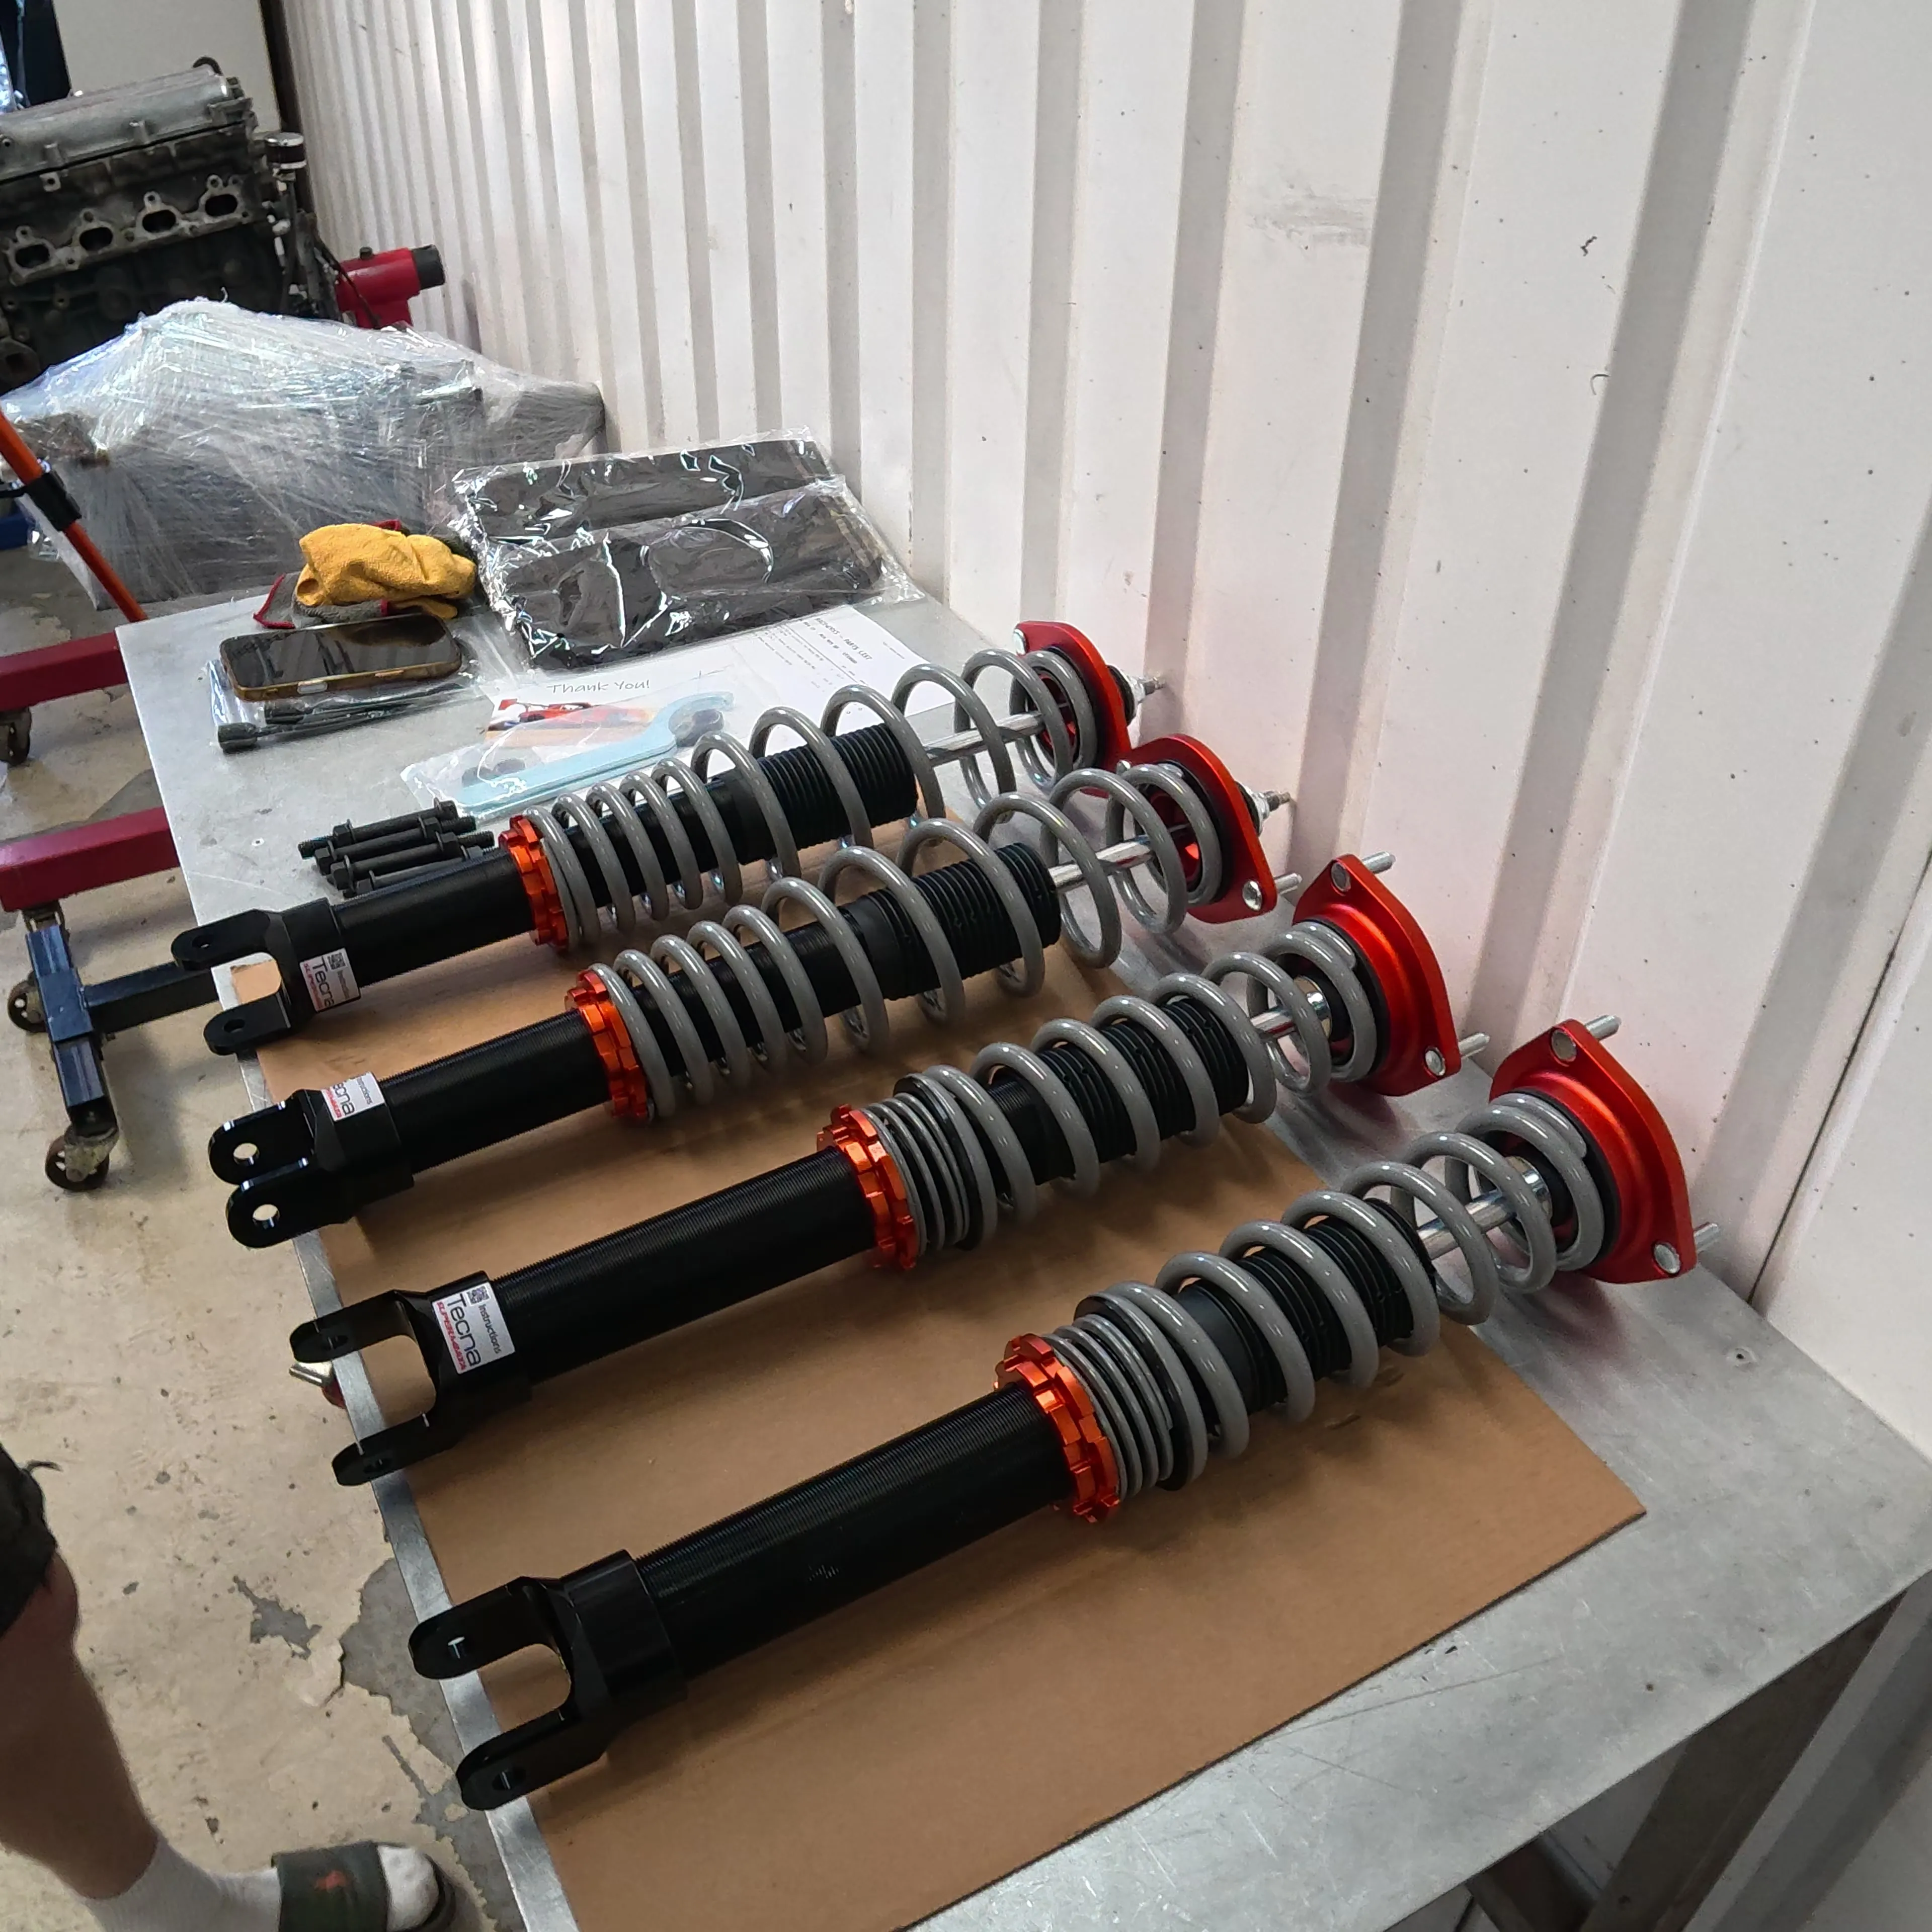
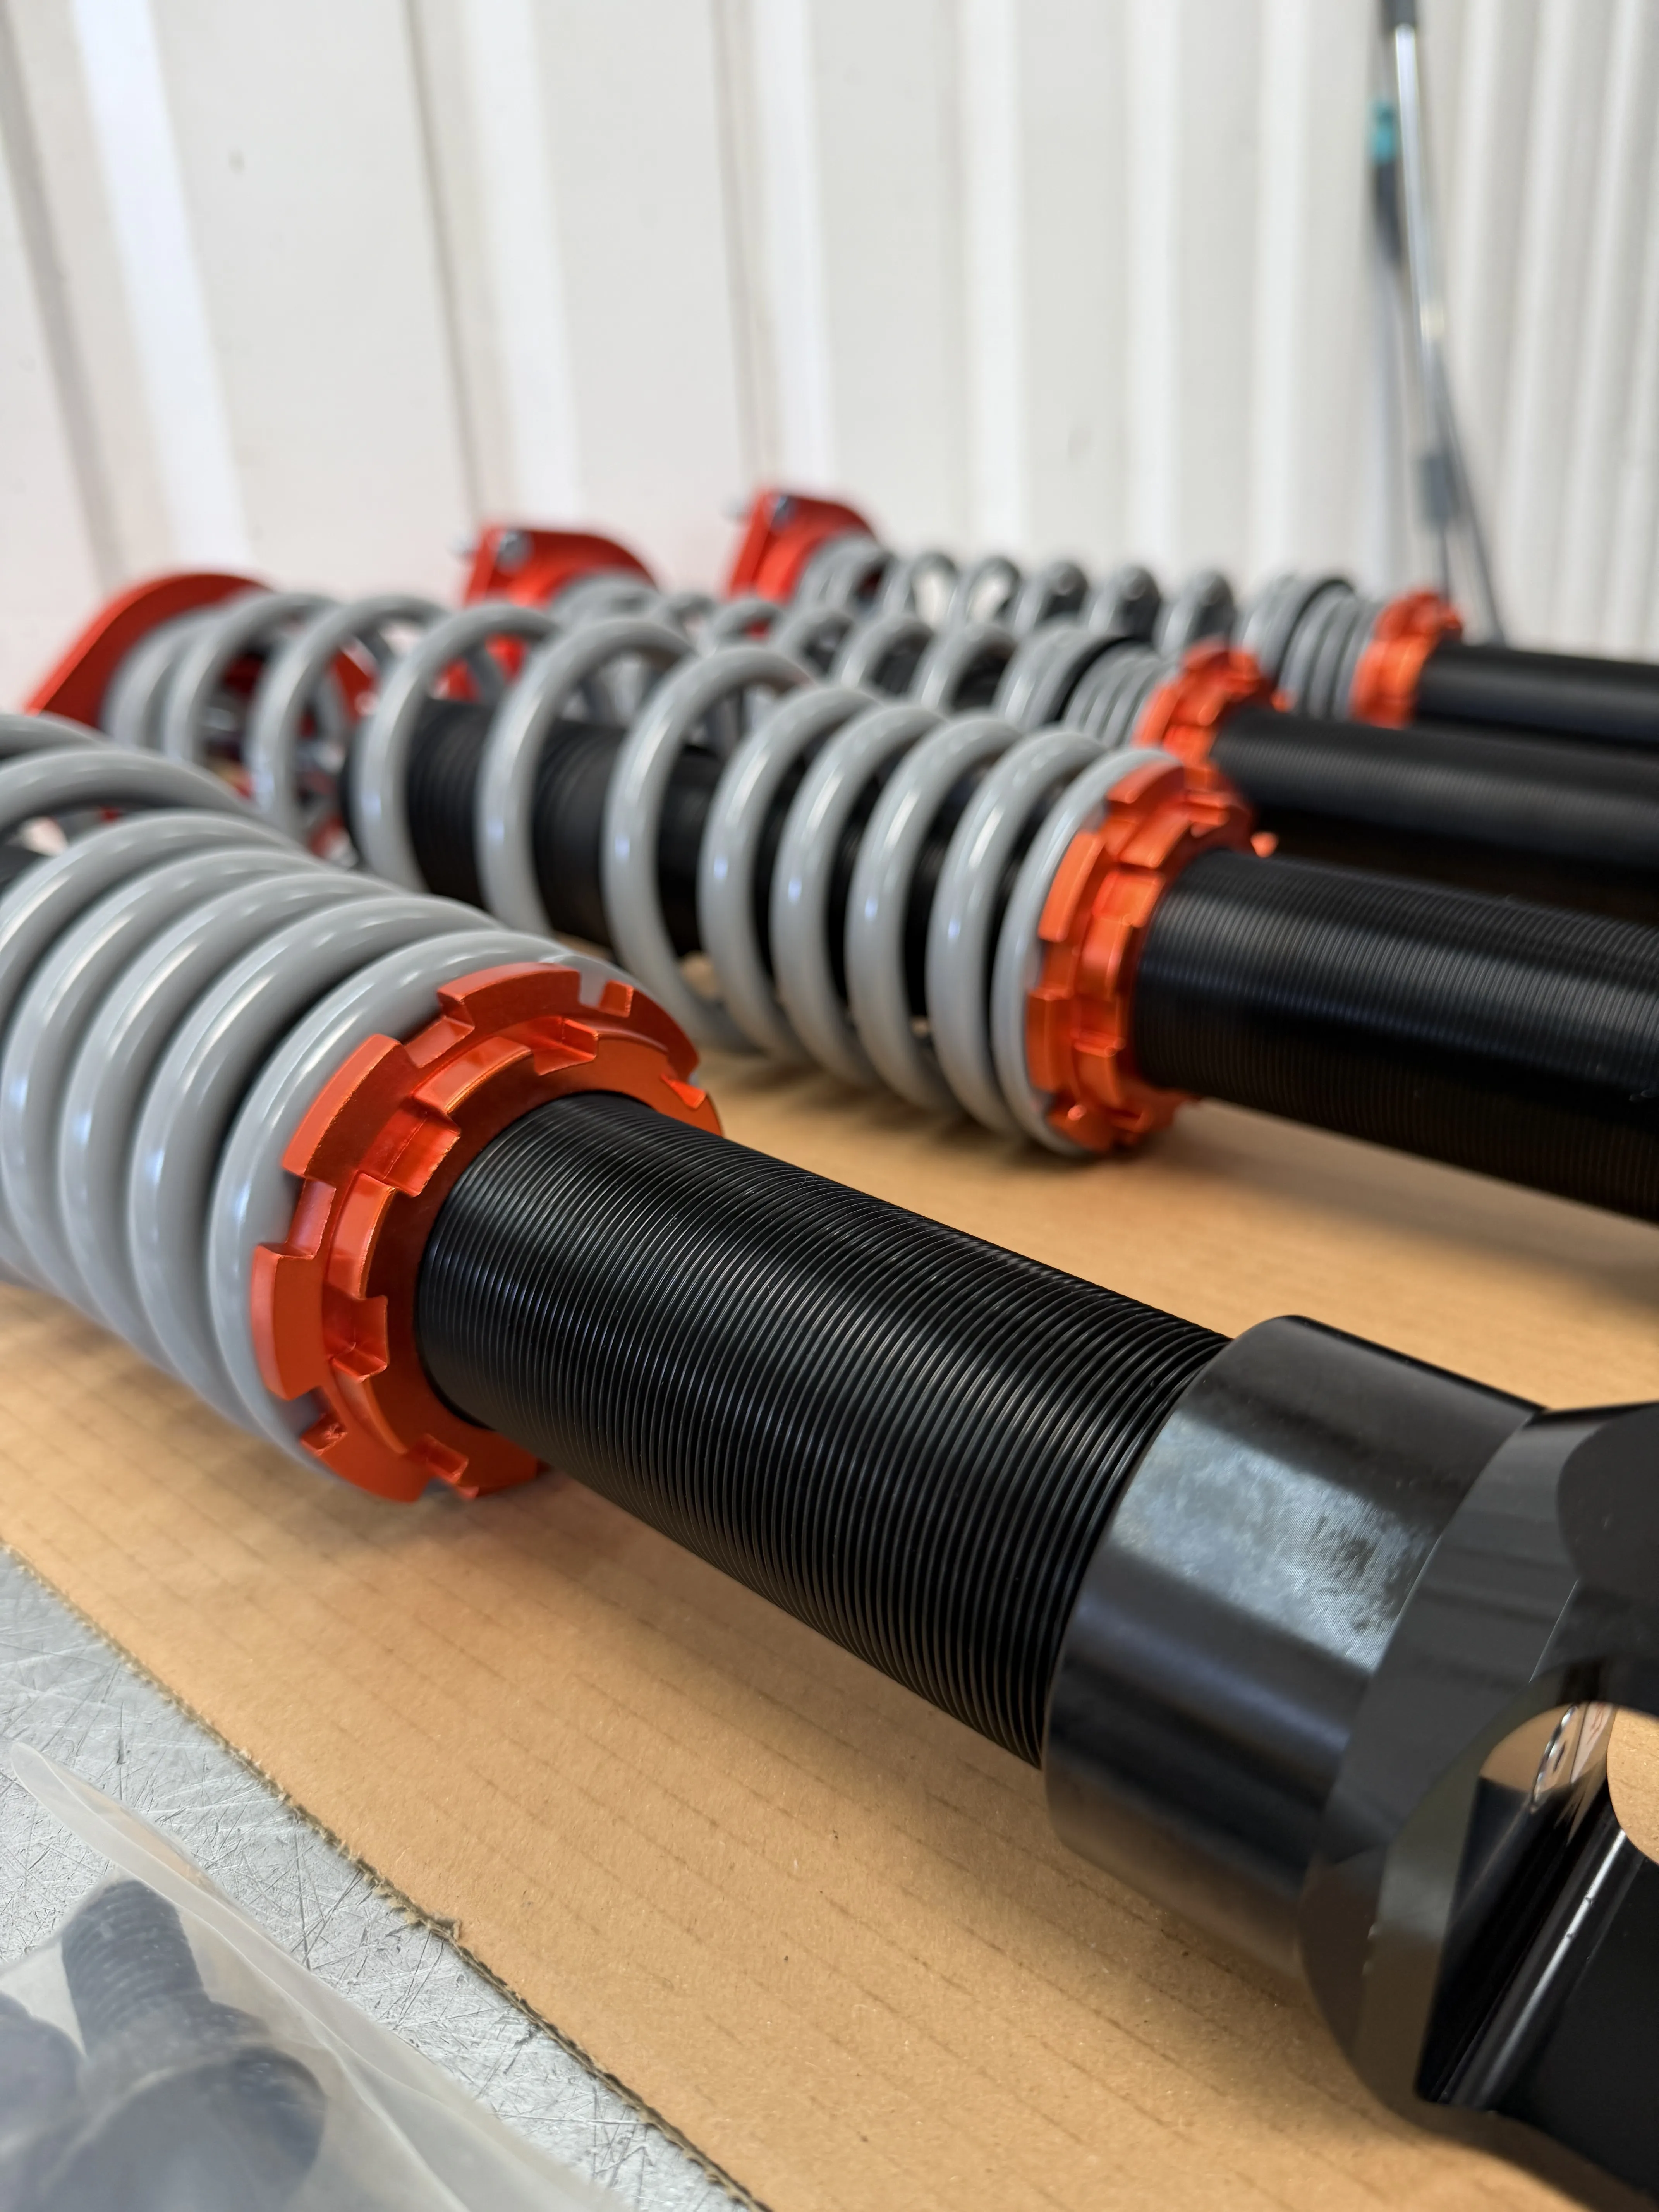
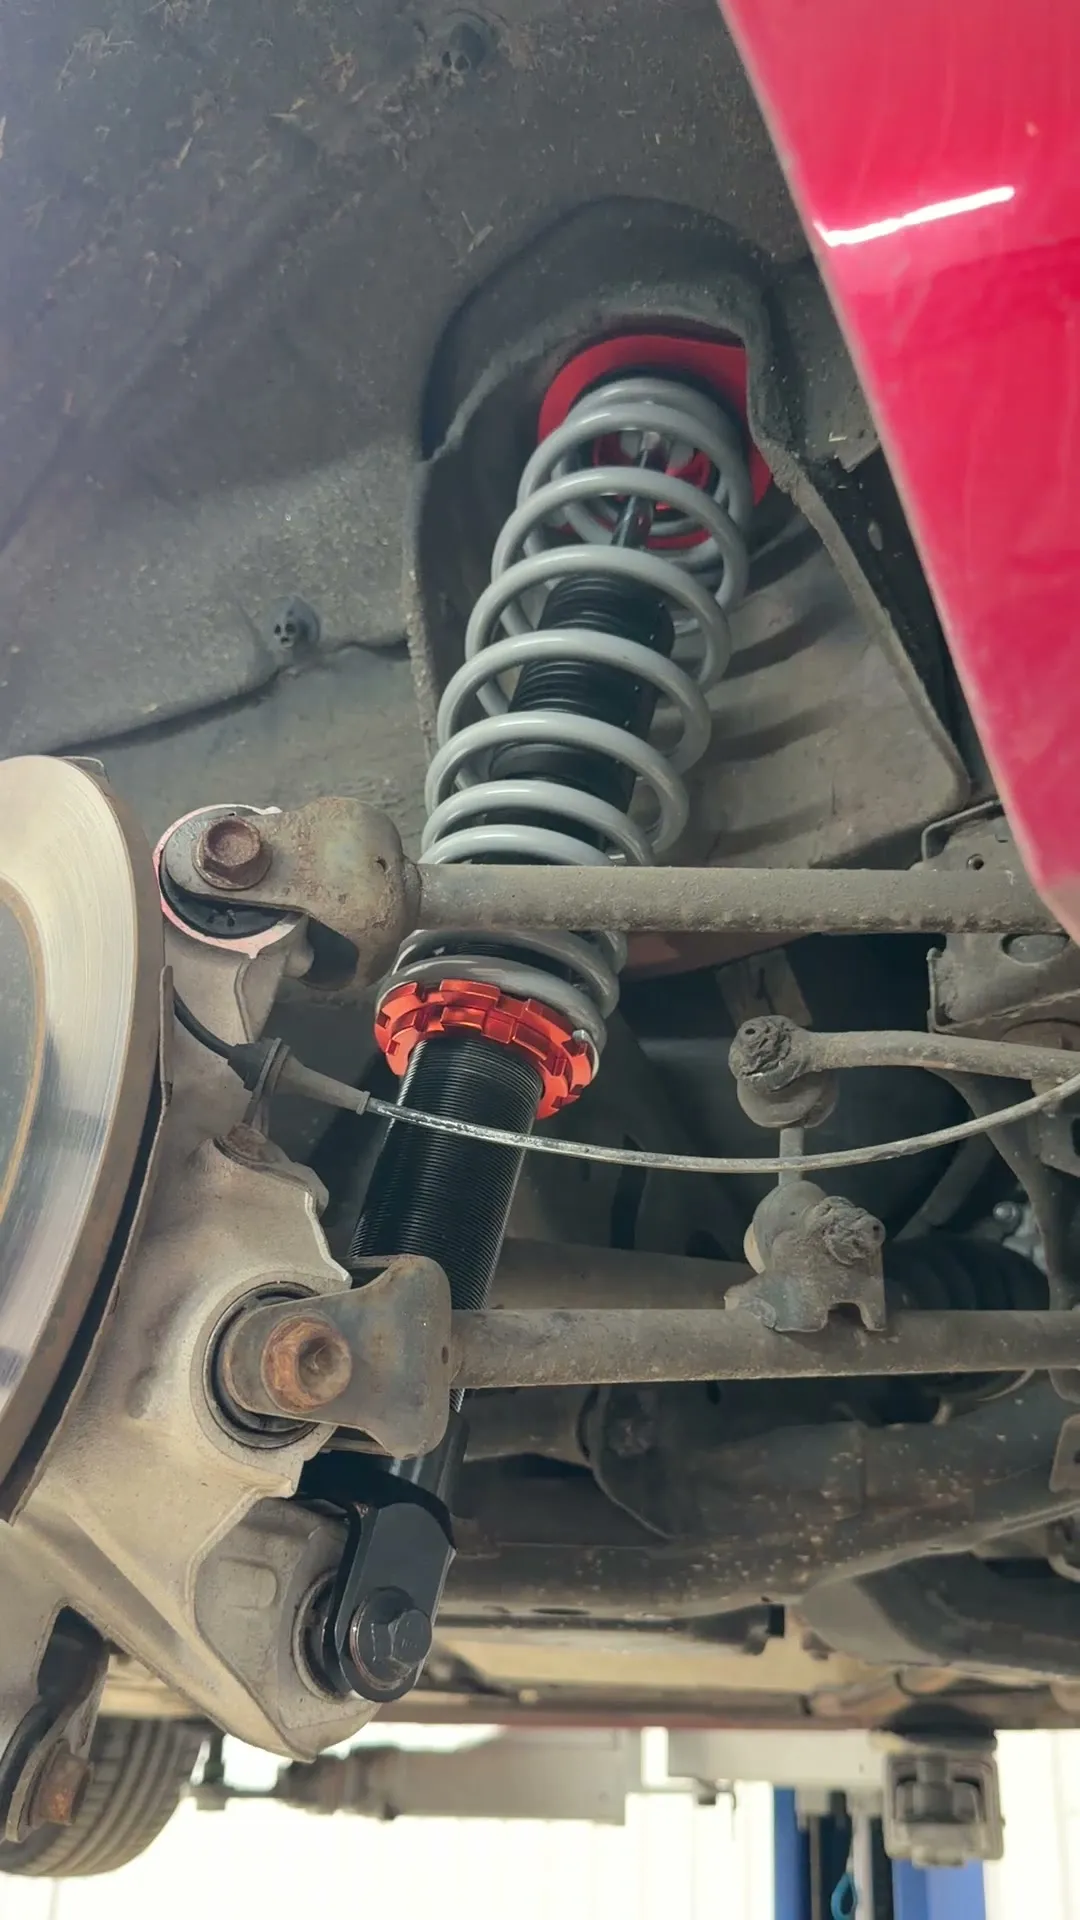
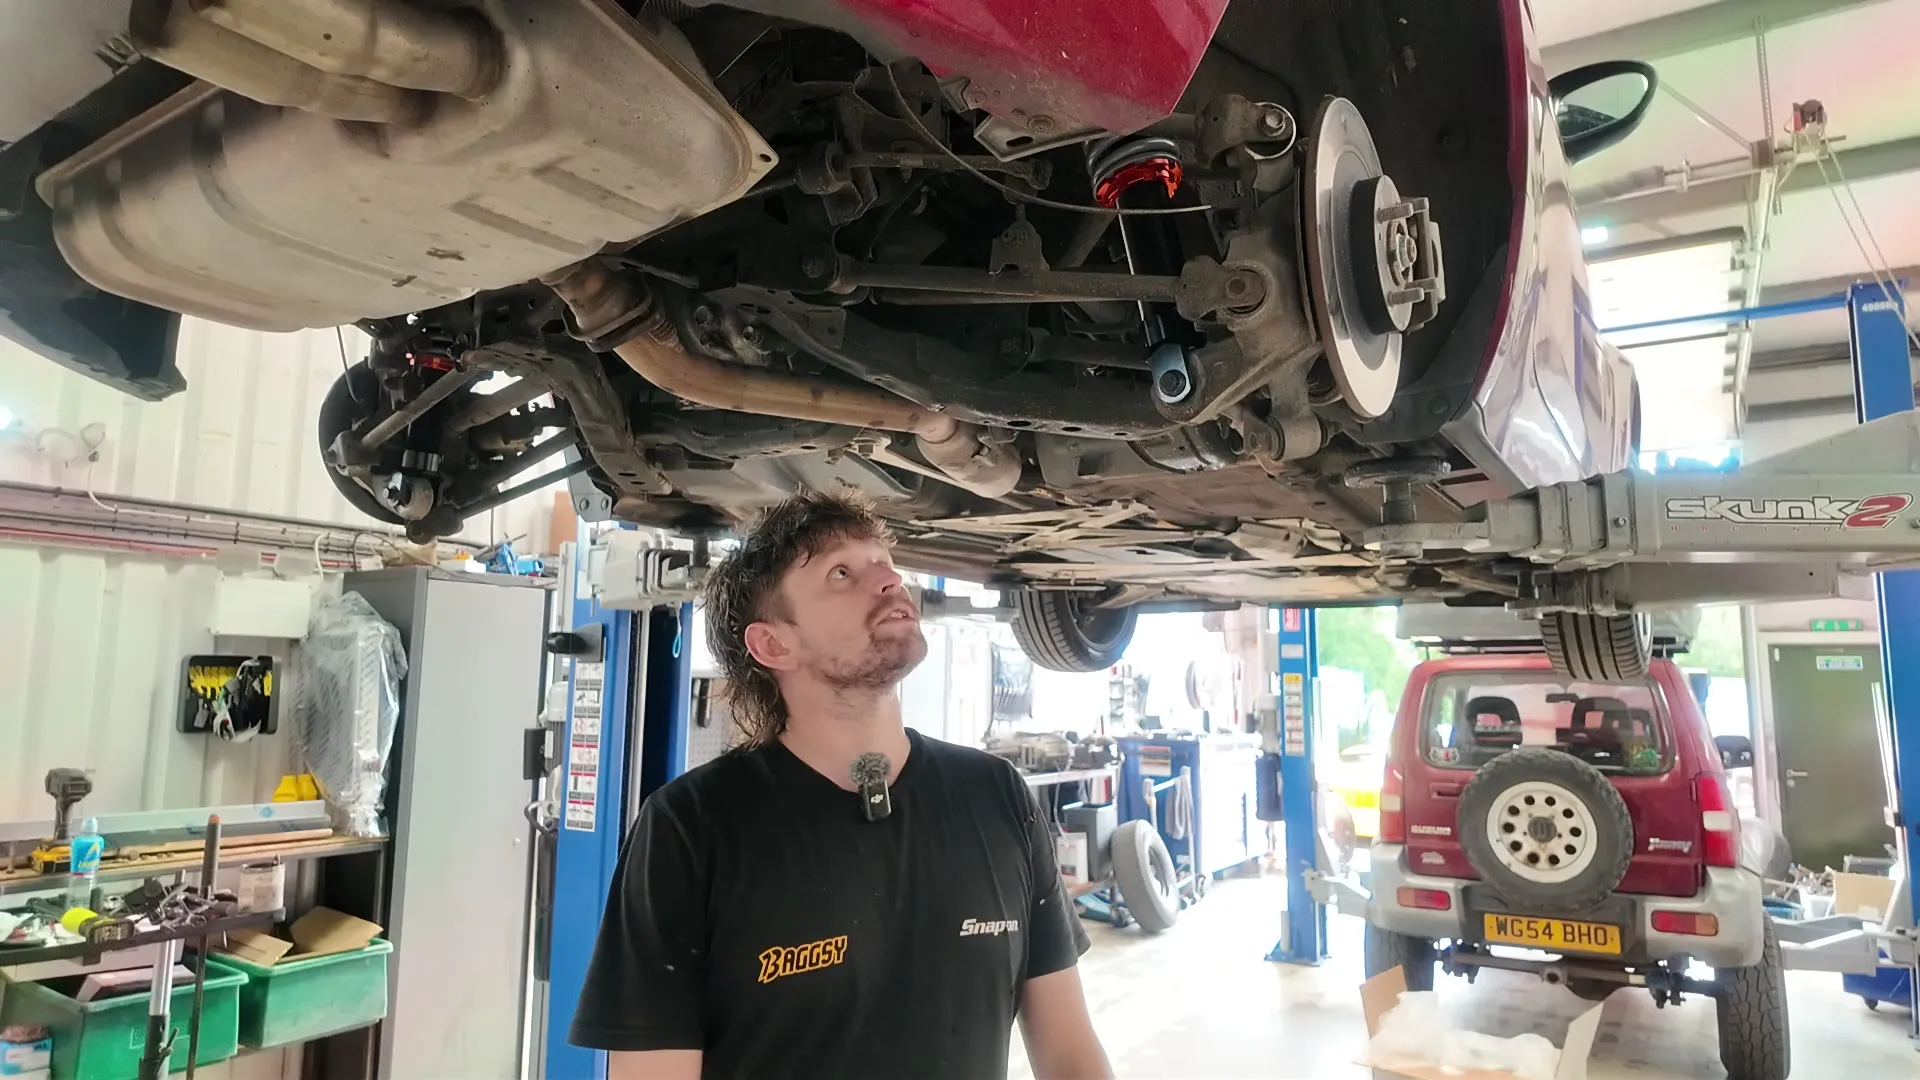
Tecnas are made by Supermiata, the 949 Racing crowd in California, designed specifically for the MX-5 by people who race them. They arrive fully assembled with the preload already set, so there is no spring compressor work and no assembly on the bench. Each corner is a monotube damper with adjustable damping, around 36 clicks of range, and a threaded body for ride height.
There are two versions, and picking the right one matters more than anything else on the order form. The Touring, 6/3 kg/mm springs, sold as the GT spec in Supermiata's install sheet, is the street rate: a fast road car that gets driven on real roads, with the odd light track day. The Sport, 8/4 kg, is the track focussed rate, stiffer and able to run lower, for a car that earns its keep on circuit and puts up with the road in between.
This car is the first kind. It is a road car, driven for the joy of it, and the owner was clear he was not chasing lows or lap times. So it got the Touring spec, and everything that follows, the preload figures, the ride height window, the alignment, is the fast road version of this job. If your car lives on track, the Sport is the one, and its numbers differ throughout.
Check the preload before anything comes off the car
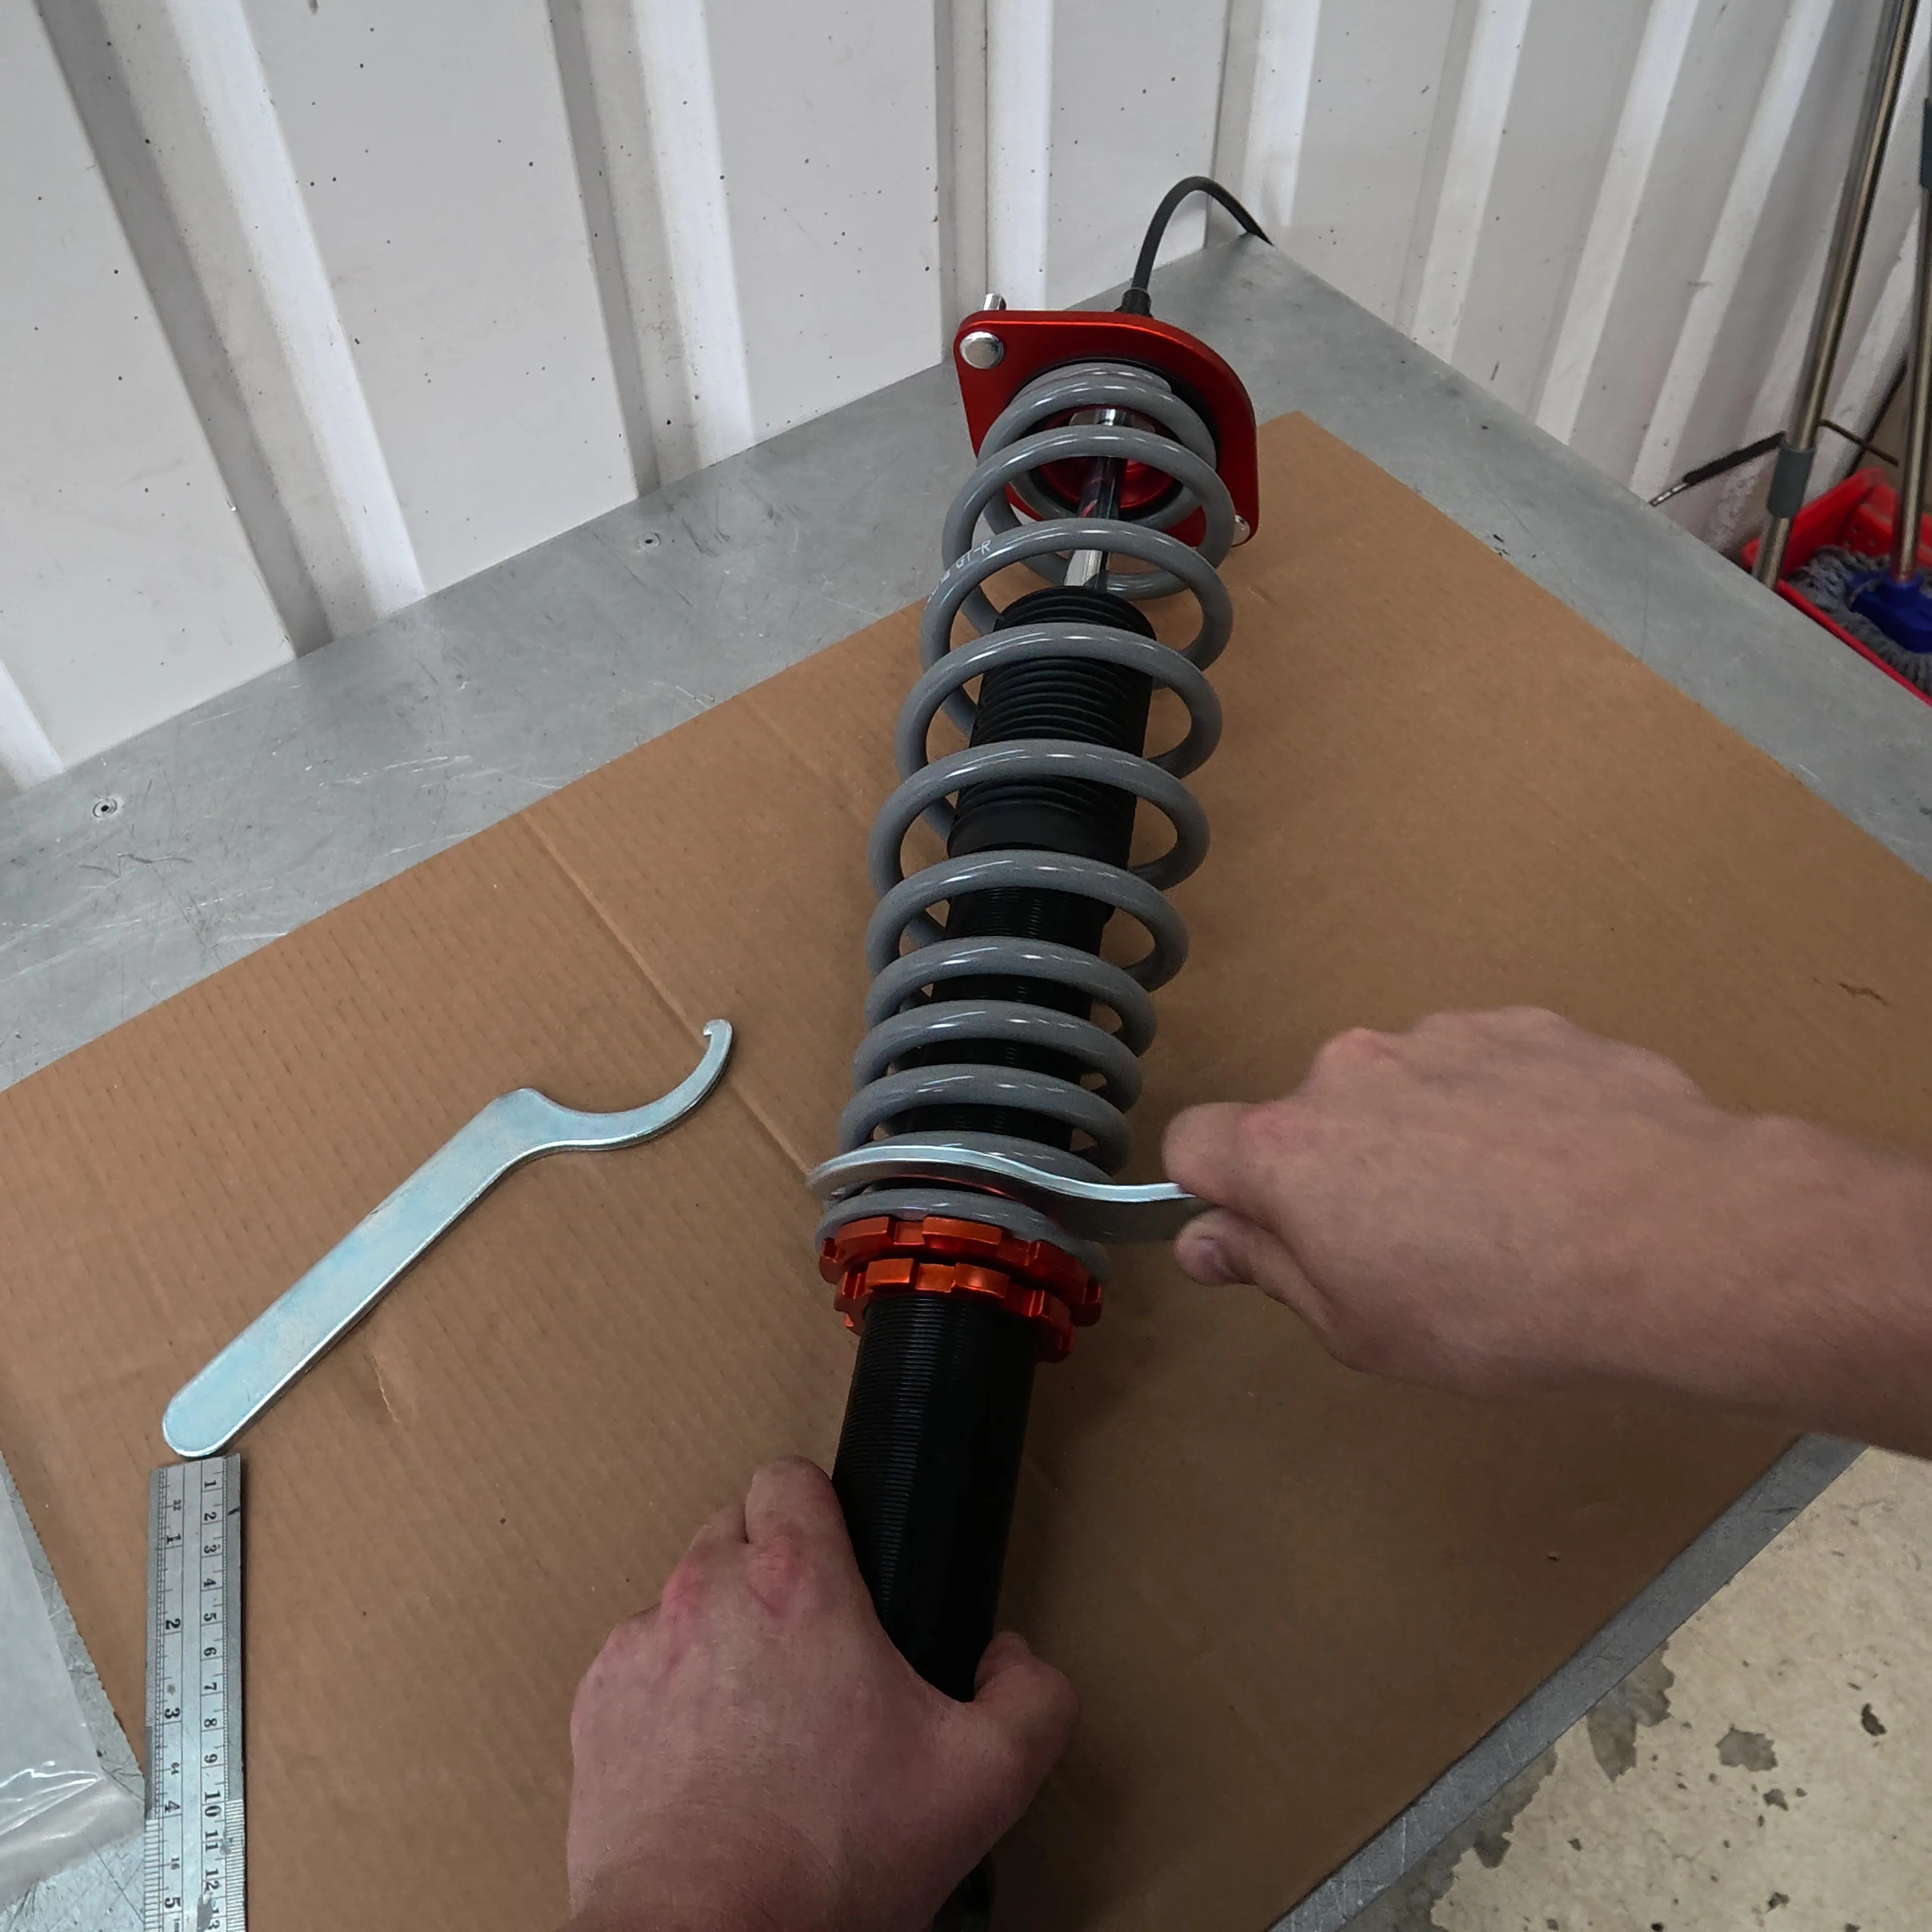
Supermiata's sheet says to verify each unit is at its standard preload before it goes on, and it takes two minutes with a steel rule. On the ND, preload is measured from the bottom of the locking ring down to the lower mount. For this GT spec the baselines are 163mm front and 125mm rear on an RF. There is also a maximum preload, 189mm front and 143mm rear, and exceeding it risks damaging the springs, so those numbers are the wall.
Fronts out, fronts in
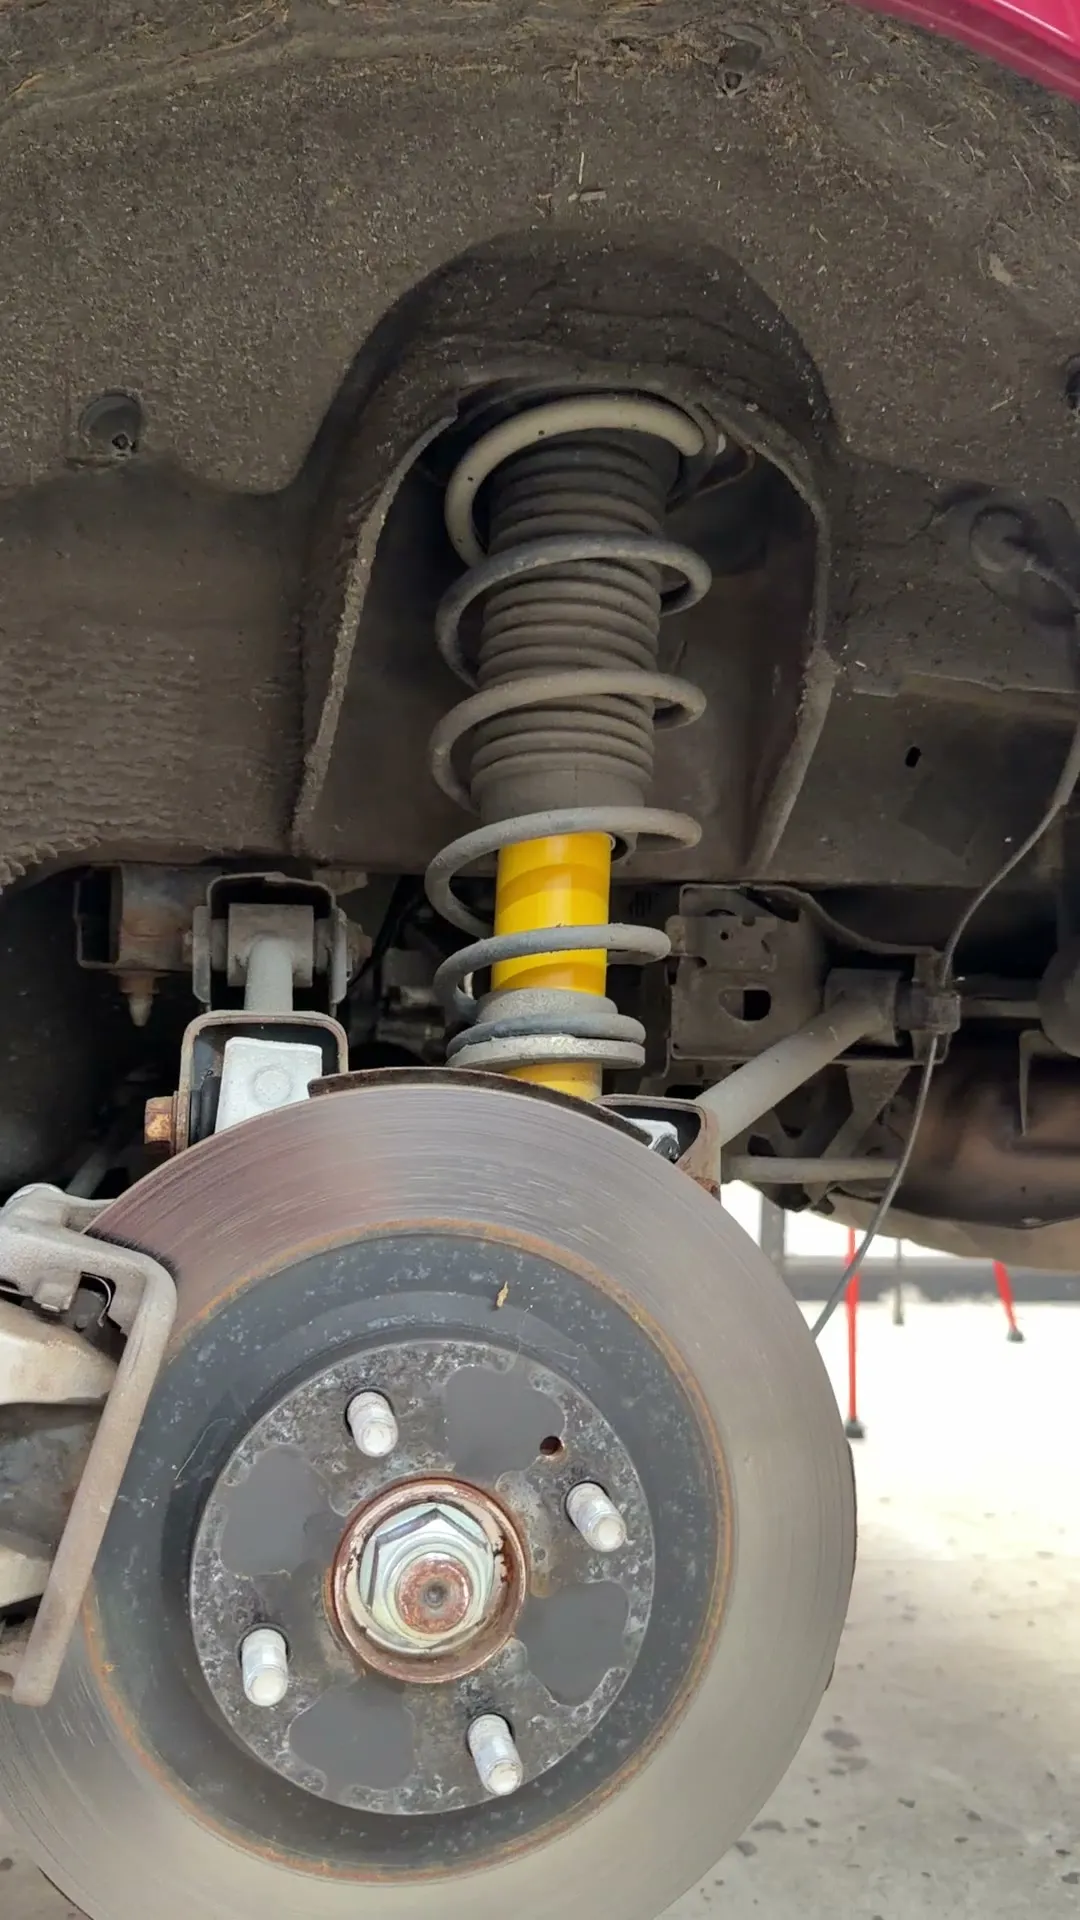
The front of an ND is close to the earlier cars, and the method is the same one we use on a Mk1, Mk2 or Mk3. Wheel off, then make yourself room: the brake line bracket and the ABS sensor come off so nothing gets strained. The space comes from the top arm. Two bolts at the back of the arm pass through the subframe mounts, and those two are the key to the whole job.
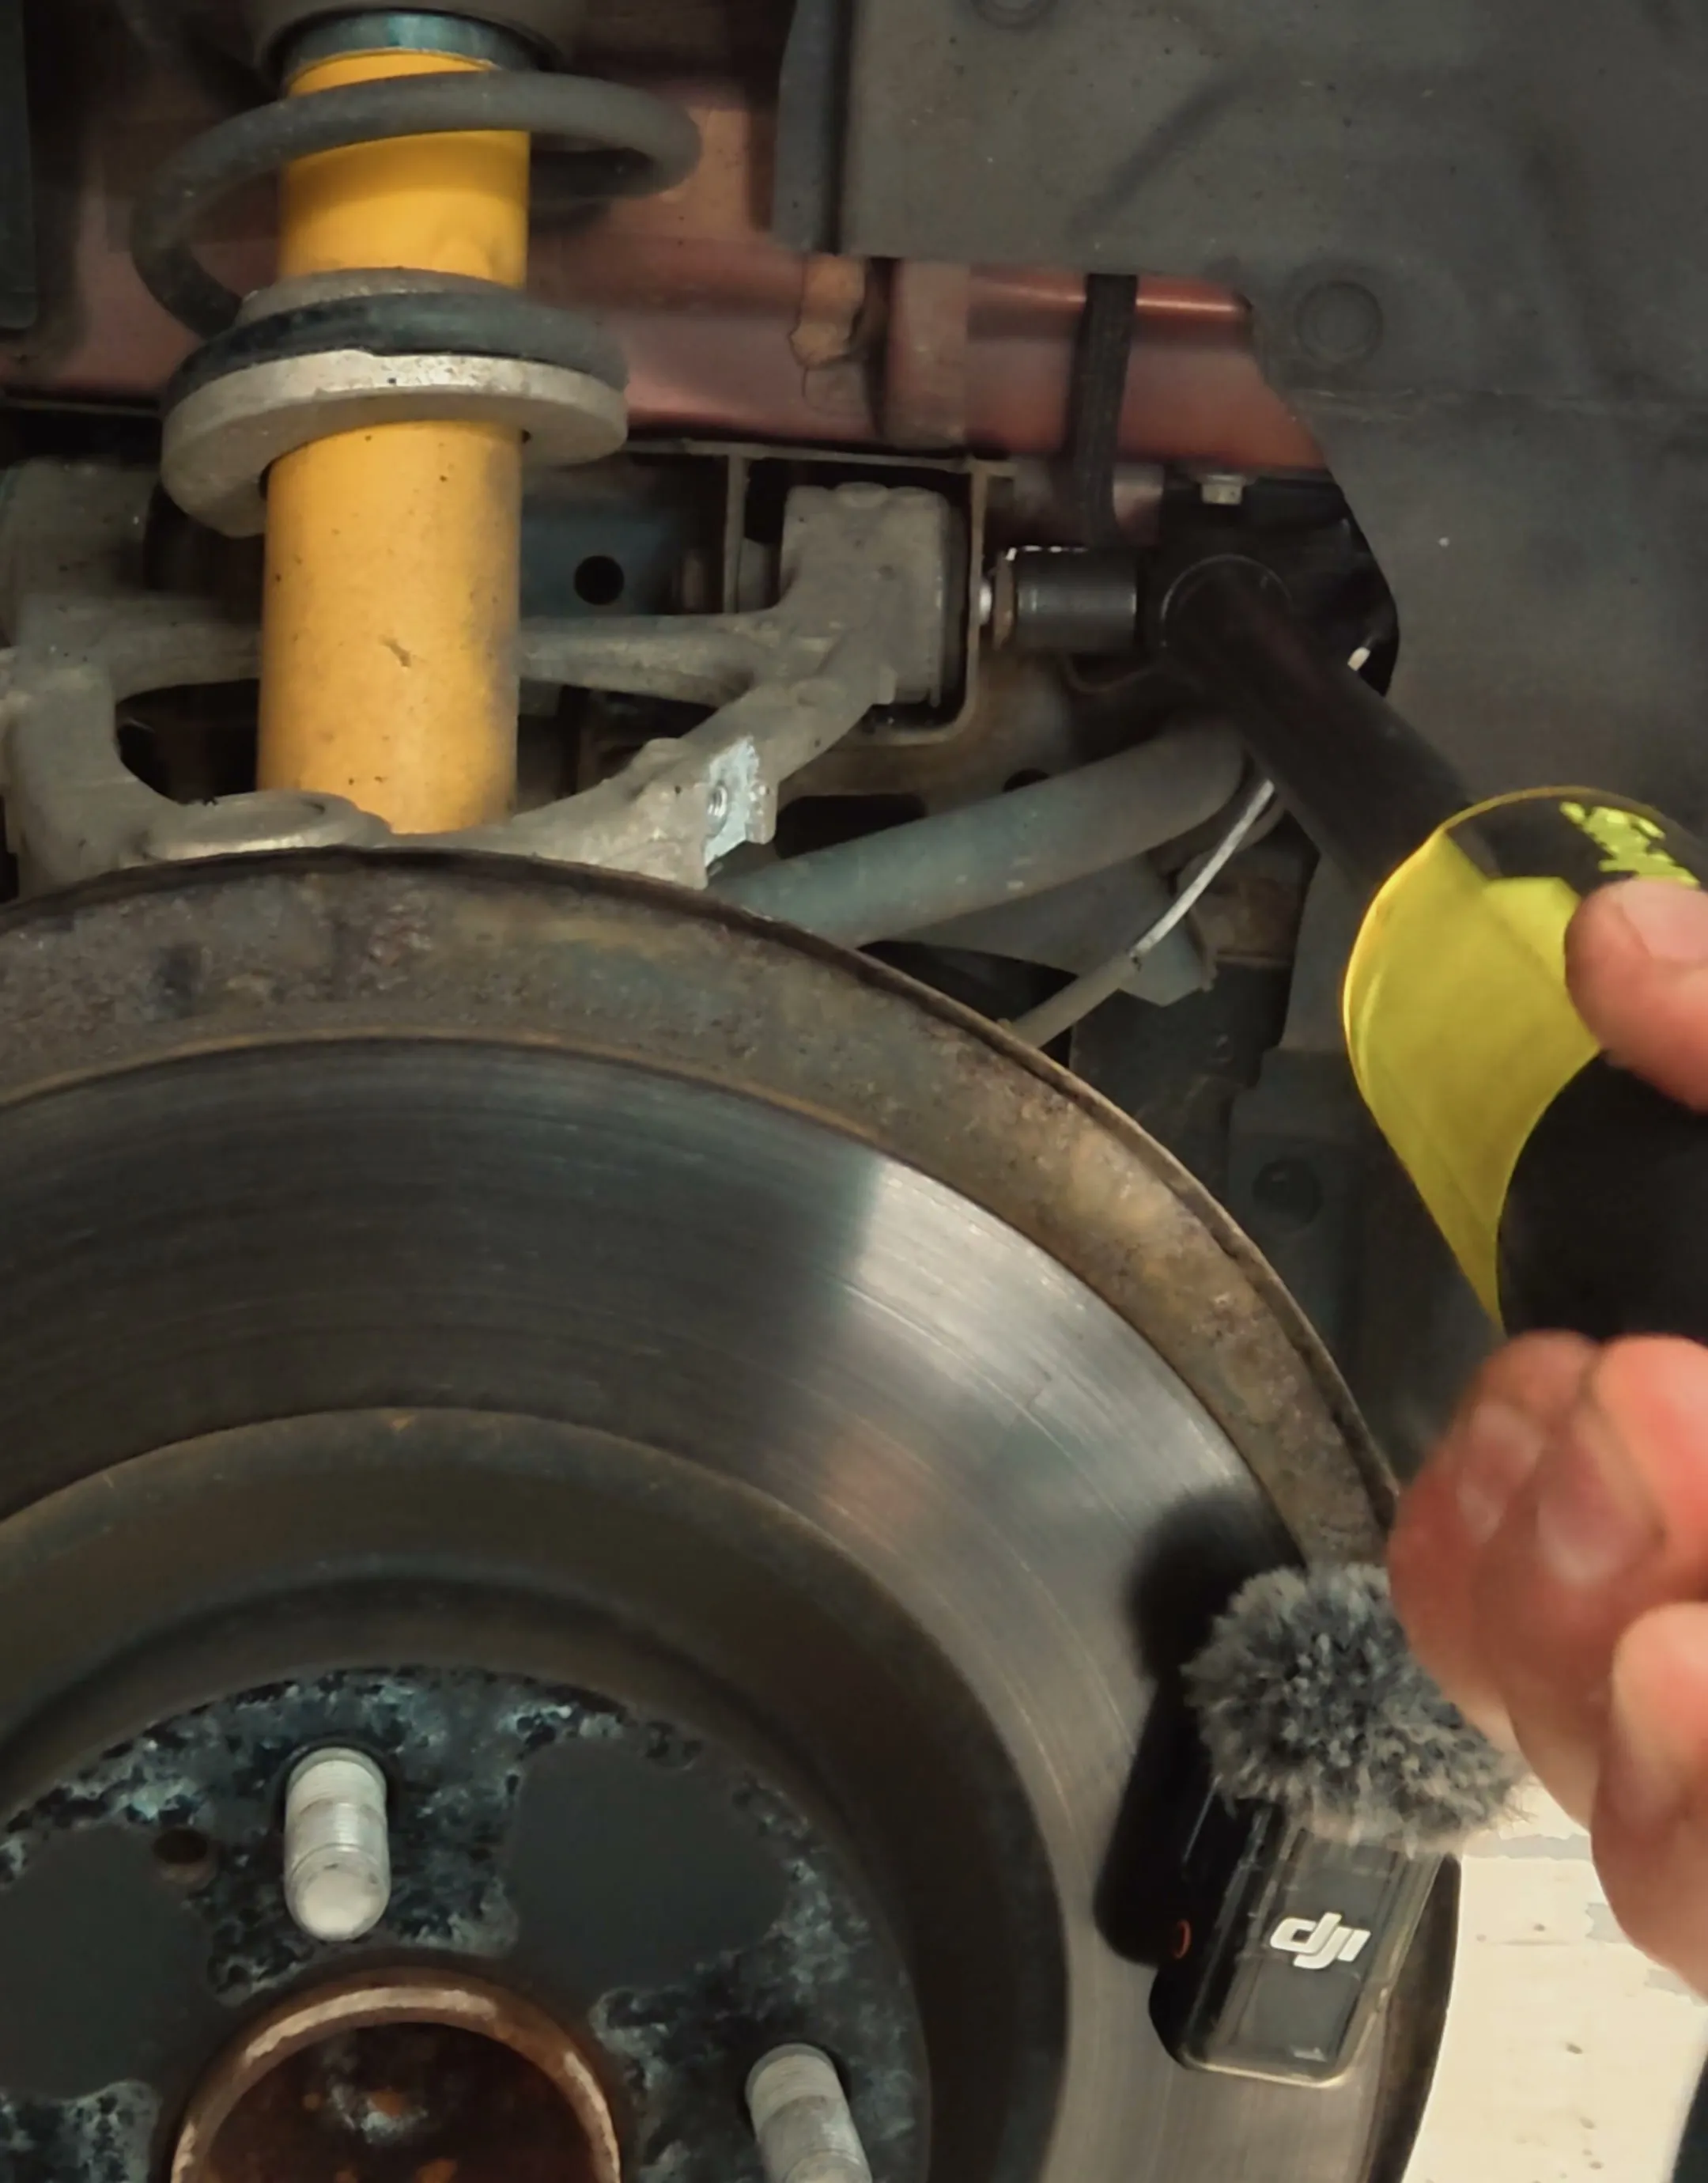
With those two out the arm is mobile, so the hub leans forward and that is all the room you need. The top mount nuts come off from the engine bay, then it is the lower shock bolt, and the unit fishes out through the arch.
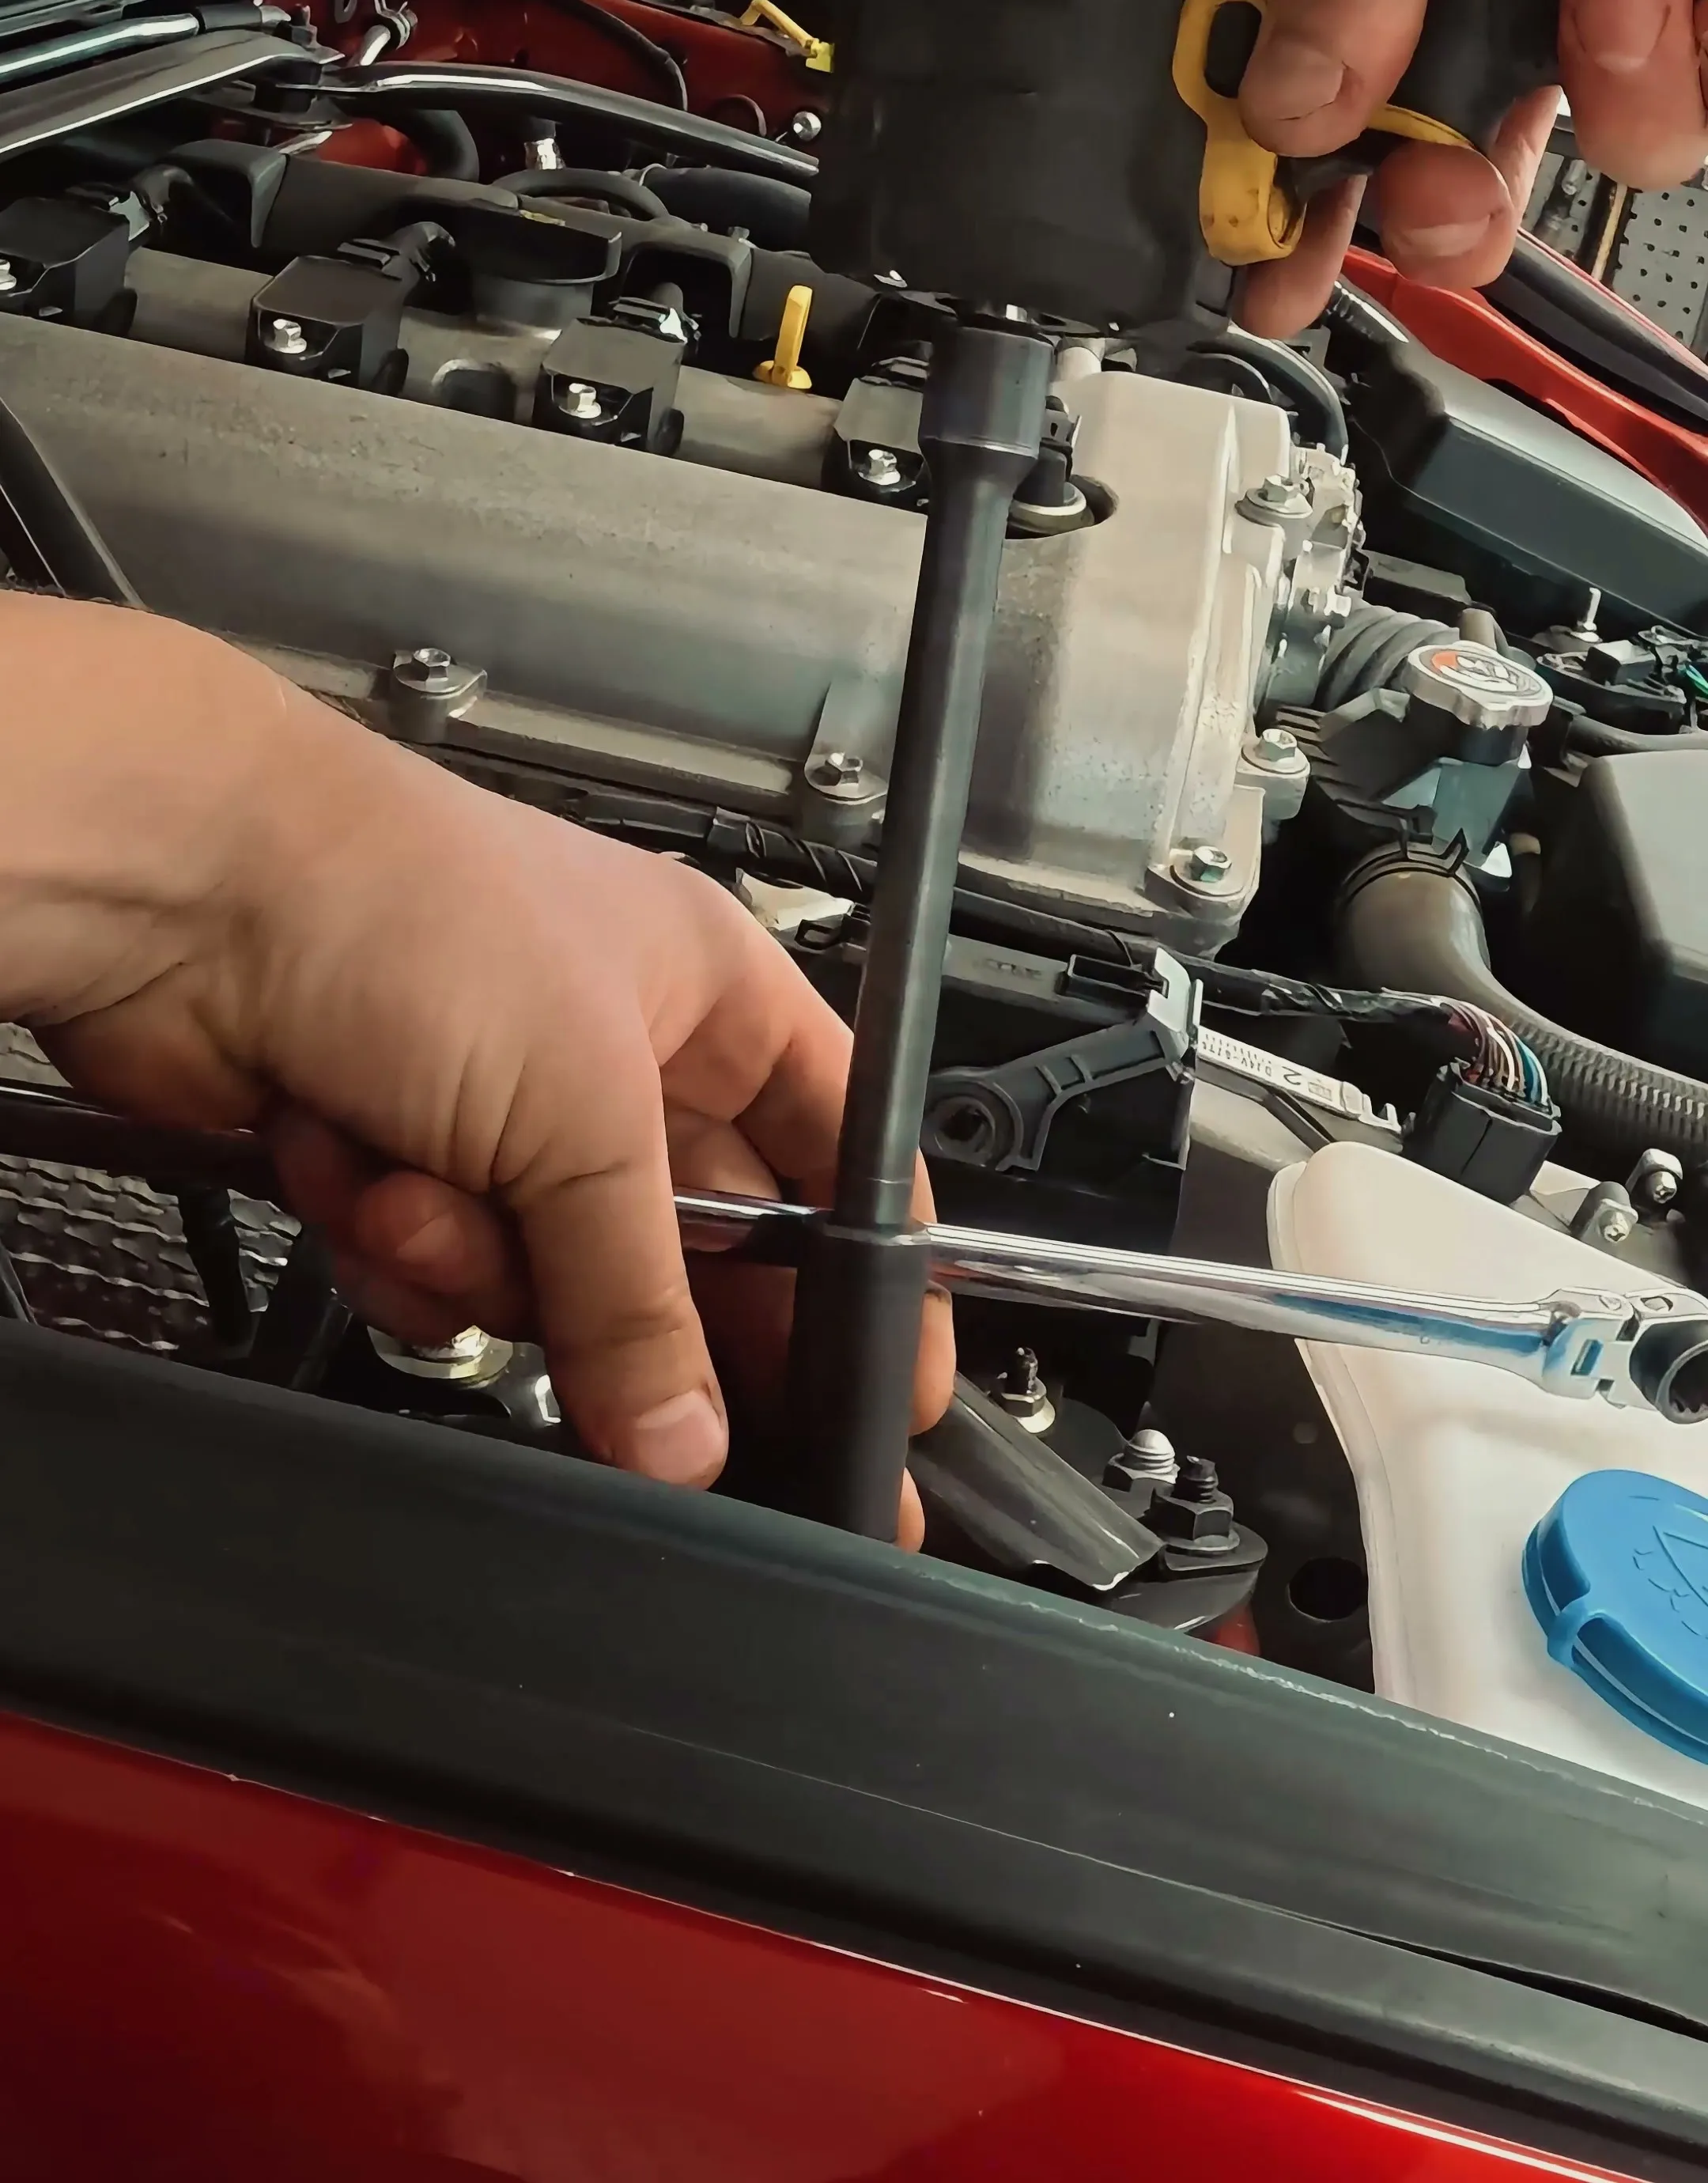
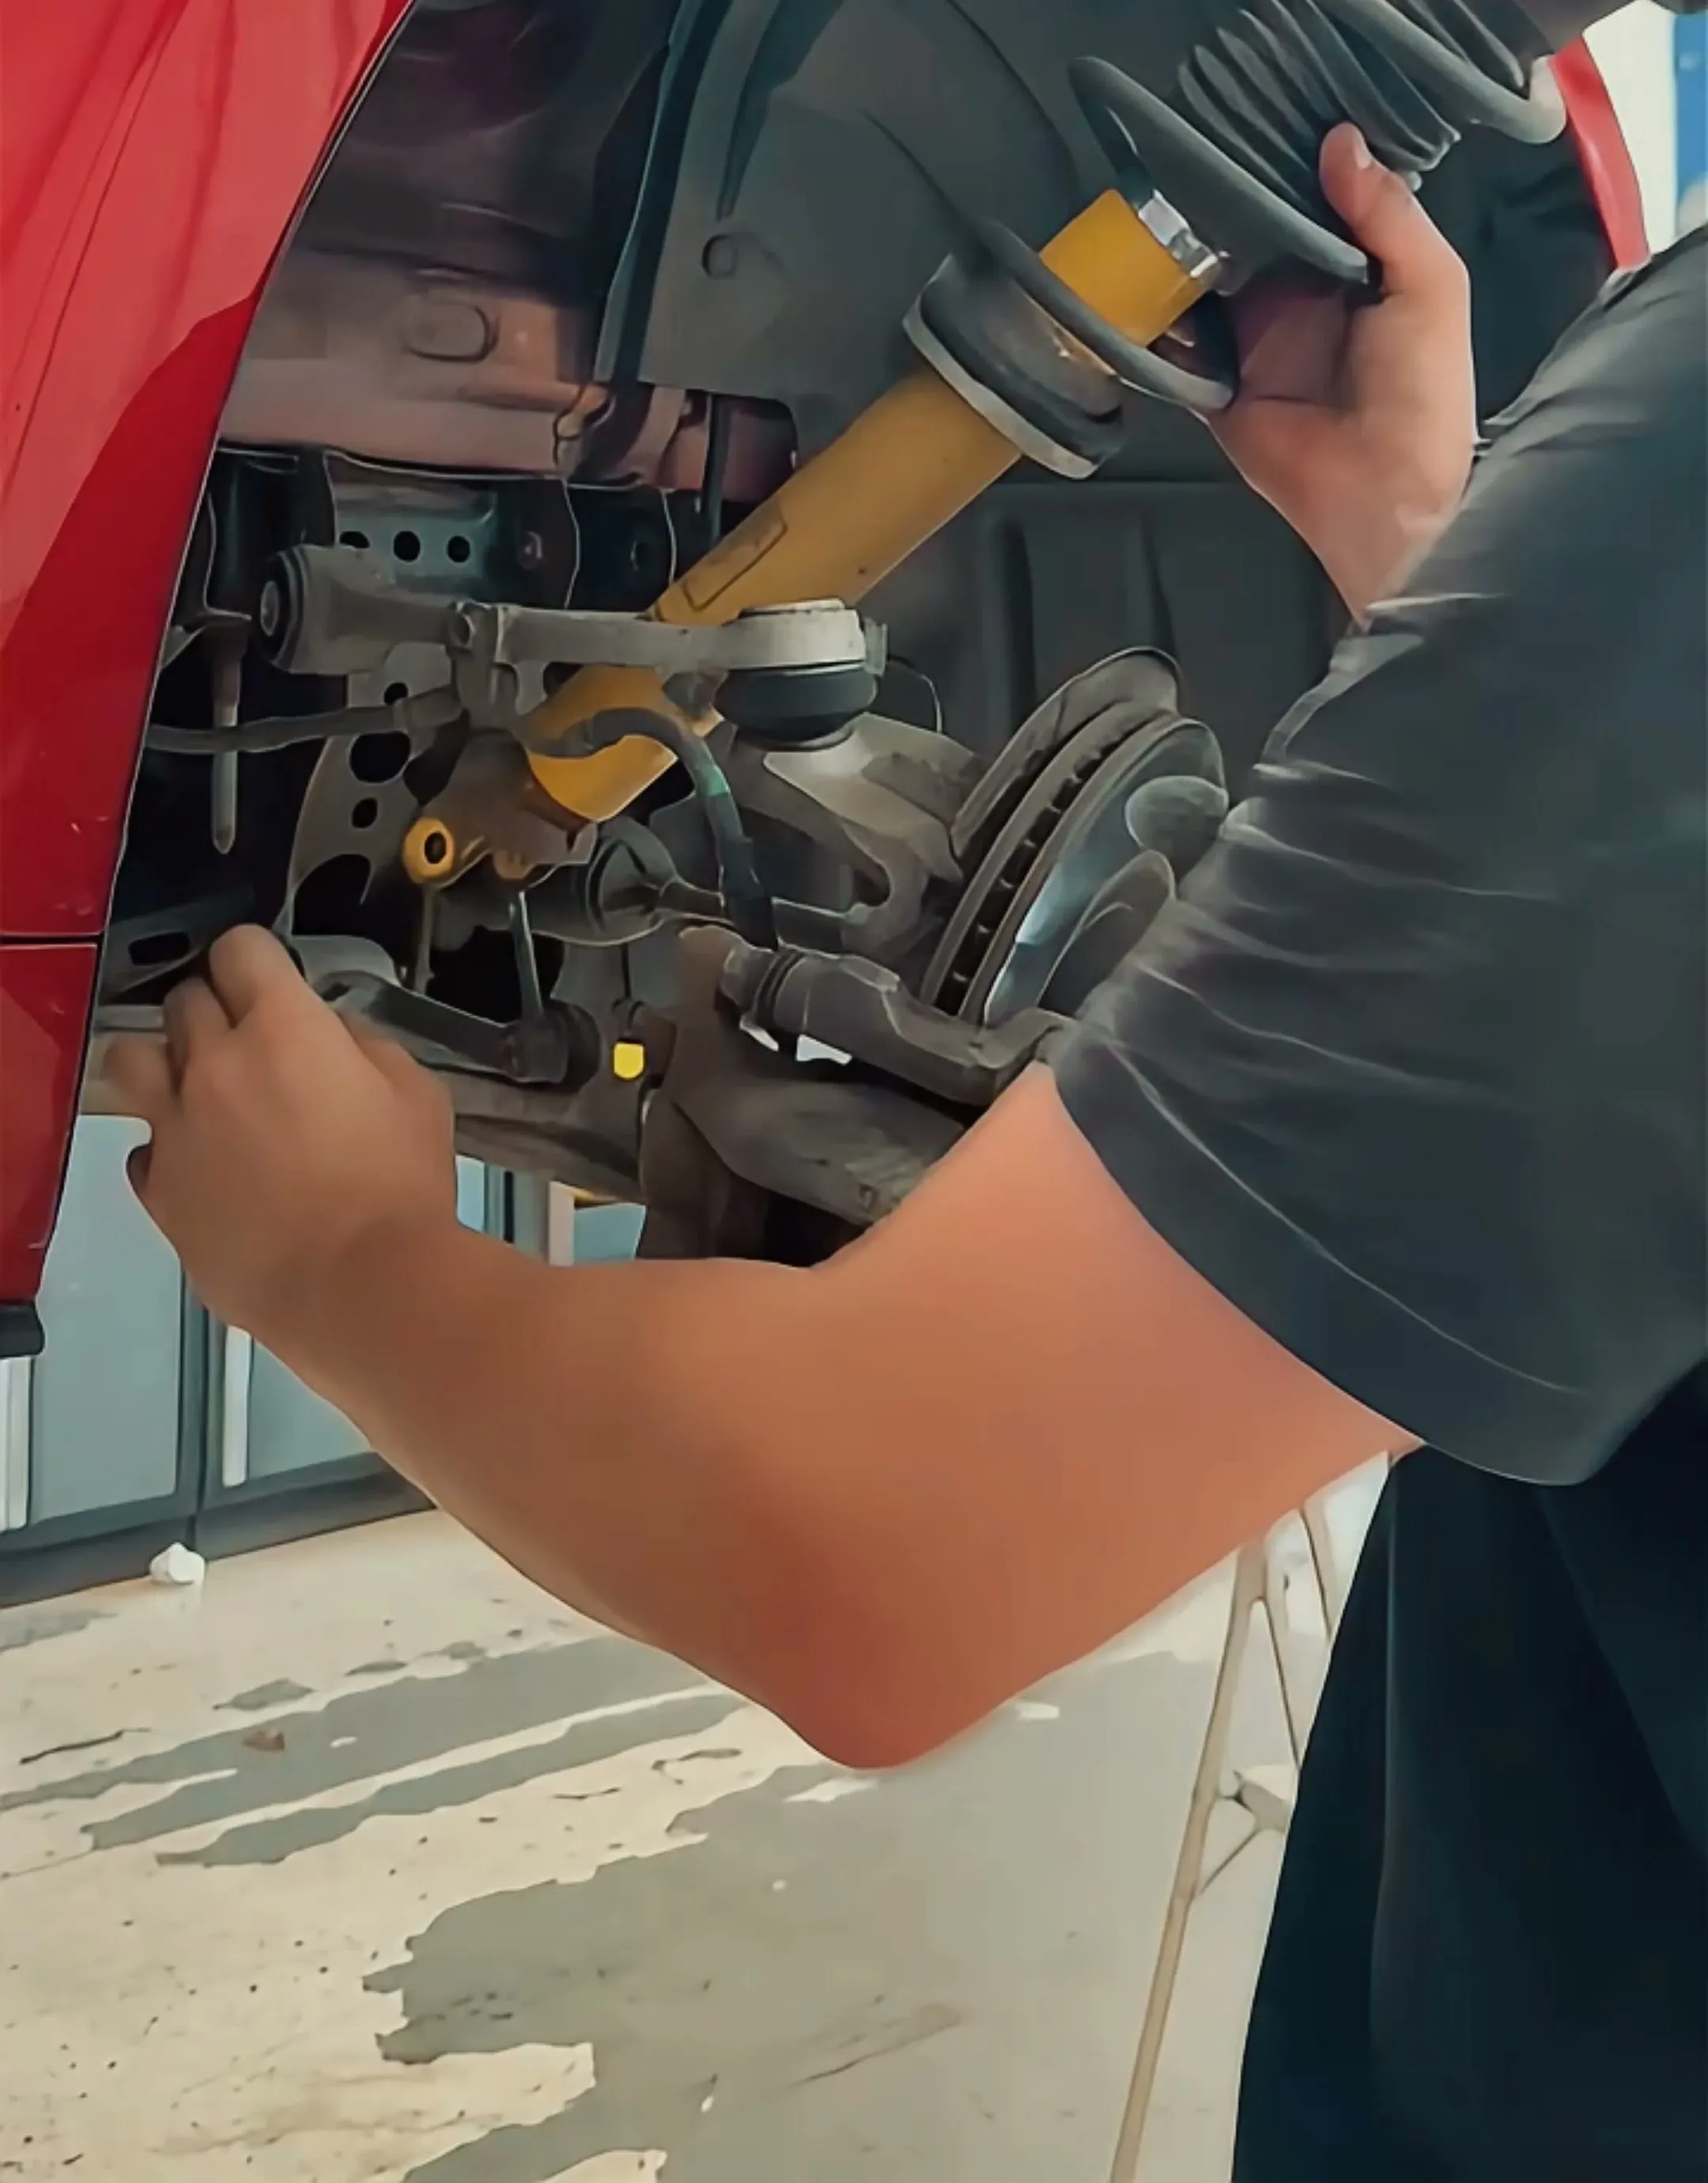
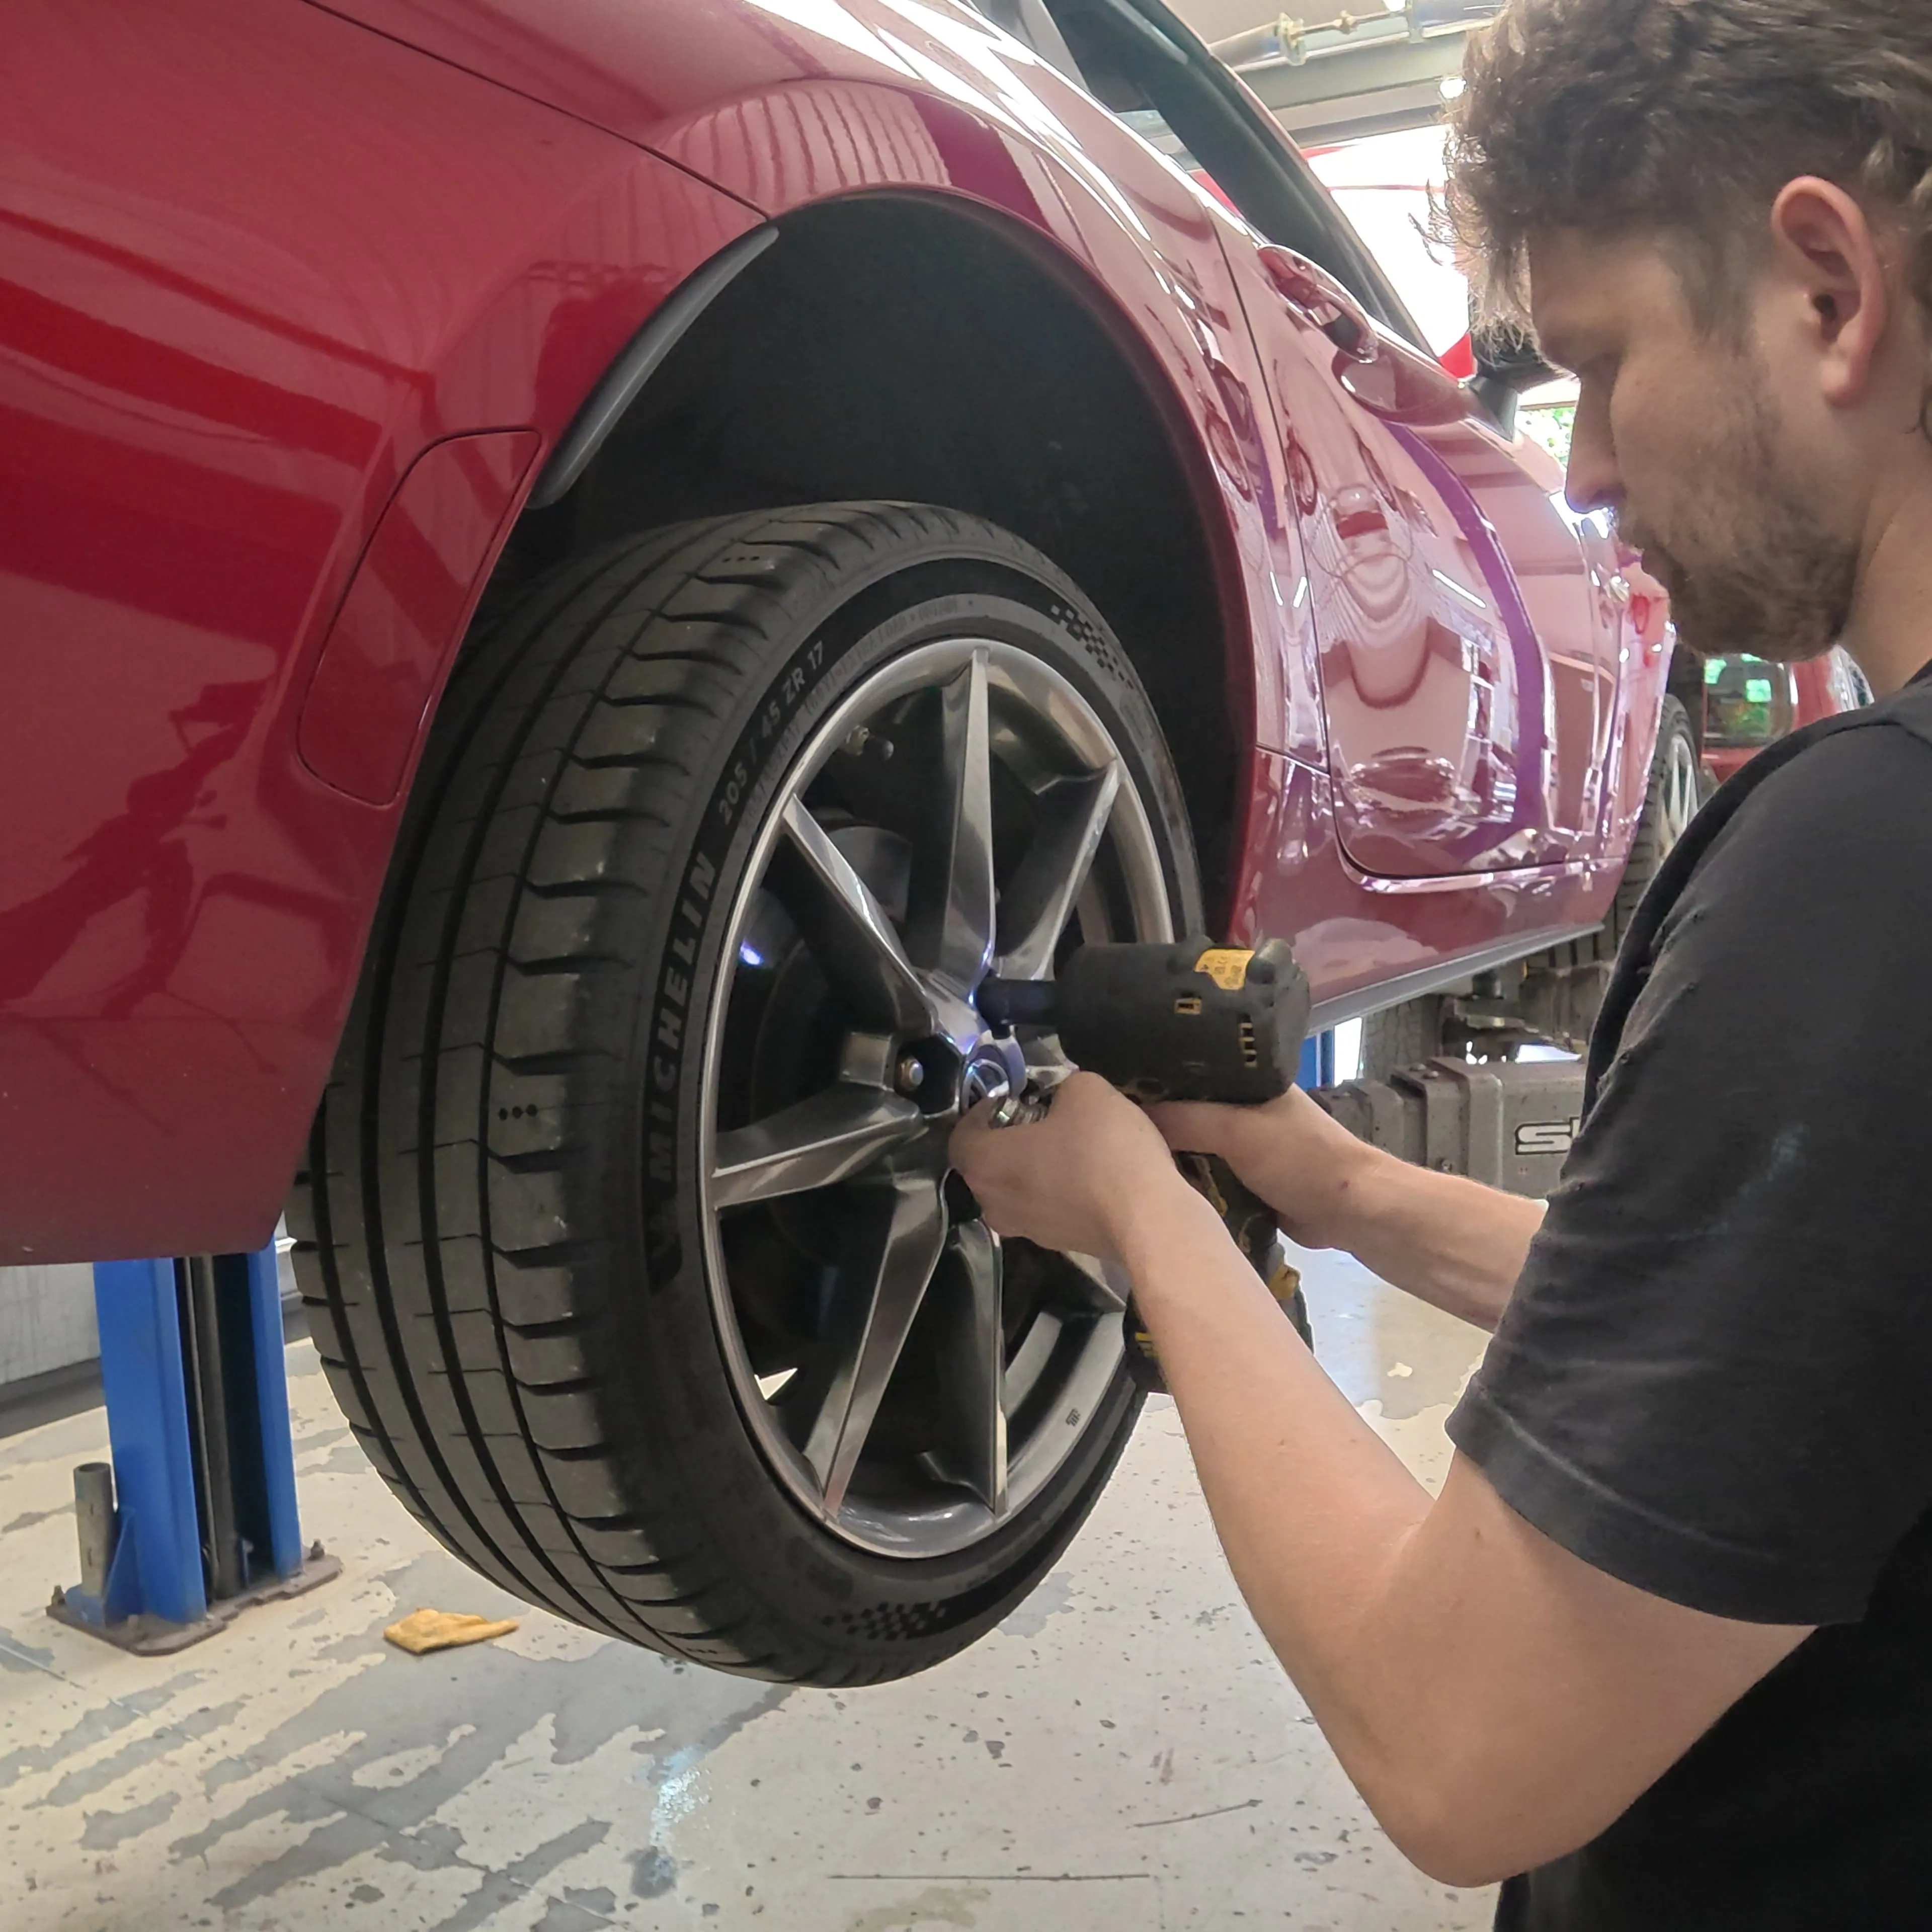
The Tecnas go in the same way in reverse, and Supermiata supply new bolts and nuts for the lower shock mounts, so the originals go in the bin. The supplied hardware gets torqued to the figure in the sheet, 57 to 68 N·m, and every fastener we touch goes back cleaned and copper greased, which is what makes the next adjustment or the next job painless instead of a battle with seized threads.
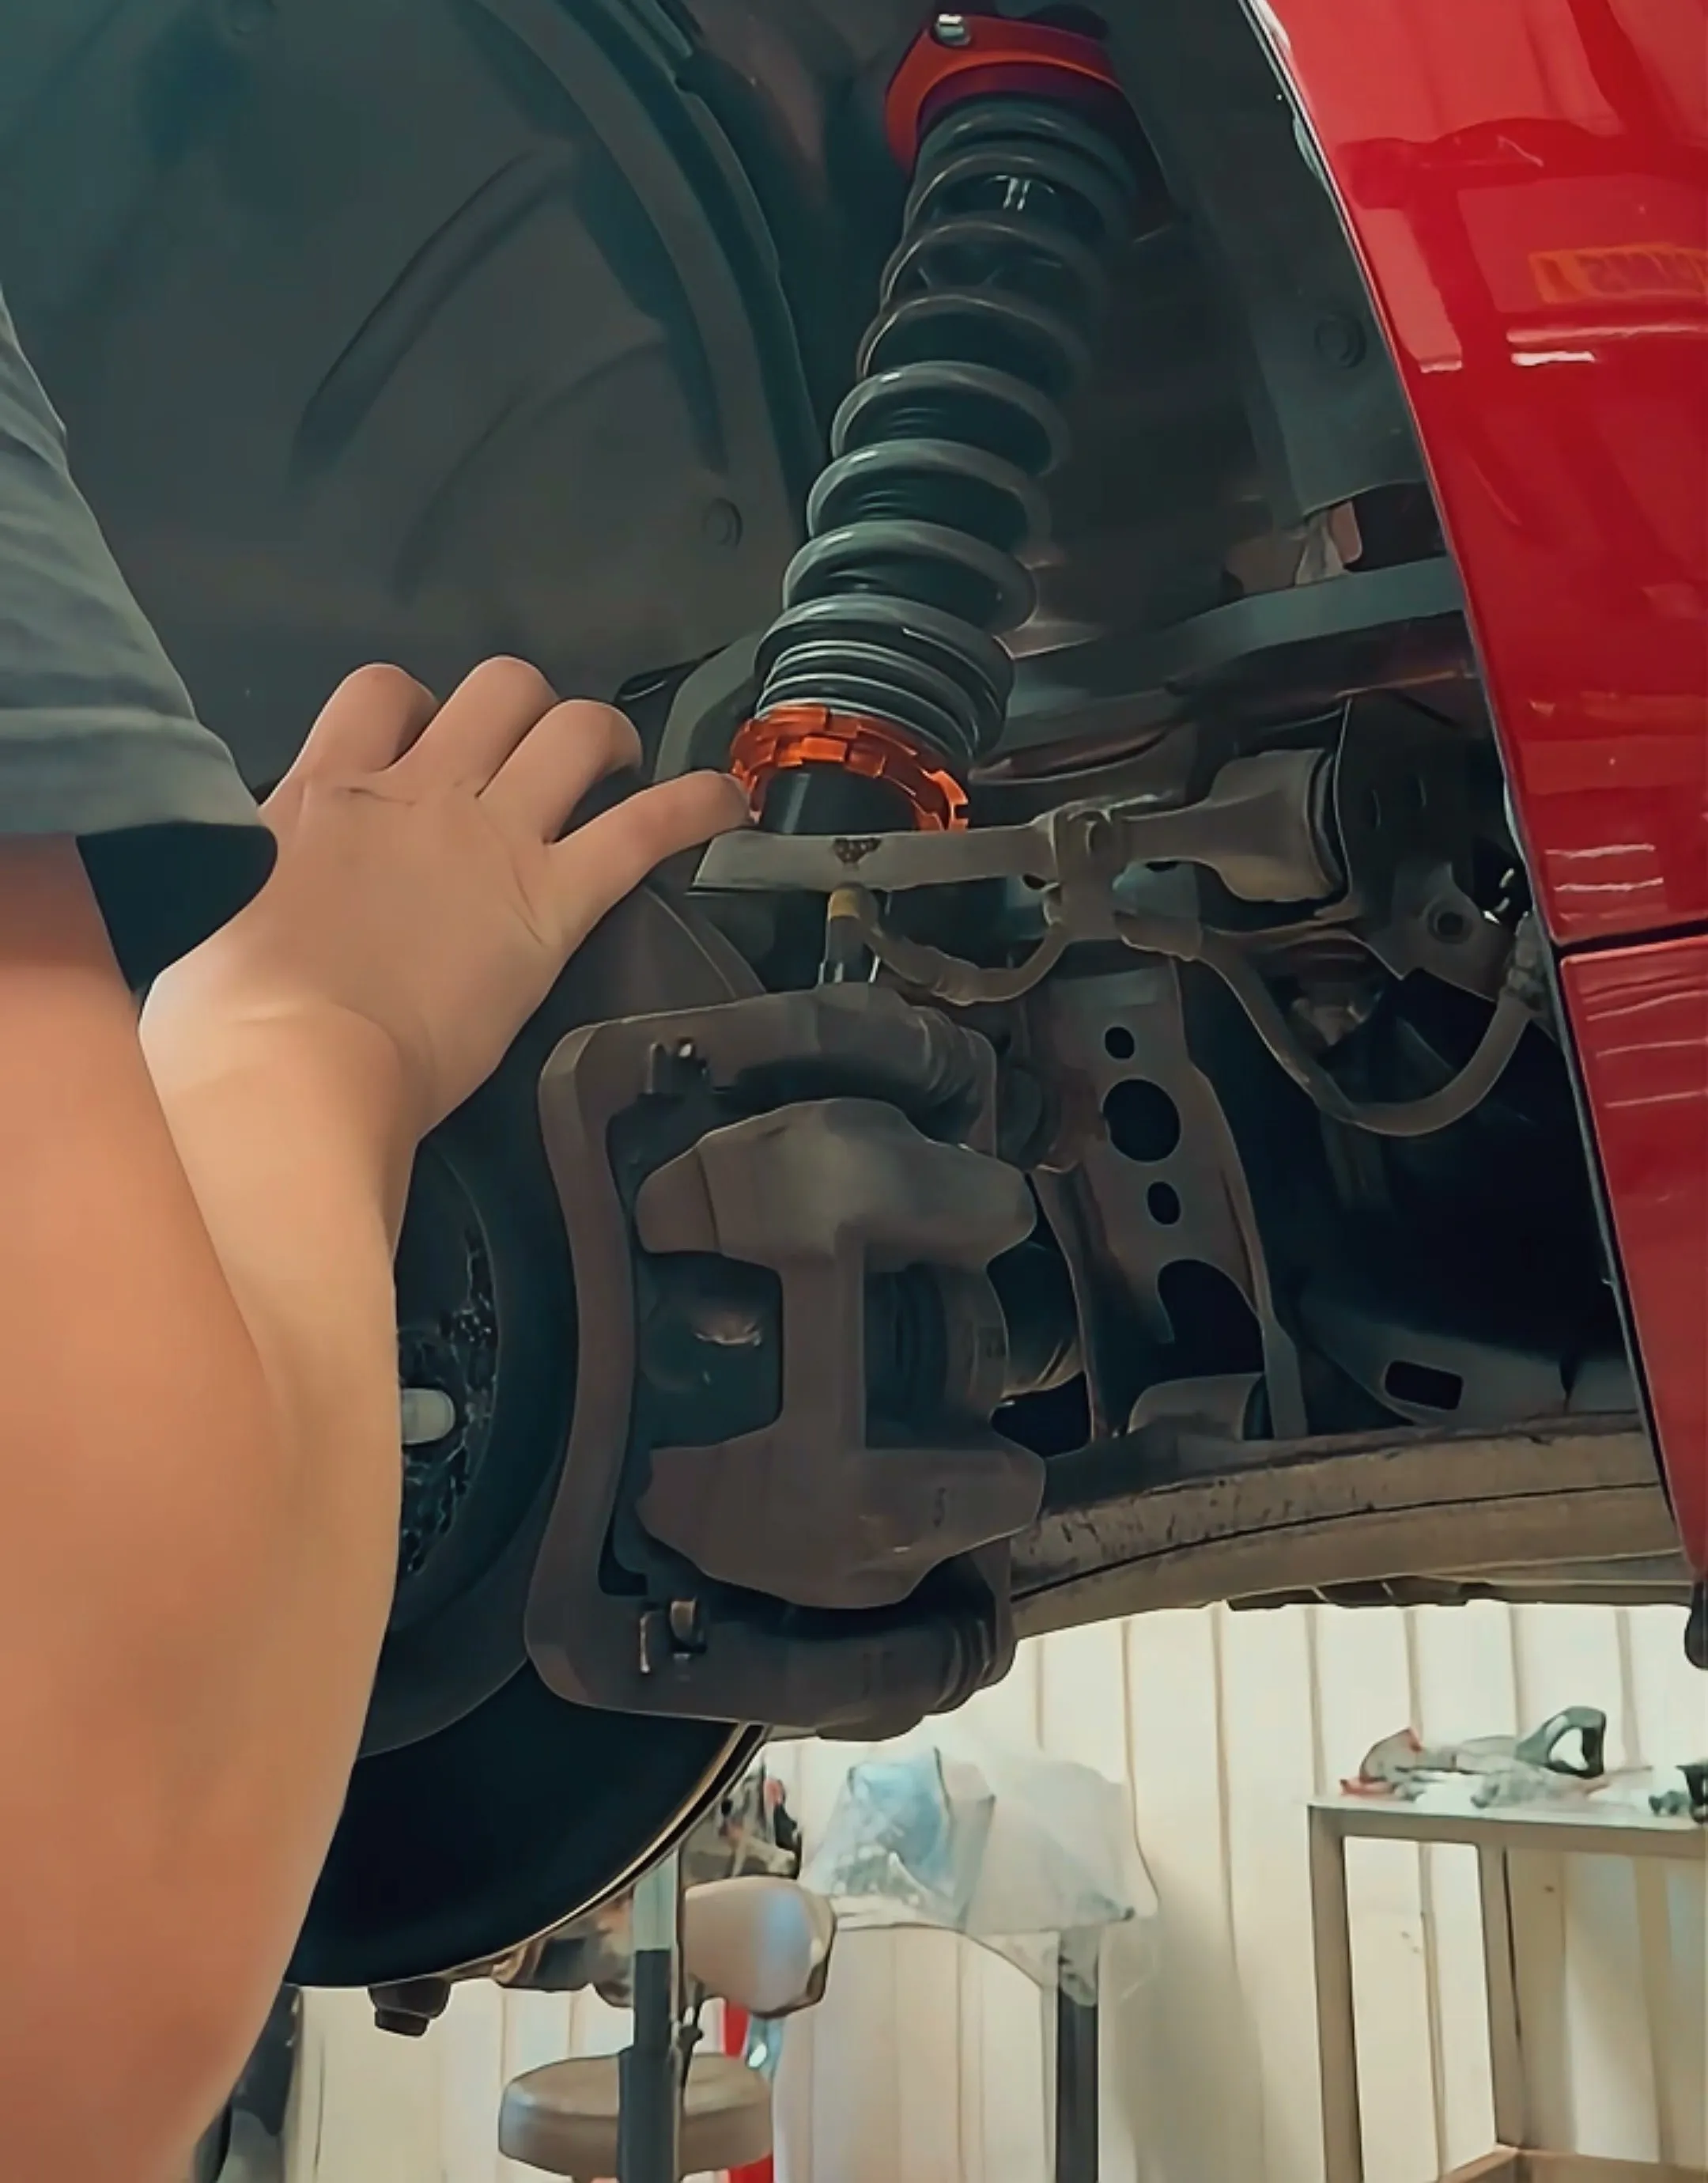
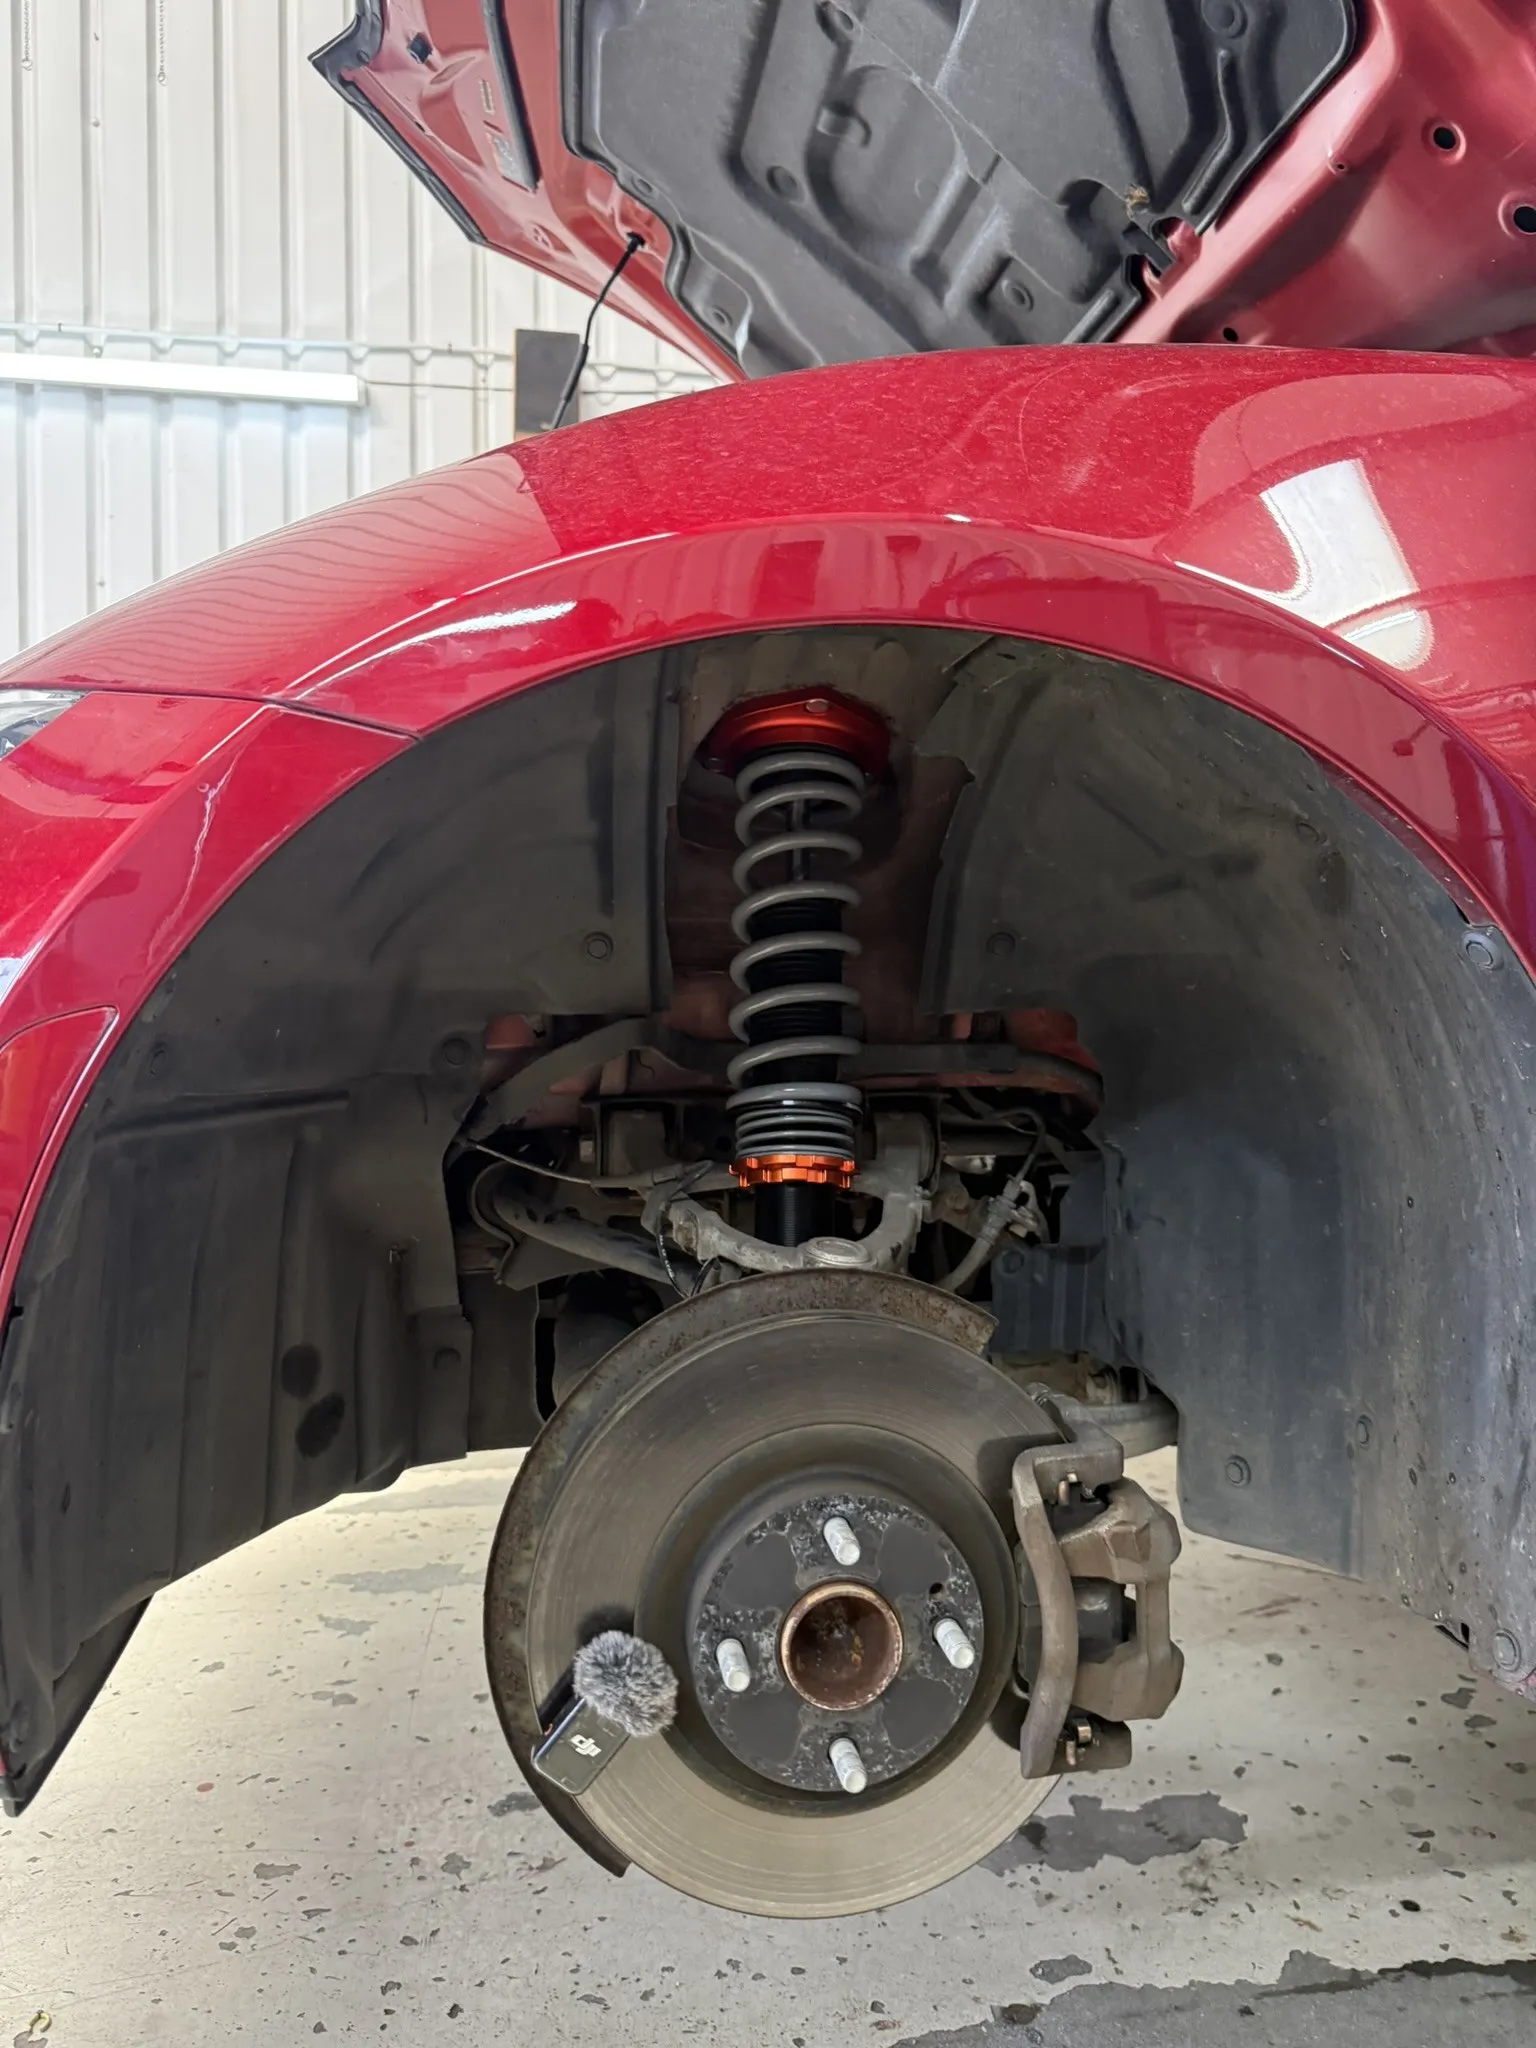
The rears live under the boot carpet
The bit that surprises people on an ND: the rear top mounts are inside the boot. The boot carpet and trim come out to expose the bare floor, and the top mount nuts are under there. With those off it is the same story as the front at the hub end, and the rear units come out through the arch.
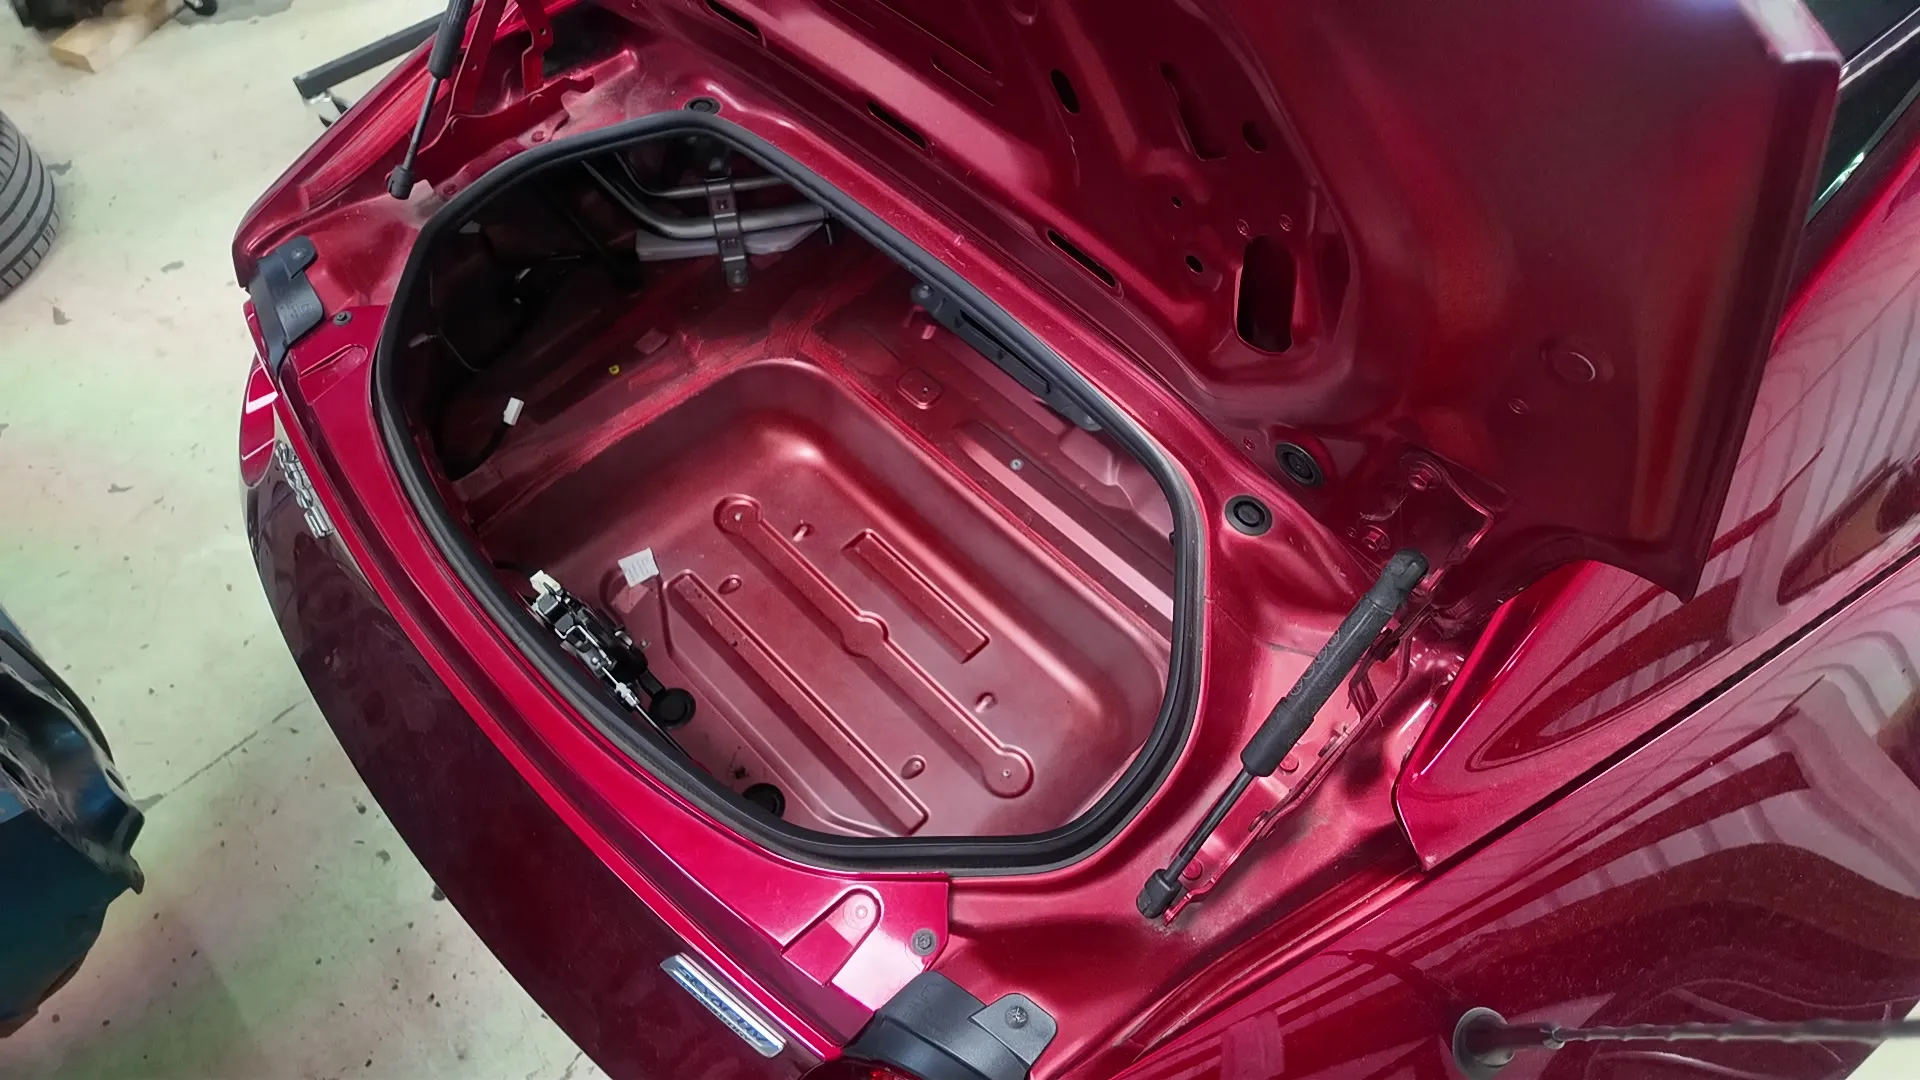
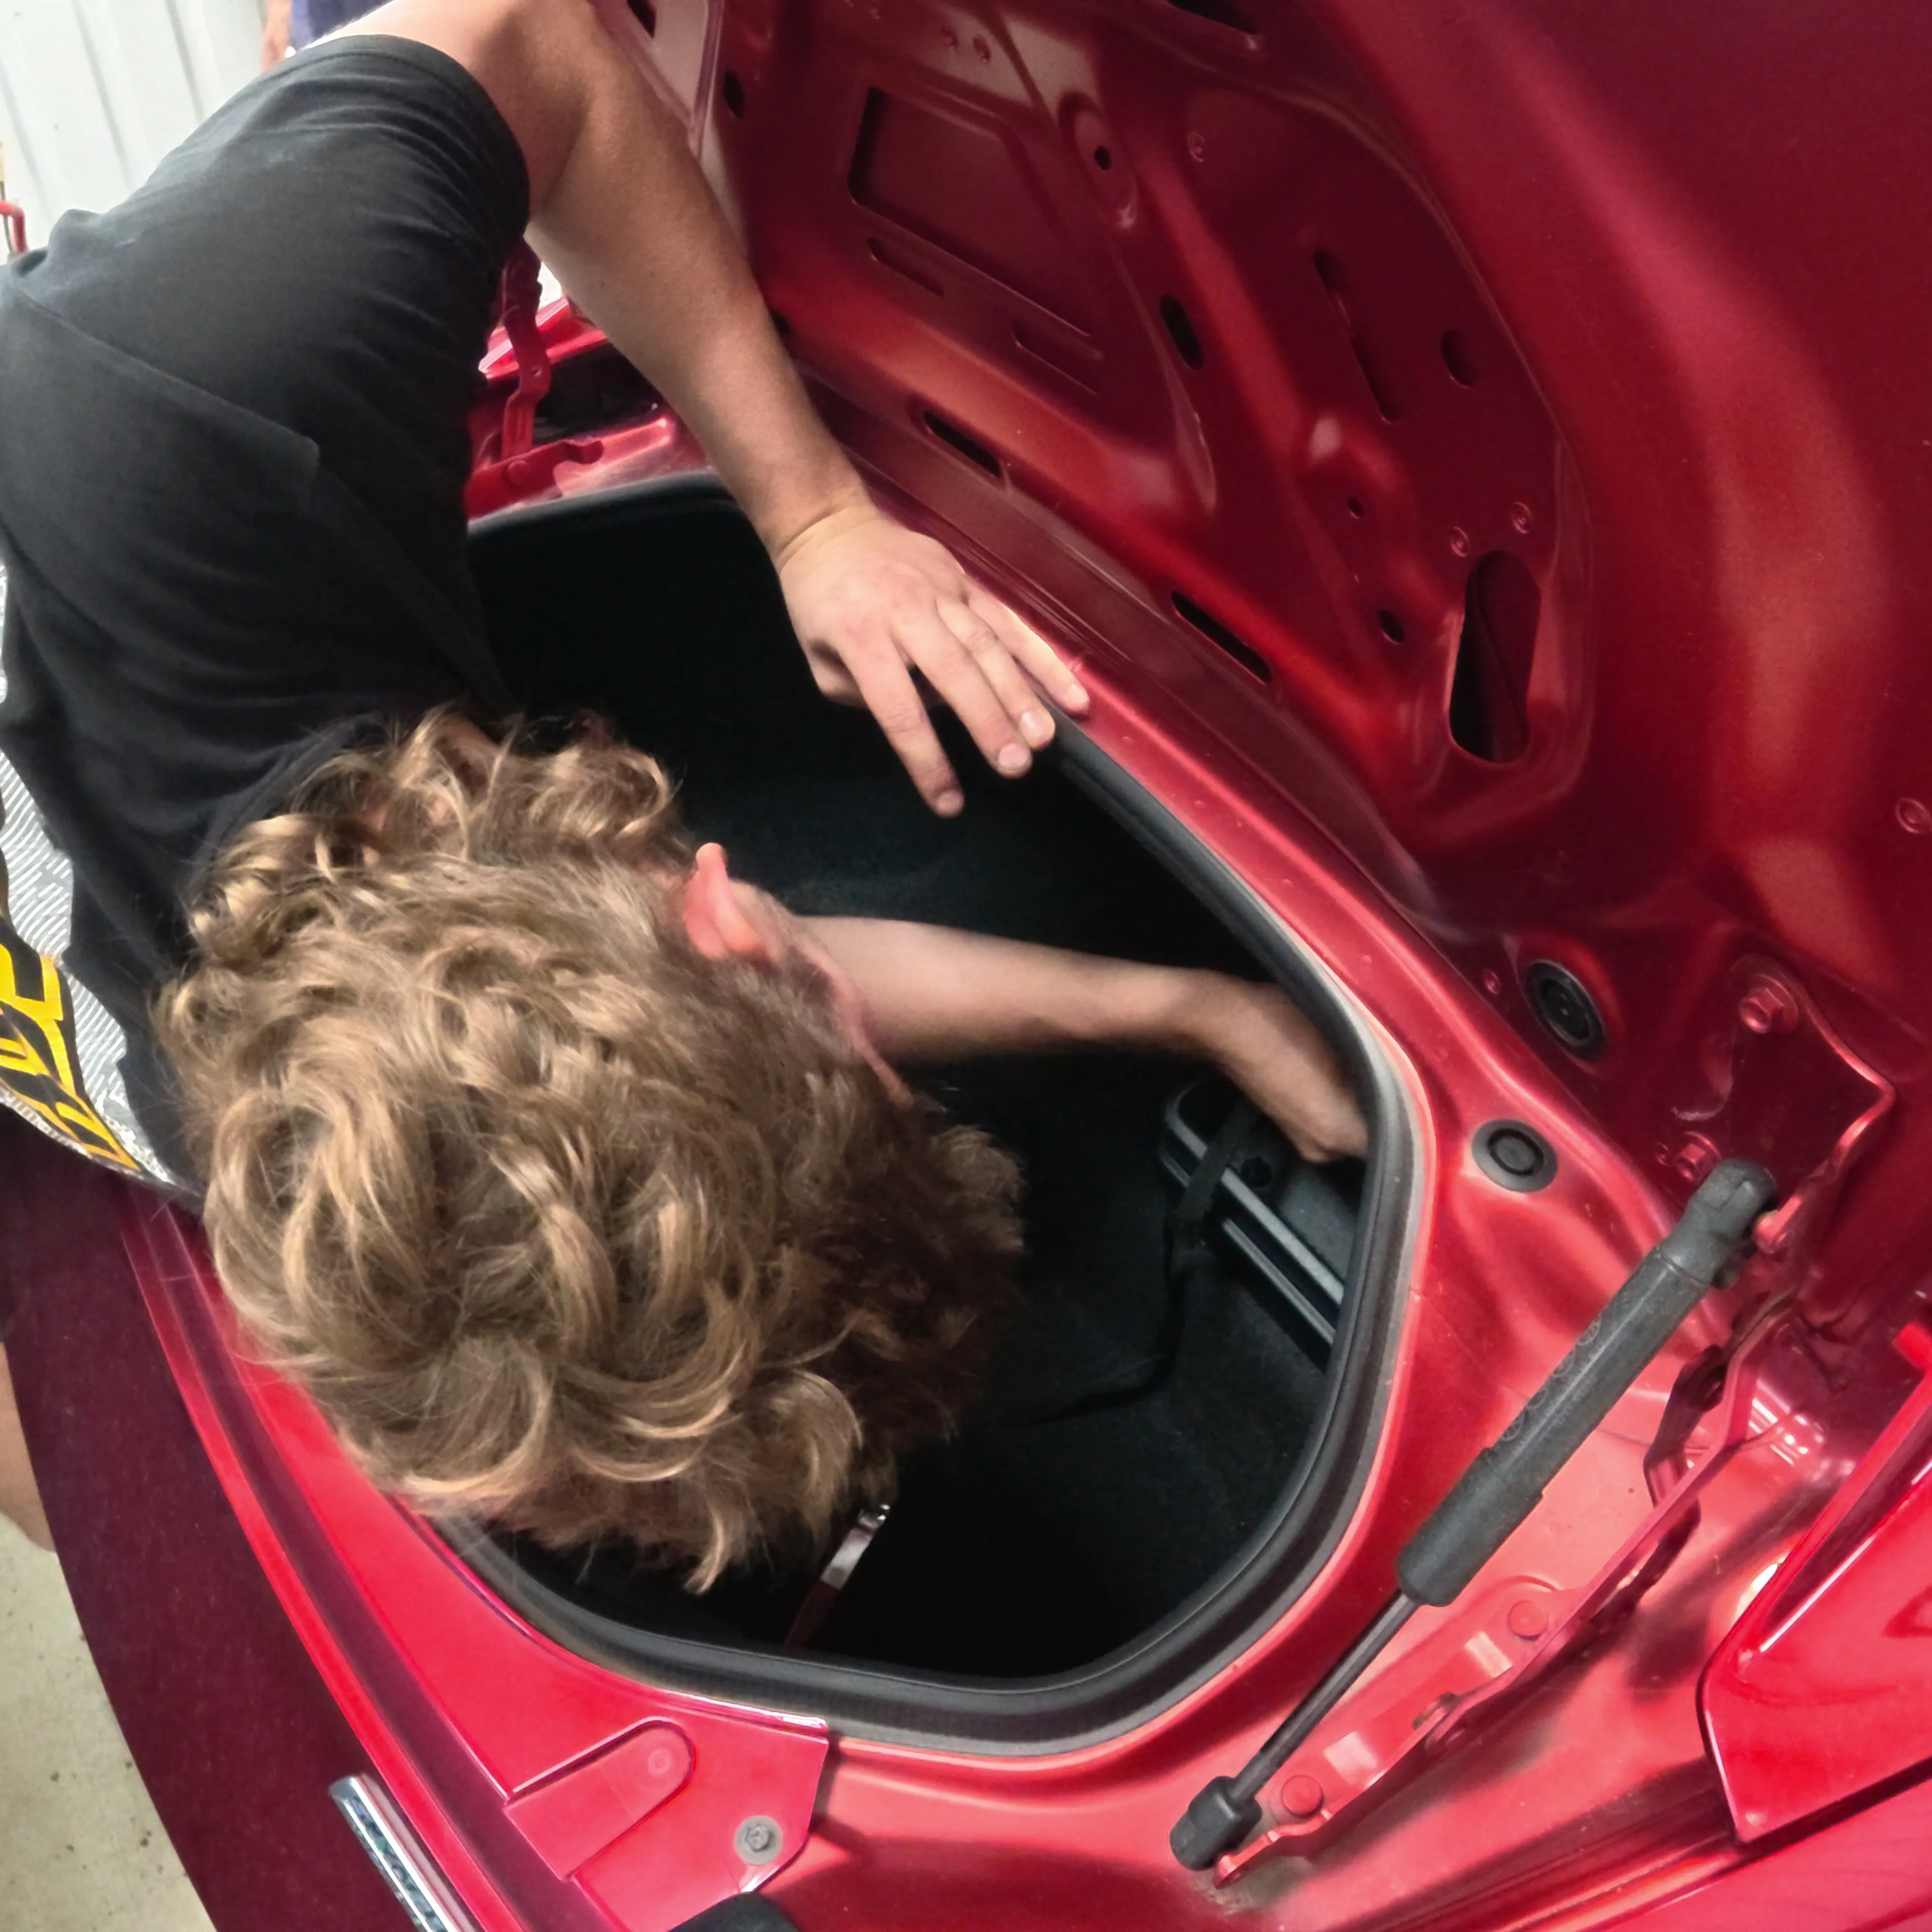
Because the rear tops are buried, this is where the remote adjuster cables earn their money. They screw onto the damping adjusters in place of the knobs, with a 2mm Allen key, and route so you can change rear damping without stripping the boot out every time.
Wrap them up
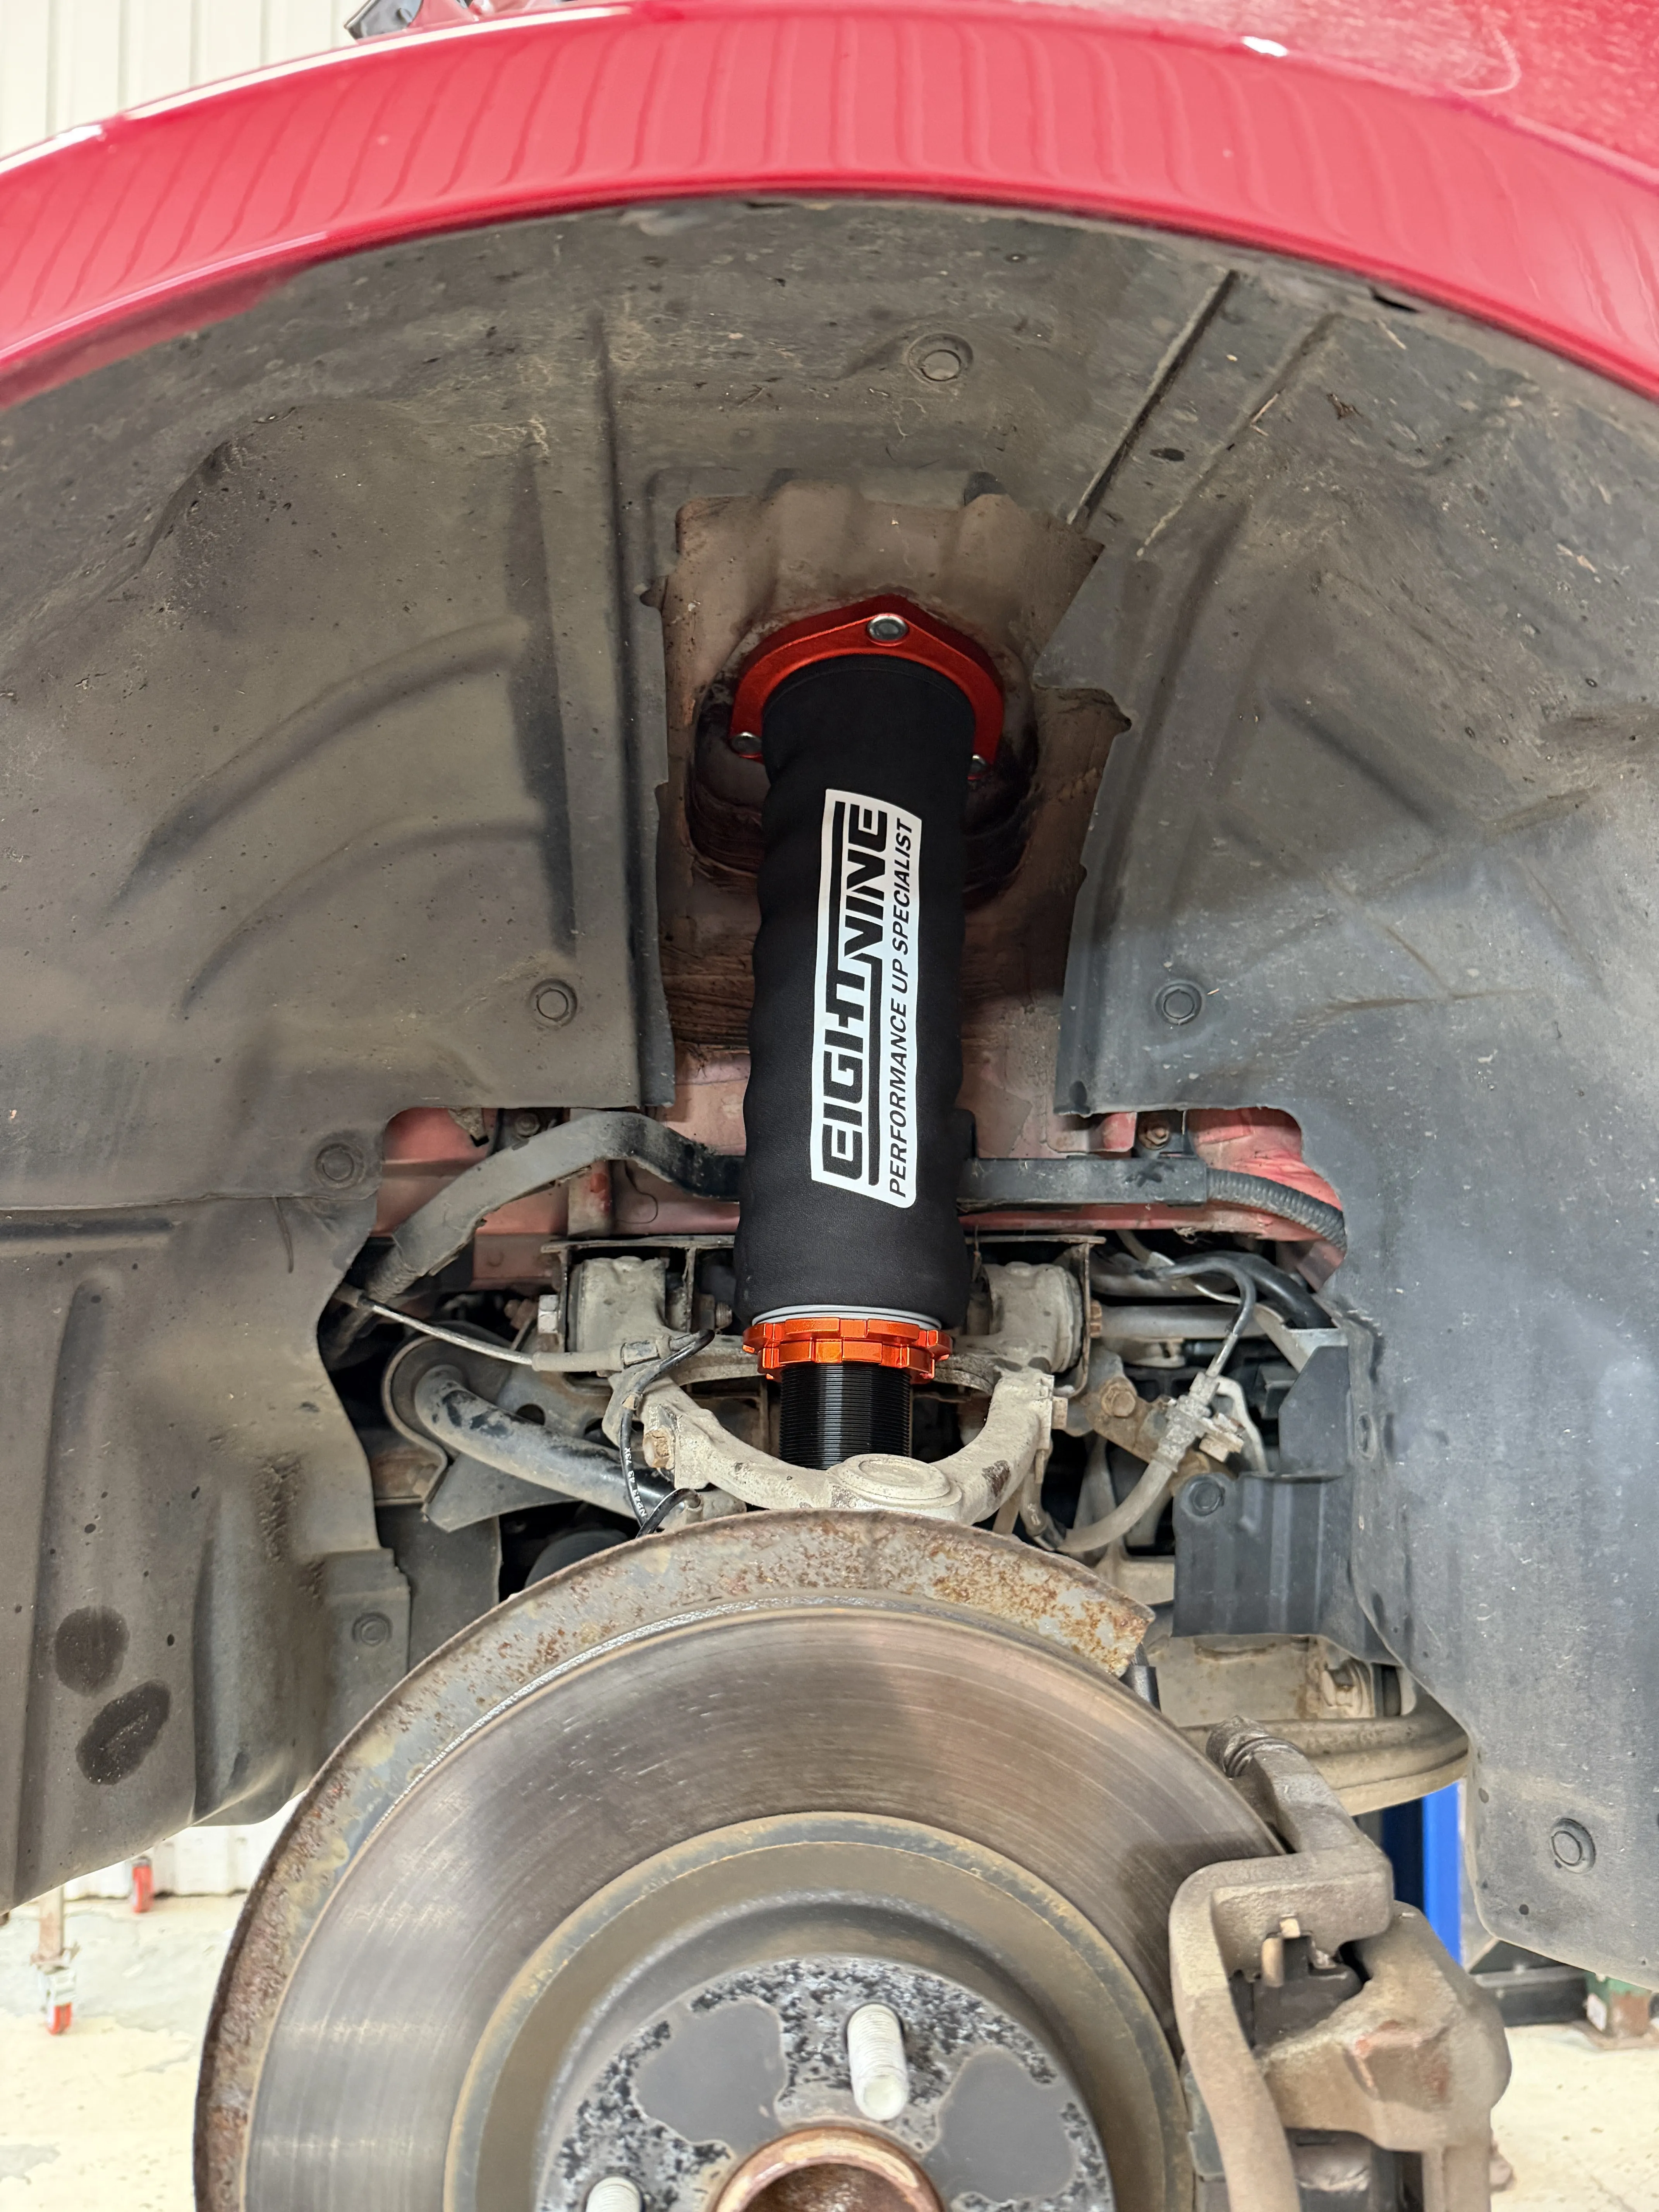
We are in Cornwall, the roads are salty half the year, and a coilover thread that seizes is a coilover you can no longer adjust. So before the car went back down, the units were protected: a coat of fogging oil over the threads and bodies, and neoprene coilover socks over the front units to keep the worst of the spray off.
The step people skip: resetting bushing preload
This is the one Supermiata print in bold, and the one that gets missed on most lowered cars. The OEM rubber control arm bushings act like springs. From the factory the arm bolts are torqued with the car at OEM ride height, so if you lower the car and leave them, the bushings are permanently wound up, they fight the springs, they stiffen the car, and they hold it high. Supermiata's phrase for the result is that you will have a 4x4.
So with the coilovers on and set to their baseline preload, every suspension arm bolt on the car gets cracked loose, each corner is raised to its approximate new ride height, and only then do the bolts get torqued back up. It does not need to be millimetre perfect, it just must not be done at full droop. Every one of those bolts went back cleaned and greased at the same time.
Ride height
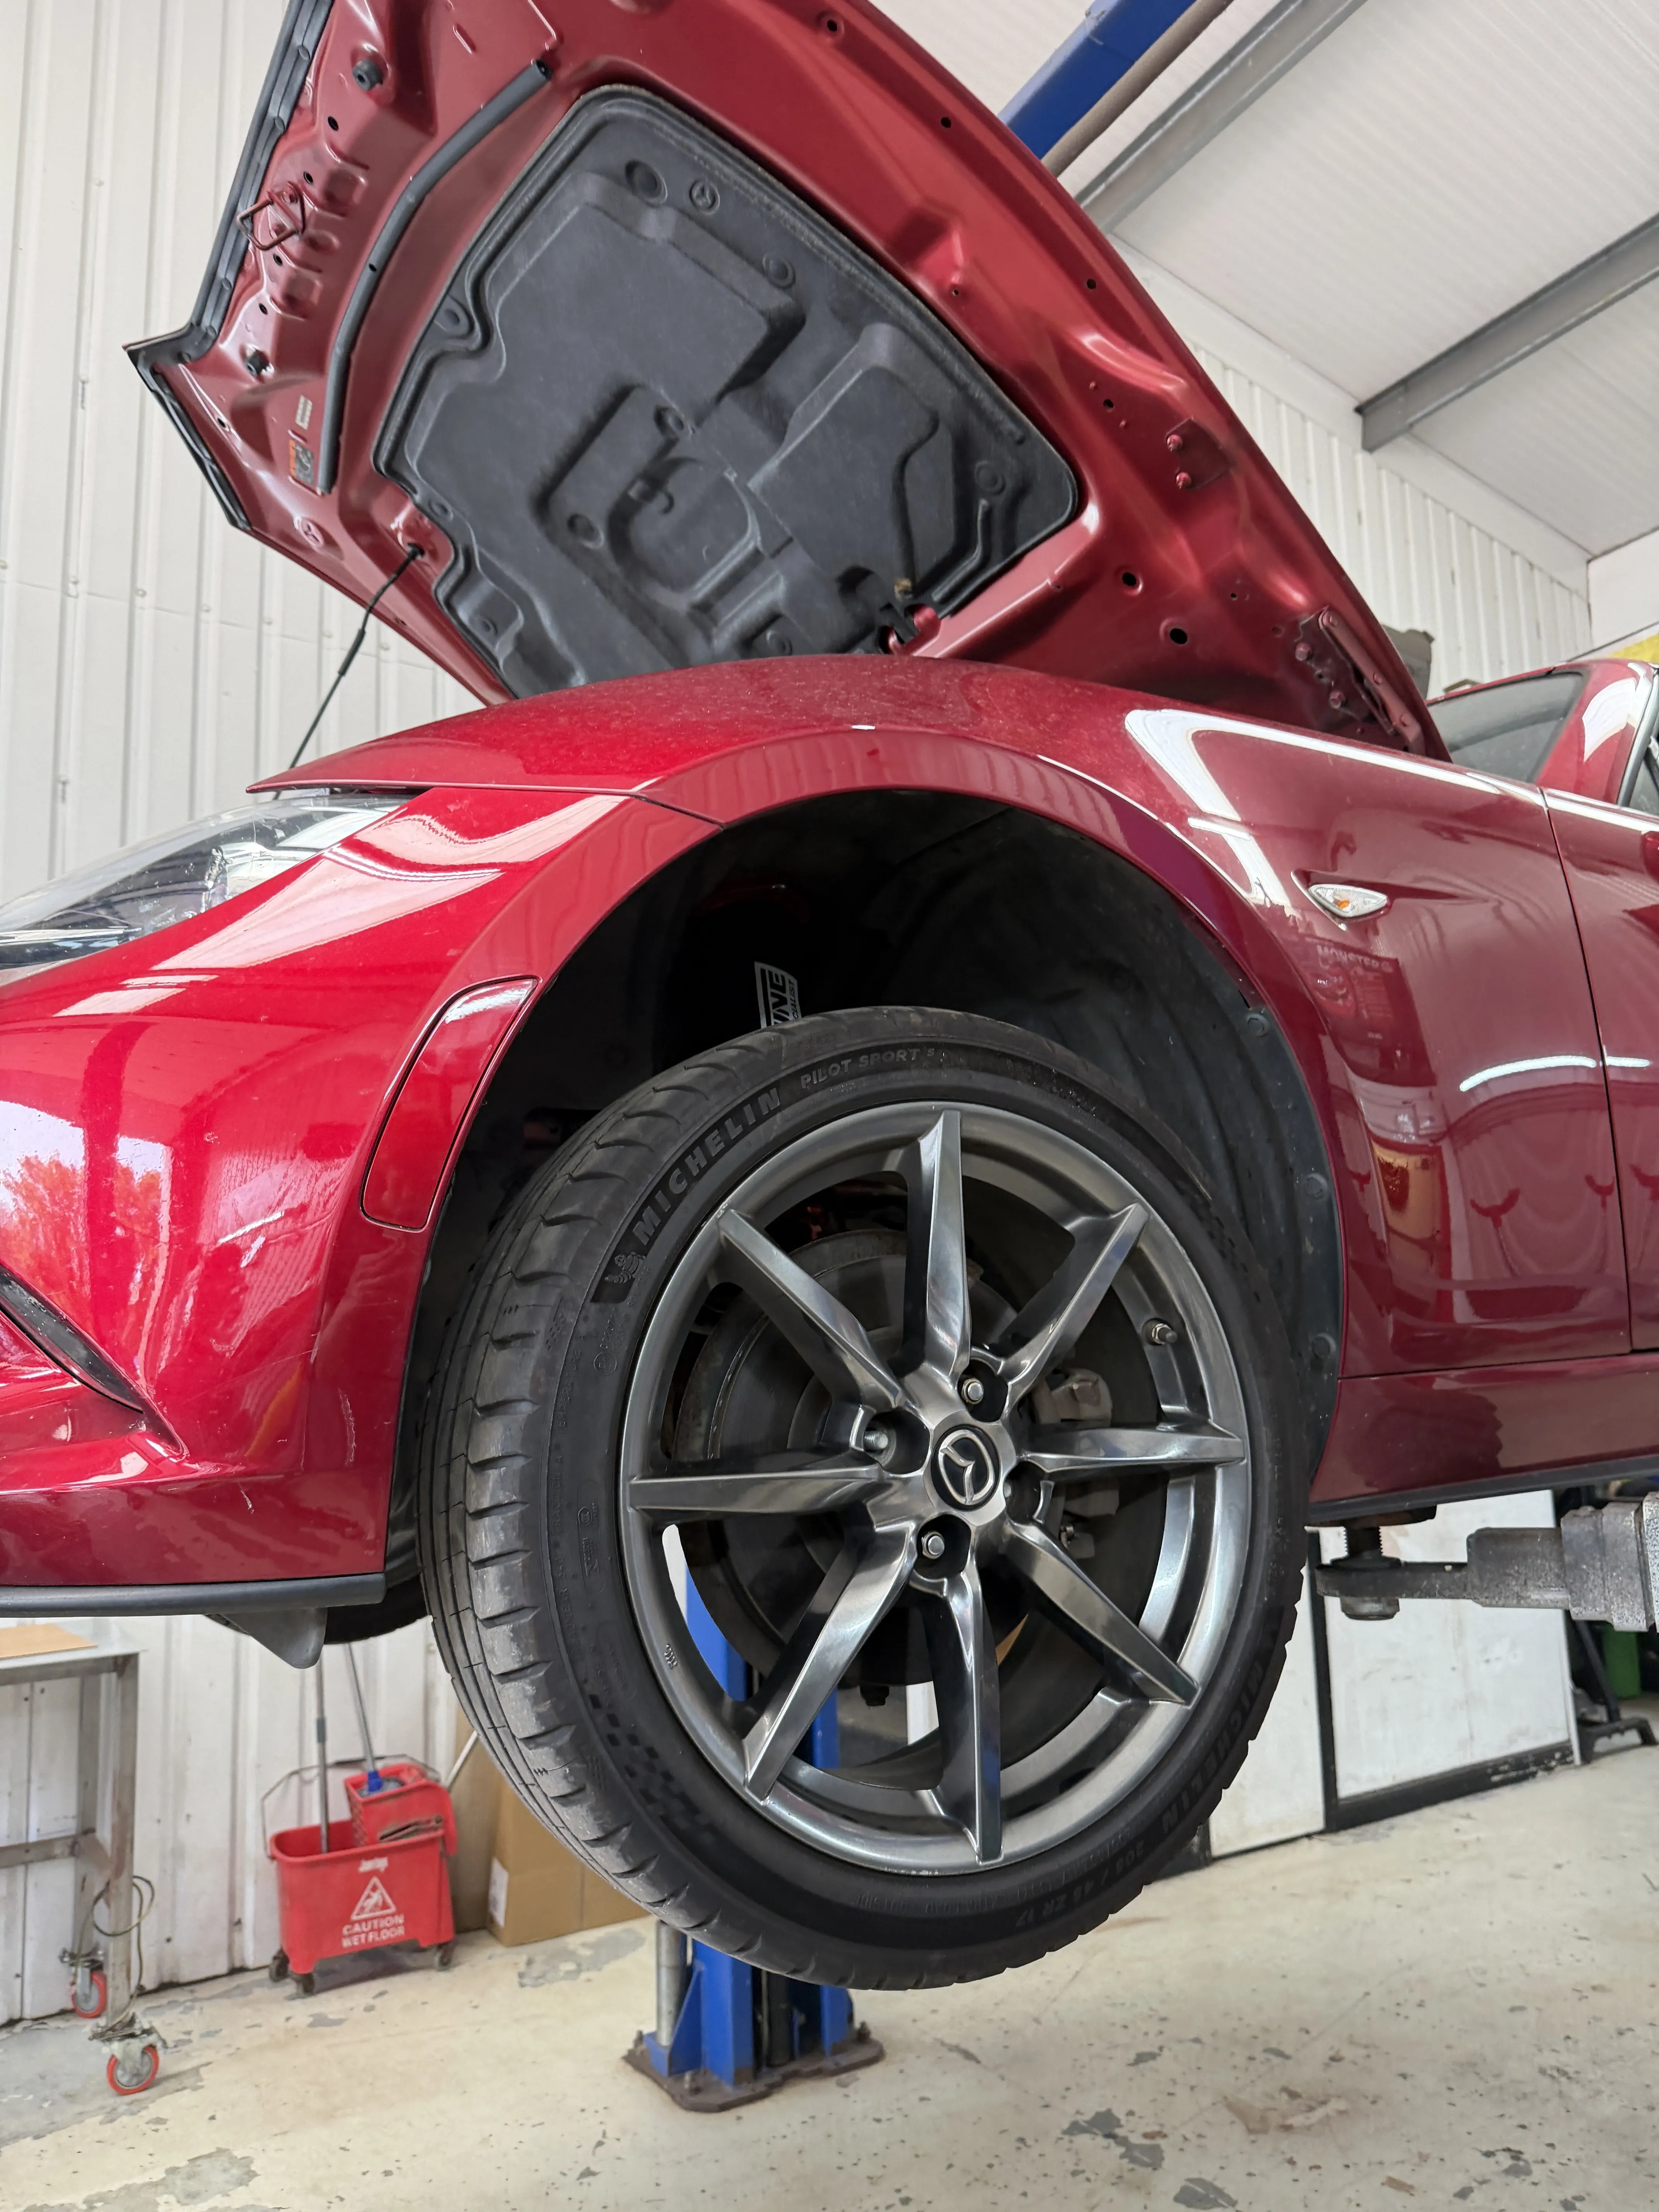
The baseline preload is deliberately a driveable starting point, so the car goes on its wheels, gets rolled and settled, and then it is a case of squaring it up. Ride height is measured at the pinch welds, the rocker seam next to the factory jacking dimples, on a flat level floor. The target stance is the rear sitting 6 to 10mm taller than the front with the car empty. One corner on this car wanted a couple of millimetres, the rest were right where they should be, which is the preset preload doing its job.
This car ended up around an inch lower all round than it came in, which for the GT spring is exactly the sensible zone. Two things worth knowing: the bushings settle over the first few miles, so final tweaking waits until the car has been driven, and driver weight matters on a car this light, so it can sag a corner once someone is in it. Set it, drive it, check it again.
The numbers
| Item | Figure |
|---|---|
| Lower shock bolts (supplied hardware) | 57–68 N·m (42–50 lb-ft) |
| GT baseline preload, front (ST and RF) | 163 mm |
| GT baseline preload, rear (RF) | 125 mm (soft top 122 mm) |
| Max preload, do not exceed (GT) | Front 189 mm, rear 143 mm |
| Typical pinch weld height, GT, on 205/45/17 | 127–148 mm (add 5 mm for 215/45/17) |
| Target stance, car empty | Rear 6–10 mm taller than front |
| One full turn of the preload collar | About 3 mm front, 2 mm rear |
| Damping adjustment | About 36 clicks, counted from full stiff |
All from Supermiata's own ND install sheet, Rev 100125. They revise these documents, so check the current one before you lean on a figure. On damping there is no factory recommended setting: full clockwise is full stiff, settings are always counted from full stiff, and their advice is to start full soft and experiment, front and rear can differ. Do not assume full soft rides best, too soft can bounce or bottom.
Alignment finishes the job
Changing ride height changes the geometry, so an alignment afterwards is part of the job, not an optional extra, and it wants doing with the arm bolts already torqued at the final ride height, which the bushing reset takes care of. Supermiata publish their own alignment specs, and they follow the same split as the springs: Street Alignment for the Touring, their Dual Duty spec for the Sport. This car got a fast road four wheel alignment once the ride height had settled, to match what the car is for.
How it drives
The honest verdict from the test drive: it does not feel like the car has been modified, and that is the compliment. The ND drives well from the factory, and the Tecnas have not taken any of that away. It is tightened up just enough, more planted, about an inch lower, and the whole driving experience is lifted rather than changed. On the GT spring the ride is still a street ride, and the full damping range is there to move it either way to suit the road.
If this car goes further, the next steps would be a small wheel spacer, the OEM wheels suit it well enough to keep, and anti roll bars to trim the remaining body roll. As a fast road setup though, this is a complete, sorted place to stop.