
An automatic Mk2 is not a worse car, it is a car waiting for the right gearbox. The good news is the factory built the manual and the auto on the same platform, so almost everything you need bolts straight where the auto parts came out. The work is real, but none of it is mysterious. Here is the whole job, in the order we actually do it, with the parts and the numbers you need to get it right.
This is a Mk2 (NB) guide. A Mk1 (NA) is very similar, with small differences in the wiring and the speedo. Before you start: this is a job with the gearbox out and the car on a ramp. If you are not set up for that, it is not a driveway afternoon.
What you need
You do not need a whole donor car. The parts can be bought separately, and for not a lot of money, so there is no need to chase a complete car to break. Buy them piecemeal, gearbox, flywheel, clutch, pedal box, PPF and Z bracket, prop, master and slave. The full list:
- Manual gearbox, 5-speed or 6-speed, from any donor engine, they bolt up the same
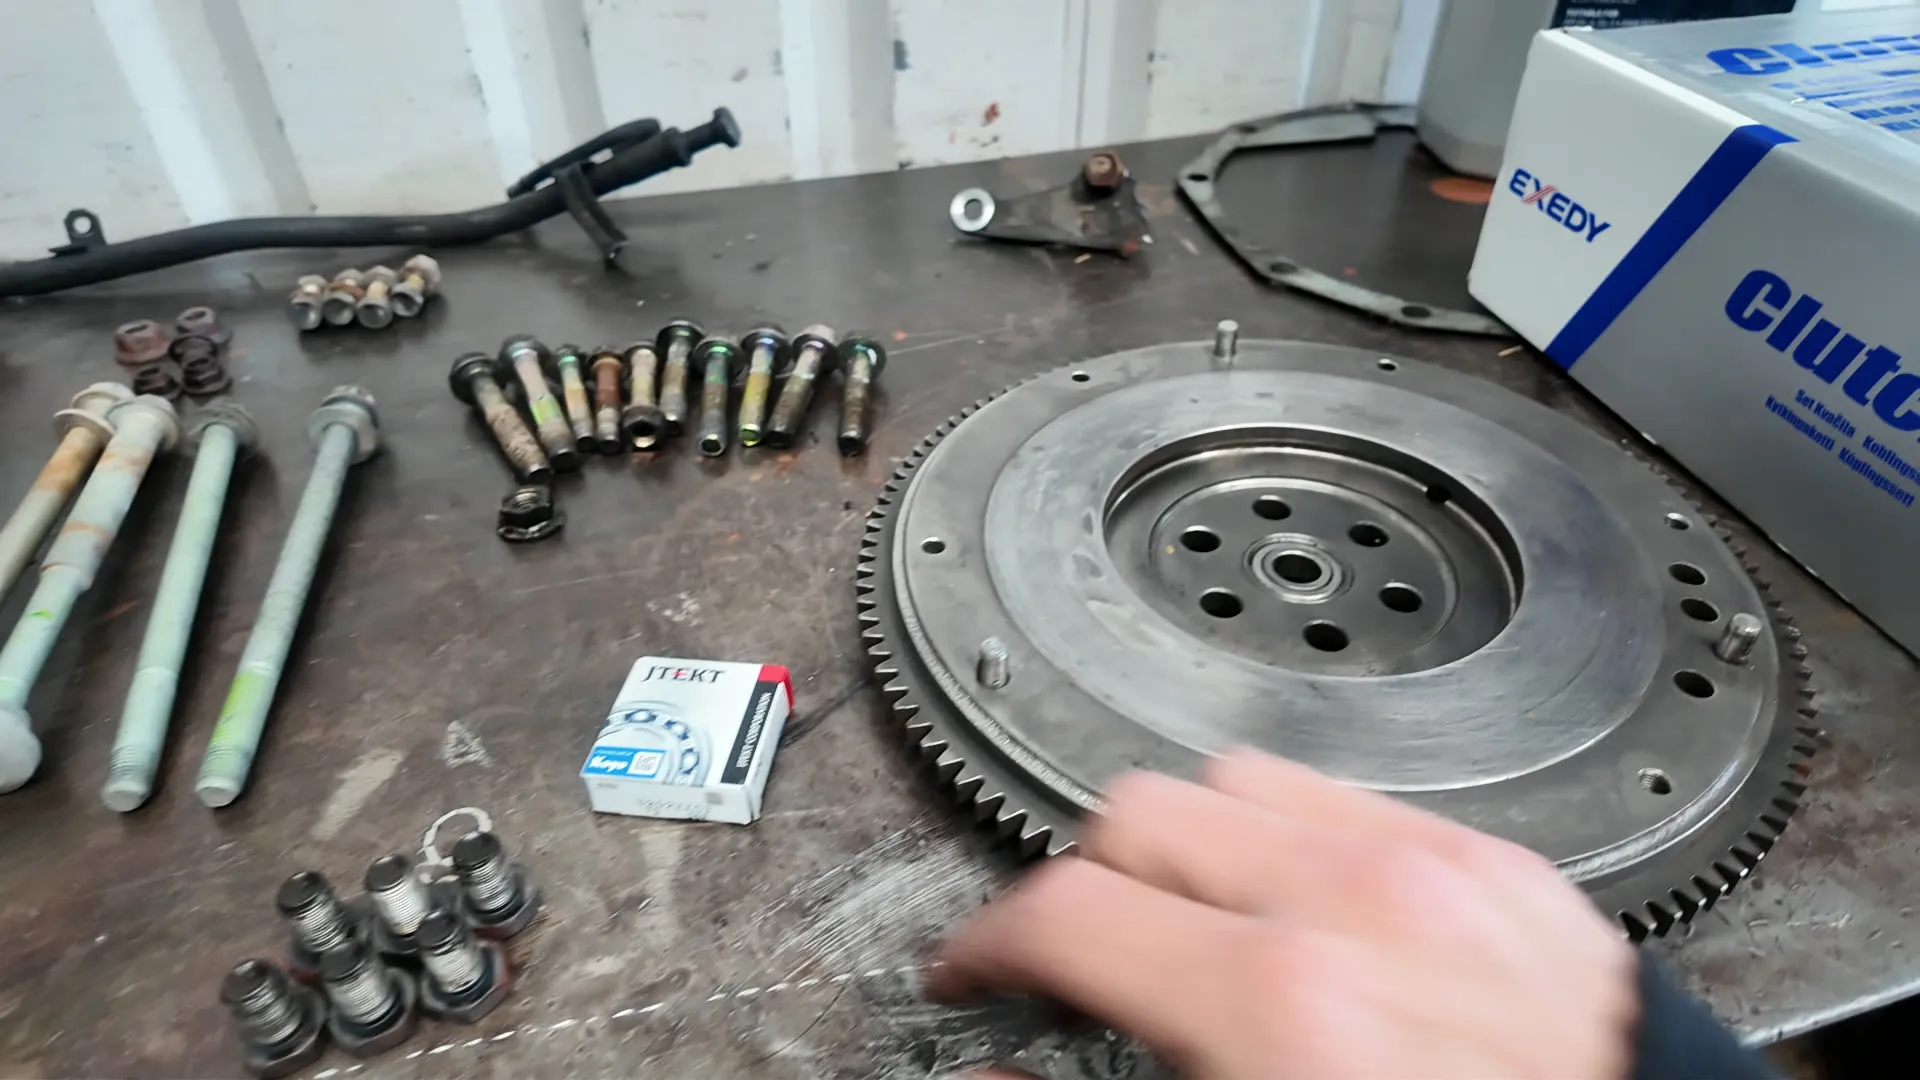
- Flywheel (it replaces the auto flexplate) and the flywheel bolts
- Spigot bearing, also called the centre pilot bearing, for the back of the crank
- Clutch kit: friction plate, pressure plate (cover) and release bearing
- Clutch master cylinder, slave cylinder, and the line between them (we fit a braided line)
- Manual pedal box (the clutch and brake pedal assembly), and the clutch pedal
- Gear lever, gaiter, and the lever insulator rubbers
- Power Plant Frame (PPF) for a manual car, with its Z bracket
- Propshaft from a manual Mk2
- Gearbox oil and clutch fluid (specs below)
A few notes on sourcing. A 6-speed bolts up exactly the same as the 5-speed, the bellhousing is just beefier and the internals are stronger, so it is a straight upgrade if you want it, and it does not matter what engine the box came off. The propshaft is the one to get right. Any manual Mk2 (NB) prop fits, and so does a Mk1 1.8 (NA8) prop, because they all run the same large-case diff and share the same flange. The one you cannot use is a Mk1 1.6 (NA6) prop: it serves the smaller-case 1.6 diff, so its diff-flange end is a smaller diameter that will not bolt up, and it is a different length. So the 1.8 and all the NB props interchange, and the 1.6 prop is the exception. The other thing people miss: the auto and the manual do not share a PPF or a propshaft, and the auto uses the factory radiator as its gearbox-oil cooler. Plan for the manual versions of both, and decide whether you are keeping the cooler-equipped radiator or fitting a plain manual one.
The numbers, up front
| Fastener | N·m | lb-ft |
|---|---|---|
| Flywheel to crankshaft | 96–103 | 71–76 |
| Clutch pressure plate (cover) bolts | 19–25 | 14–19 |
| Gearbox to engine (bellhousing) | 65–88 | 48–65 |
| Propshaft flange bolts (four) | 55 | 41 |
| PPF bolts that pass through the frame: two at the diff, two at the gearbox, plus the single Z-bracket bolt (five in all) | 104–123 | 77–91 |
| PPF differential spacer bolt (short, at the diff) | 38–51 | 28–38 |
| Z-bracket's own bolts into the gearbox (do not pass through the PPF) | 37–53 | 27–39 |
- Gearbox oil: SAE 75W-90, GL-4, not GL-5 (the GL-5 extreme-pressure additive attacks the brass synchros), about 2.0 litres. It calls for two litres and is often full at 1.8 to 1.9, so do not panic if the last bit will not go in.
- Clutch fluid: the same as your brakes, DOT 3 or DOT 4.
1. Strip the automatic out
Shifter first, from inside. Under the car there is a pin through the shifter rod that selects park, reverse, neutral and drive, held by a split pin. From factory the tang is bent over and it is awkward to straighten in place. The easier route is to undo the 12mm nut that joins the rod, the same nut that sets your shift throw, and lift the shifter unit out from the top.
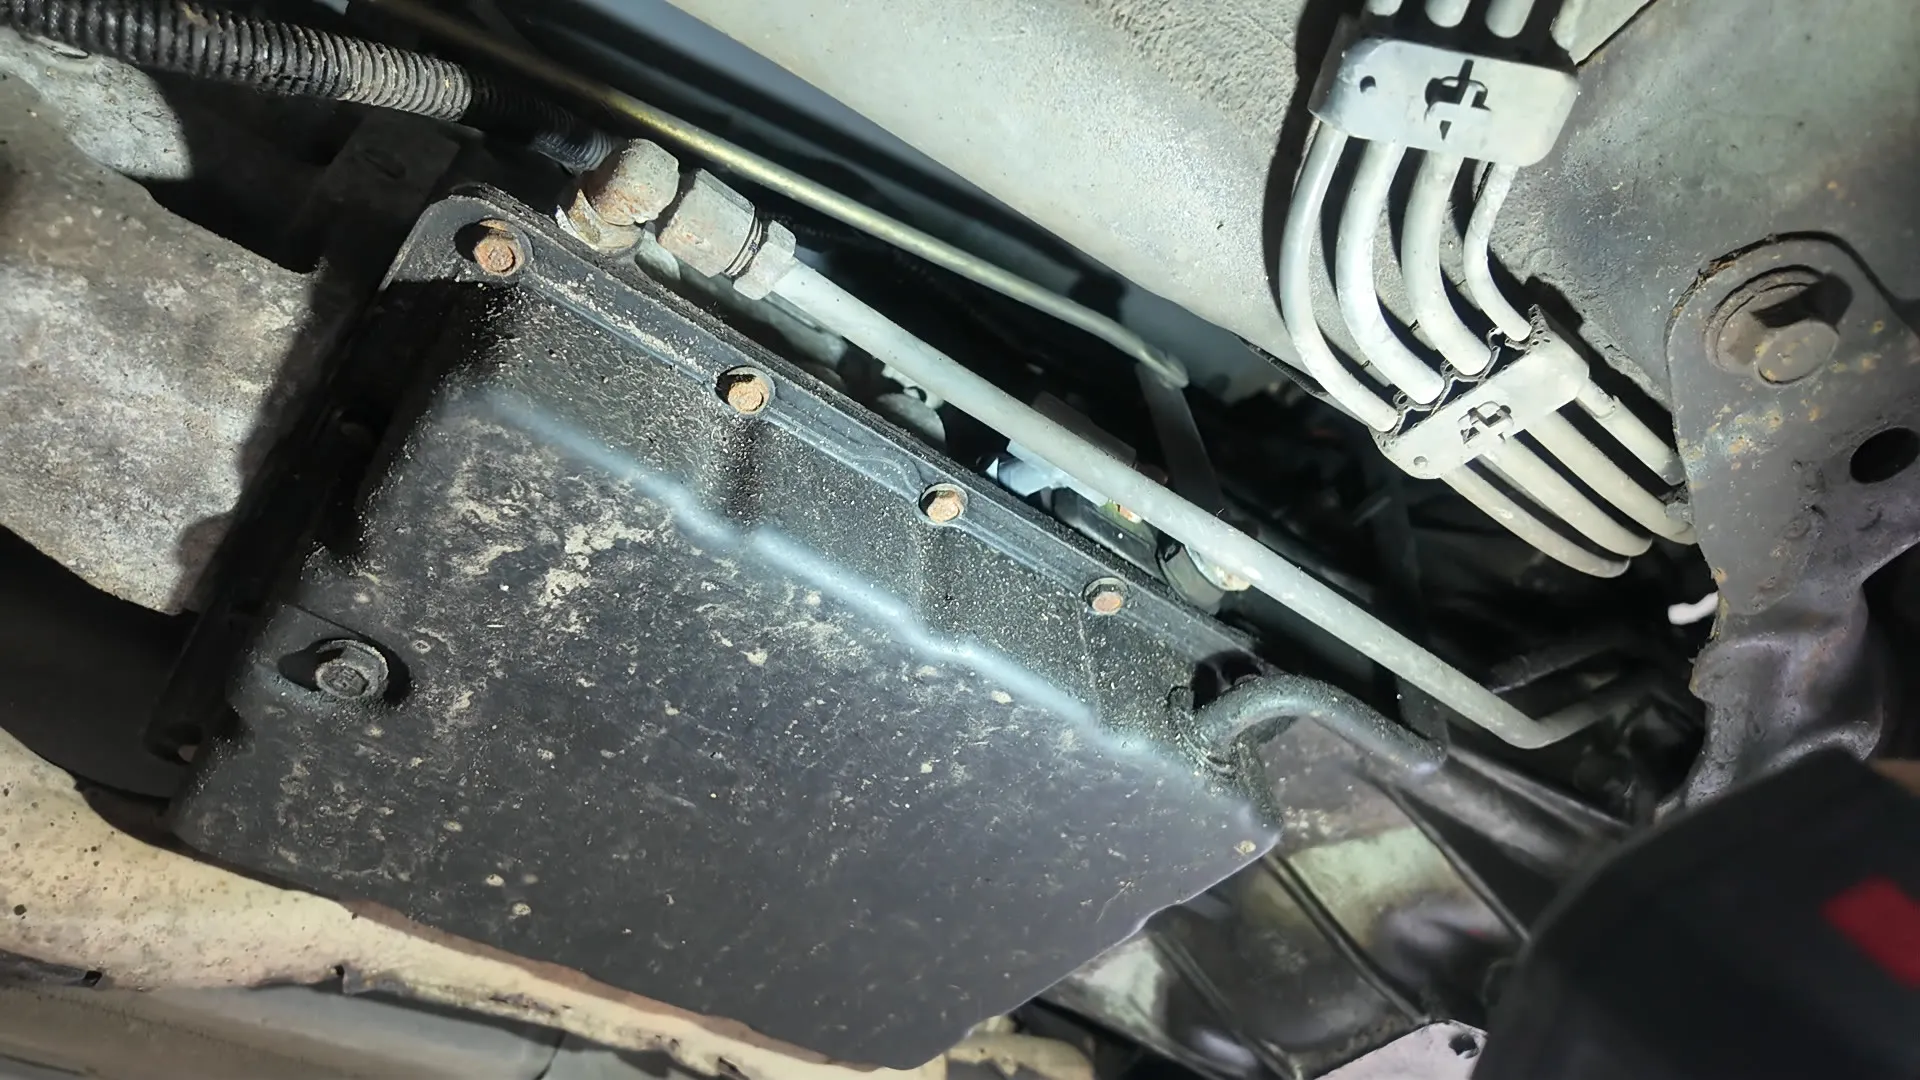
Exhaust, propshaft, cooler lines. Drop the exhaust and the propshaft. Soak the downpipe nuts in penetrating fluid first and give them time, snapping one turns a morning into a week. The auto runs two cooler lines from the gearbox, over the engine past the starter, down under the alternator and into the radiator, because on an auto the radiator carries the gearbox-oil cooler. Disconnect those lines and cap them. If you would rather delete the cooler entirely, this is the moment to fit a manual radiator.
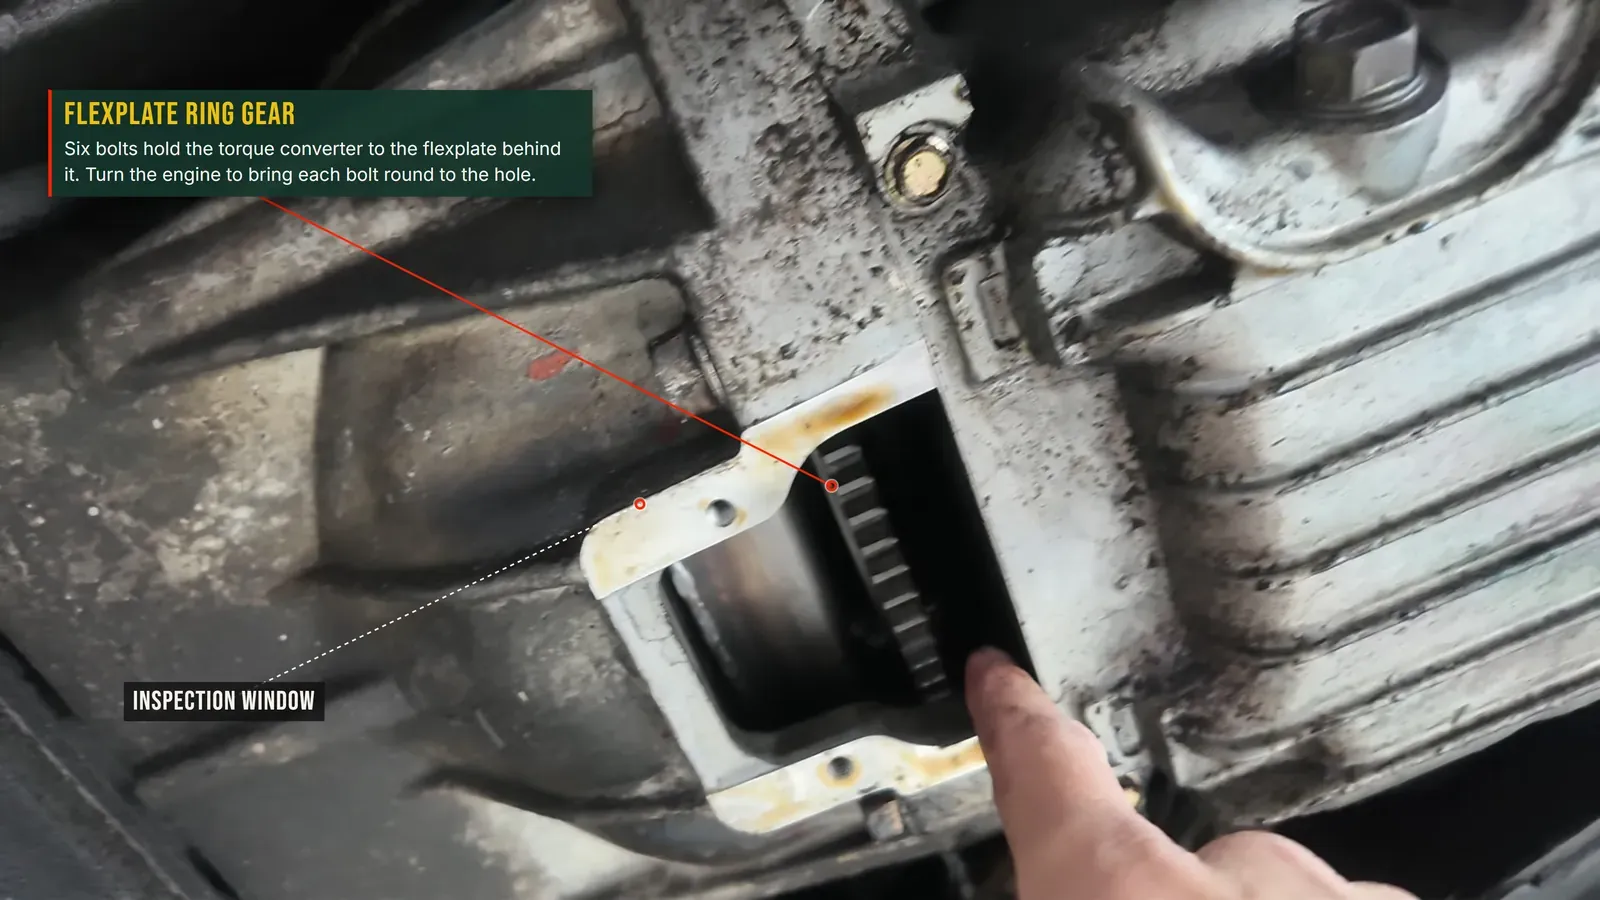
Torque converter off the flexplate. There is an inspection cover on the bottom of the bellhousing. Behind it, six bolts hold the torque converter to the flexplate. Turn the engine on the crank bolt to bring each one round to the hole, and use an open-ended spanner on them rather than a socket or a ring, the clearance against the block is tight and a closed spanner can jam as the converter turns. Once those six are out, the torque converter stays with the gearbox and the flexplate stays on the engine.
Free the box. Pull the gearbox dipstick tube (a 10mm at the top bracket, a slip joint, and a second 10mm bracket on the side of the box under the alternator) and the gearbox breather. Unclip the loom from the PPF, those are pinch clips, and free the earth strap on the back. Disconnect the battery, take the starter off, then work around the ring of bellhousing bolts. Support the box on a transmission jack, drop the PPF, and lower the gearbox out. The auto box is heavy with its sump full, so respect it, and note a Mk1 auto has no drain plug on the pan, so it empties as you drop it and makes a mess.
While you are under there, set the old auto kickdown and load cable aside to come out, it is not going back.
2. While the box is out: do the rear main seal
The seal behind the flywheel will never be this easy to reach again, so do it now. The trap is that the crank face and the alloy housing are both soft enough to score, and a scored crank is a scrapped crank.
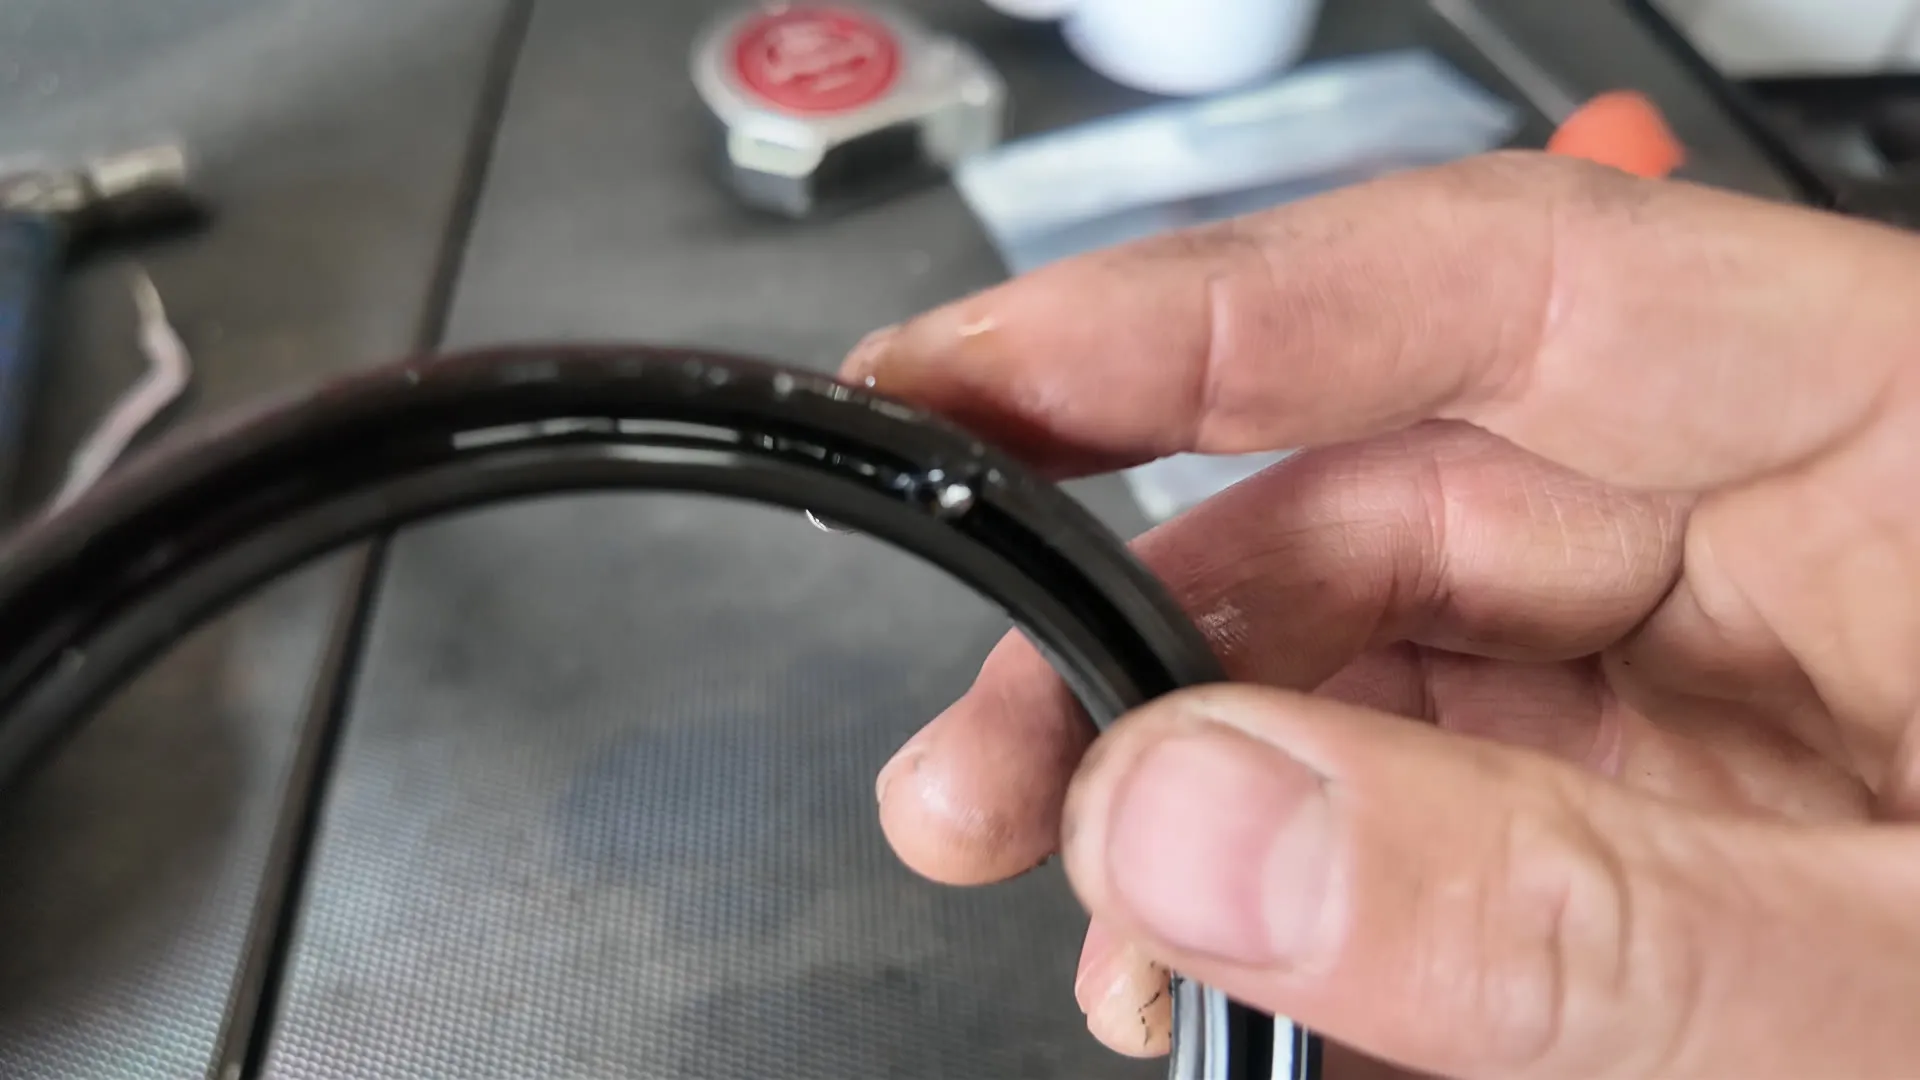
The way we do it: take a 3mm drill bit and drill gently into the metal rib of the seal, the carrier band that runs around it, not the rubber lip. Thread in a button-head screw whose threads bite a touch wider than the pilot hole, just enough to catch, no need to wind it home. Then lever the screw out with a trim tool or use a hammer as a leverage point, and the seal walks out by its rim. Because the screw is in the centre, nothing metal ever touches the sealing faces. Take your time and stay centred. We have fitted them this way for years and not had one come back.
3. Engine end: back plate, pilot bearing, flywheel, clutch
Fit the engine back plate first. Forget it and you will be pulling the clutch and flywheel back off to fit it, which is a lesson you only need once.
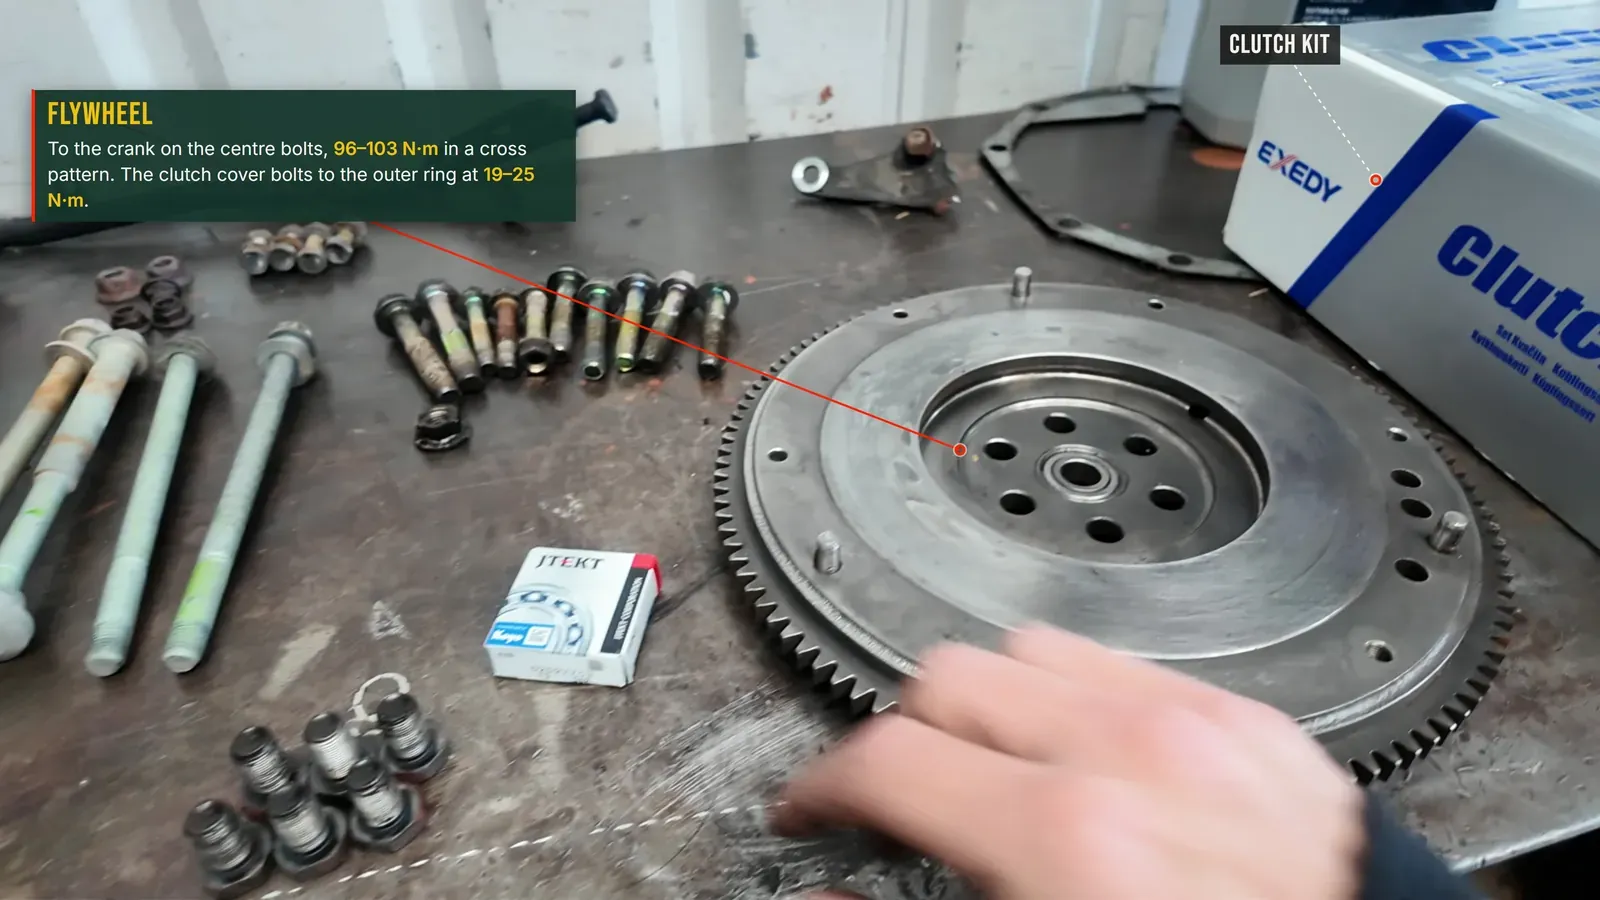
Then the centre pilot bearing, and this one catches people out: on the MX-5 it presses into the flywheel, not the crank. The gearbox input shaft noses into it, and the auto never had one because the flexplate pilots nothing, so a manual swap has to add it. Press it into the flywheel before the flywheel goes on.
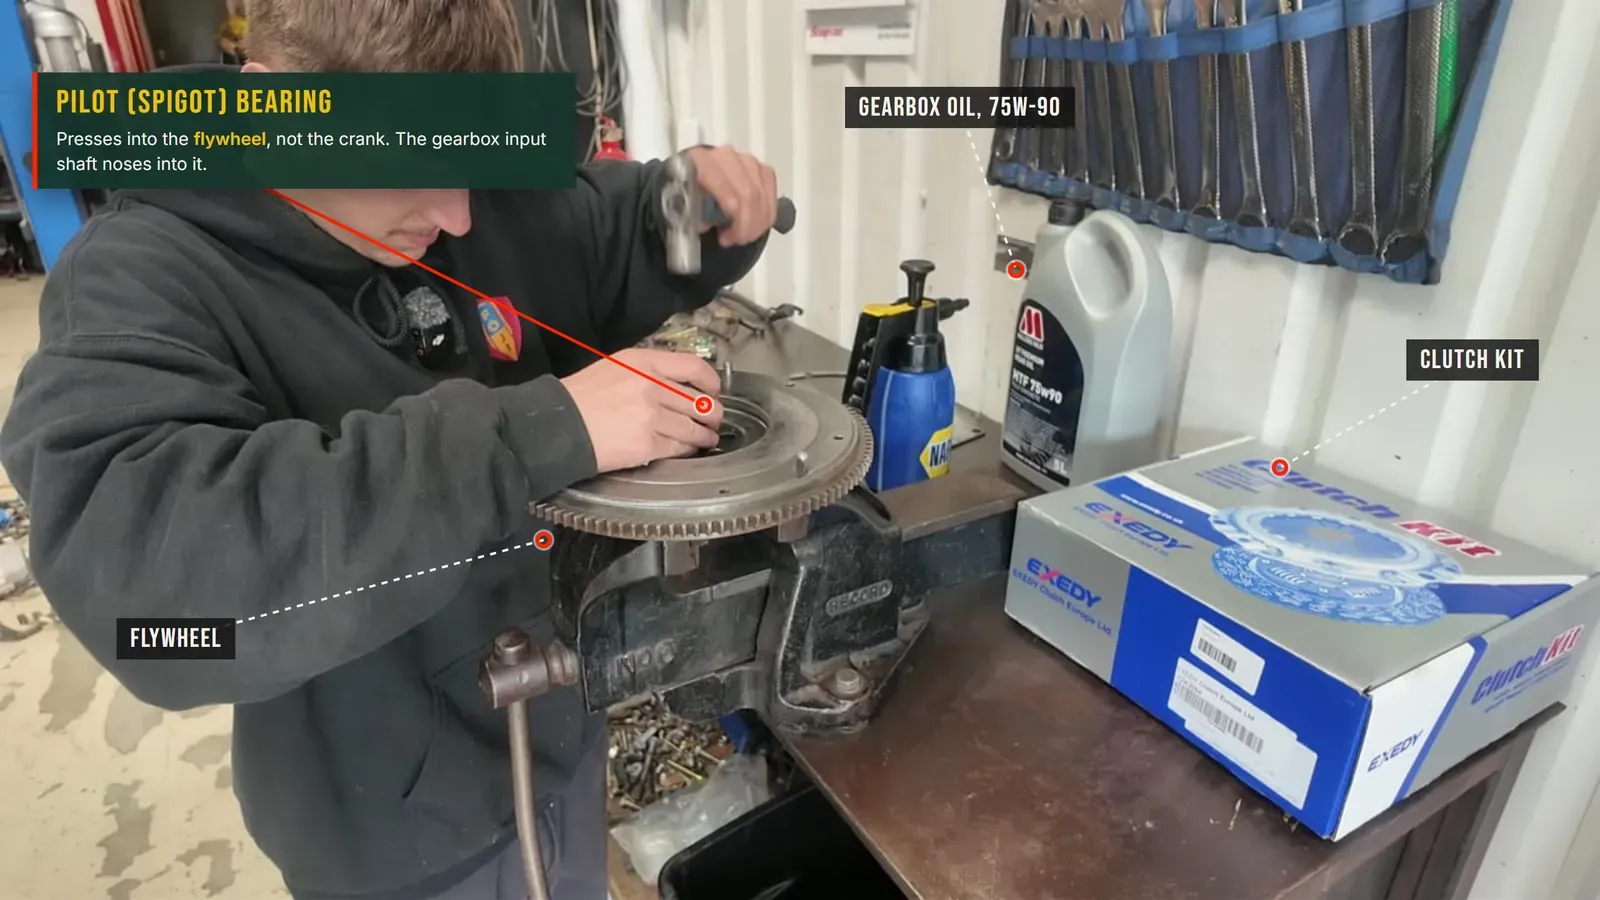
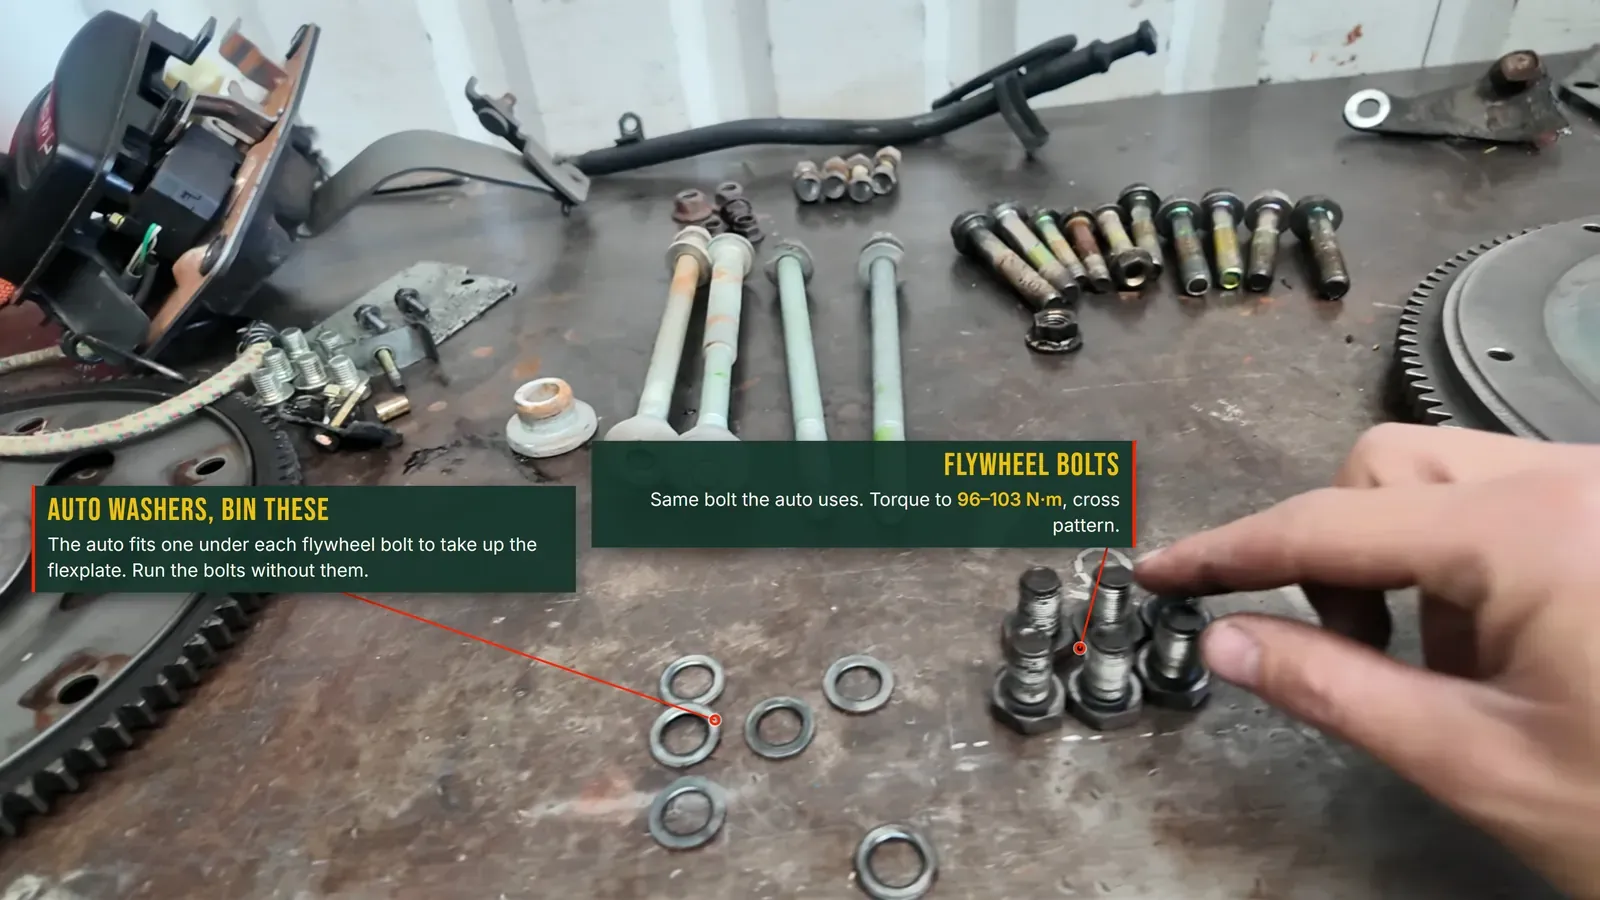
Now the flywheel. The bolts are the same part the auto uses, the auto just adds a washer under each one to take up the flexplate. Bin the washers and run the bolts as they are. Torque them evenly in a cross pattern to 96 to 103 N·m (71 to 76 lb-ft). Fit the clutch with an alignment tool through the friction plate so the splines line up for the gearbox. The friction plate is marked which face goes to the gearbox, so fit it that way round, a plate in backwards will not release. Torque the pressure-plate bolts evenly to 19 to 25 N·m (14 to 19 lb-ft).
4. Wiring, before the box goes back in
Do this now while you can still reach everything. The automatic is run by its own transmission control unit, the TCU, a box that lives in the footwell, and a single large plug carries its wiring out to where the gearbox was. That plug is where the work is: three jobs come off it, and once they are done the TCU box itself comes out (more on that below). Colours below are what we found on this car, so check yours, they vary by year and market.
- Neutral-safety / starter. Two heavier wires, black-and-red and black-and-blue, are the neutral-safety pair. Splice them together and the car will always start, then tuck them into the loom. If you want clutch-or-neutral starting instead, run them to the neutral switch on your manual box.
- Reverse lights. The red-and-yellow and black-and-yellow pair feed the reverse lights. Cut them off the plug, fit spade connectors, and join them to the reverse switch on the gearbox.
- Speedometer. The auto speed sensor plug does not fit the manual box sensor. Harvest the pigtail off a manual loom and splice it in so the manual sensor plugs straight on.
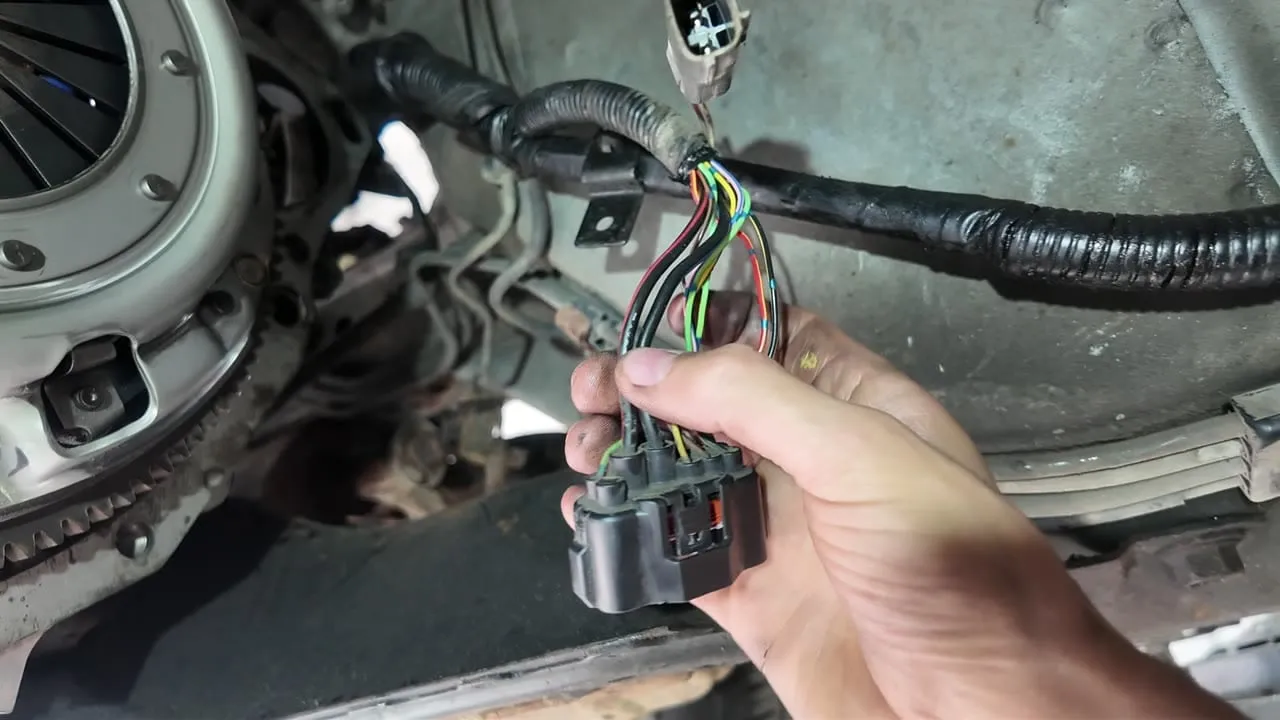
Anything left on that plug, the gearbox oil-level sensor and the redundant speed sensor, is no longer needed. Tape it back to the loom. We use the factory open-barrel splice and heat shrink on every joint so nothing works loose.
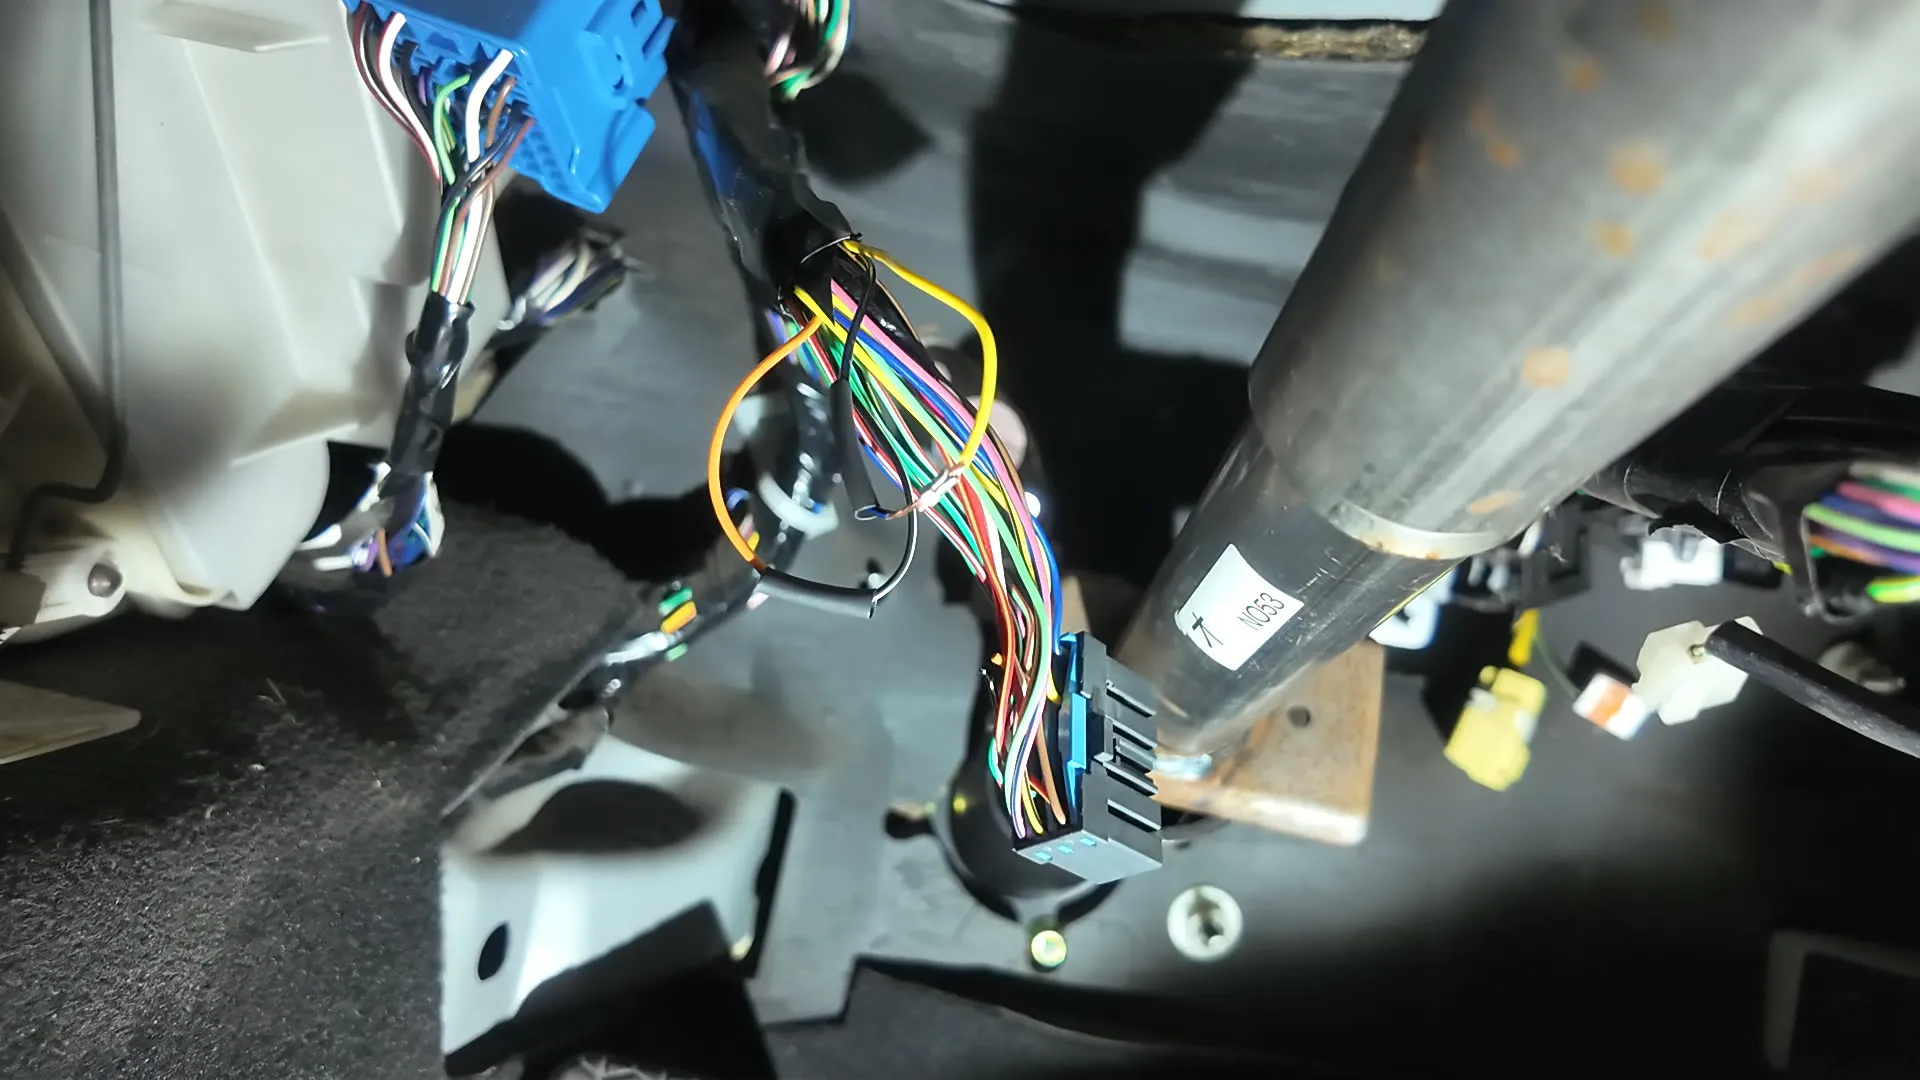
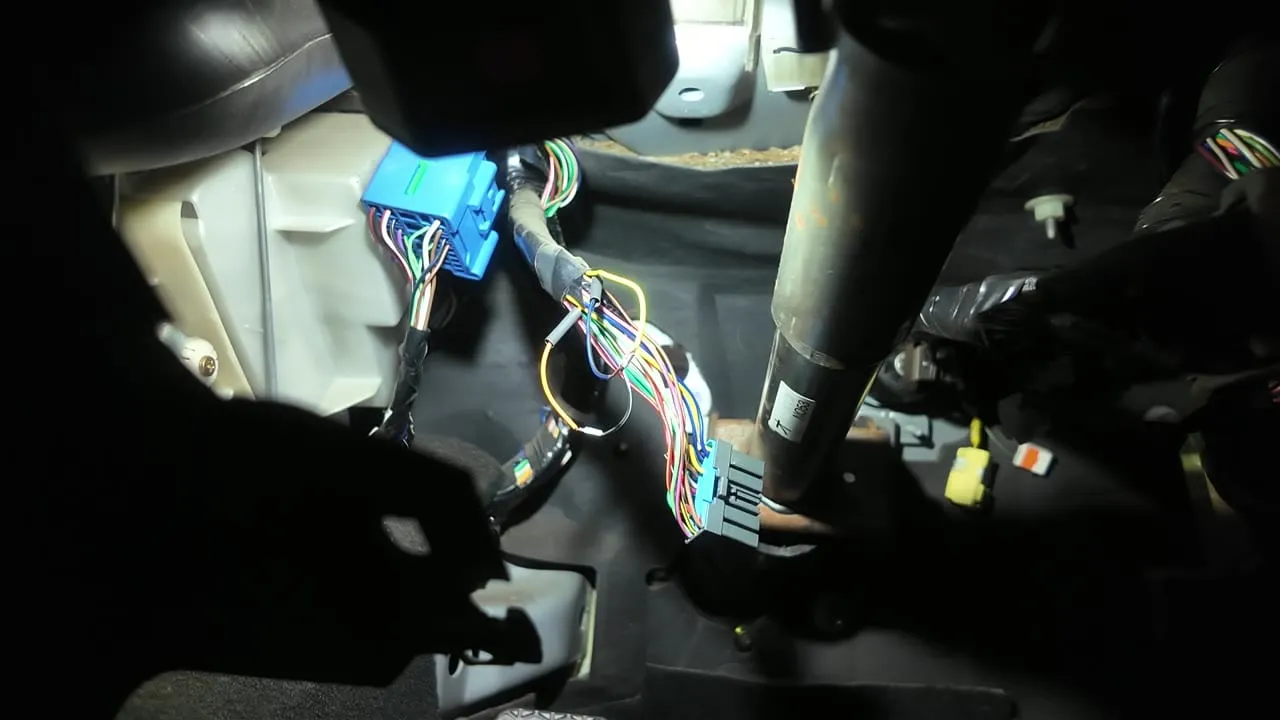
One thing you do not need: a manual engine ECU. The box you remove is the automatic transmission control unit, the controller that sat in the footwell. Take that out, and with the loom modified as above the car runs correctly on its original ECU. No engine ECU swap.
5. Pedals and the clutch master
Inside, the auto has a wide brake pedal and no clutch pedal, and an automatic control box sits in the footwell where your foot wants to be. Out it all comes. The brake-booster nuts that run through the bulkhead also hold the pedal assembly to the chassis, so the brake and the pedal box come out together.
On the engine side of the bulkhead there is a blanking plate where the clutch master should be, fitted from factory on auto cars. Take it out. Fit the manual pedal box, with the clutch pedal on its bracket, and feed the clutch master through the bulkhead the other way.
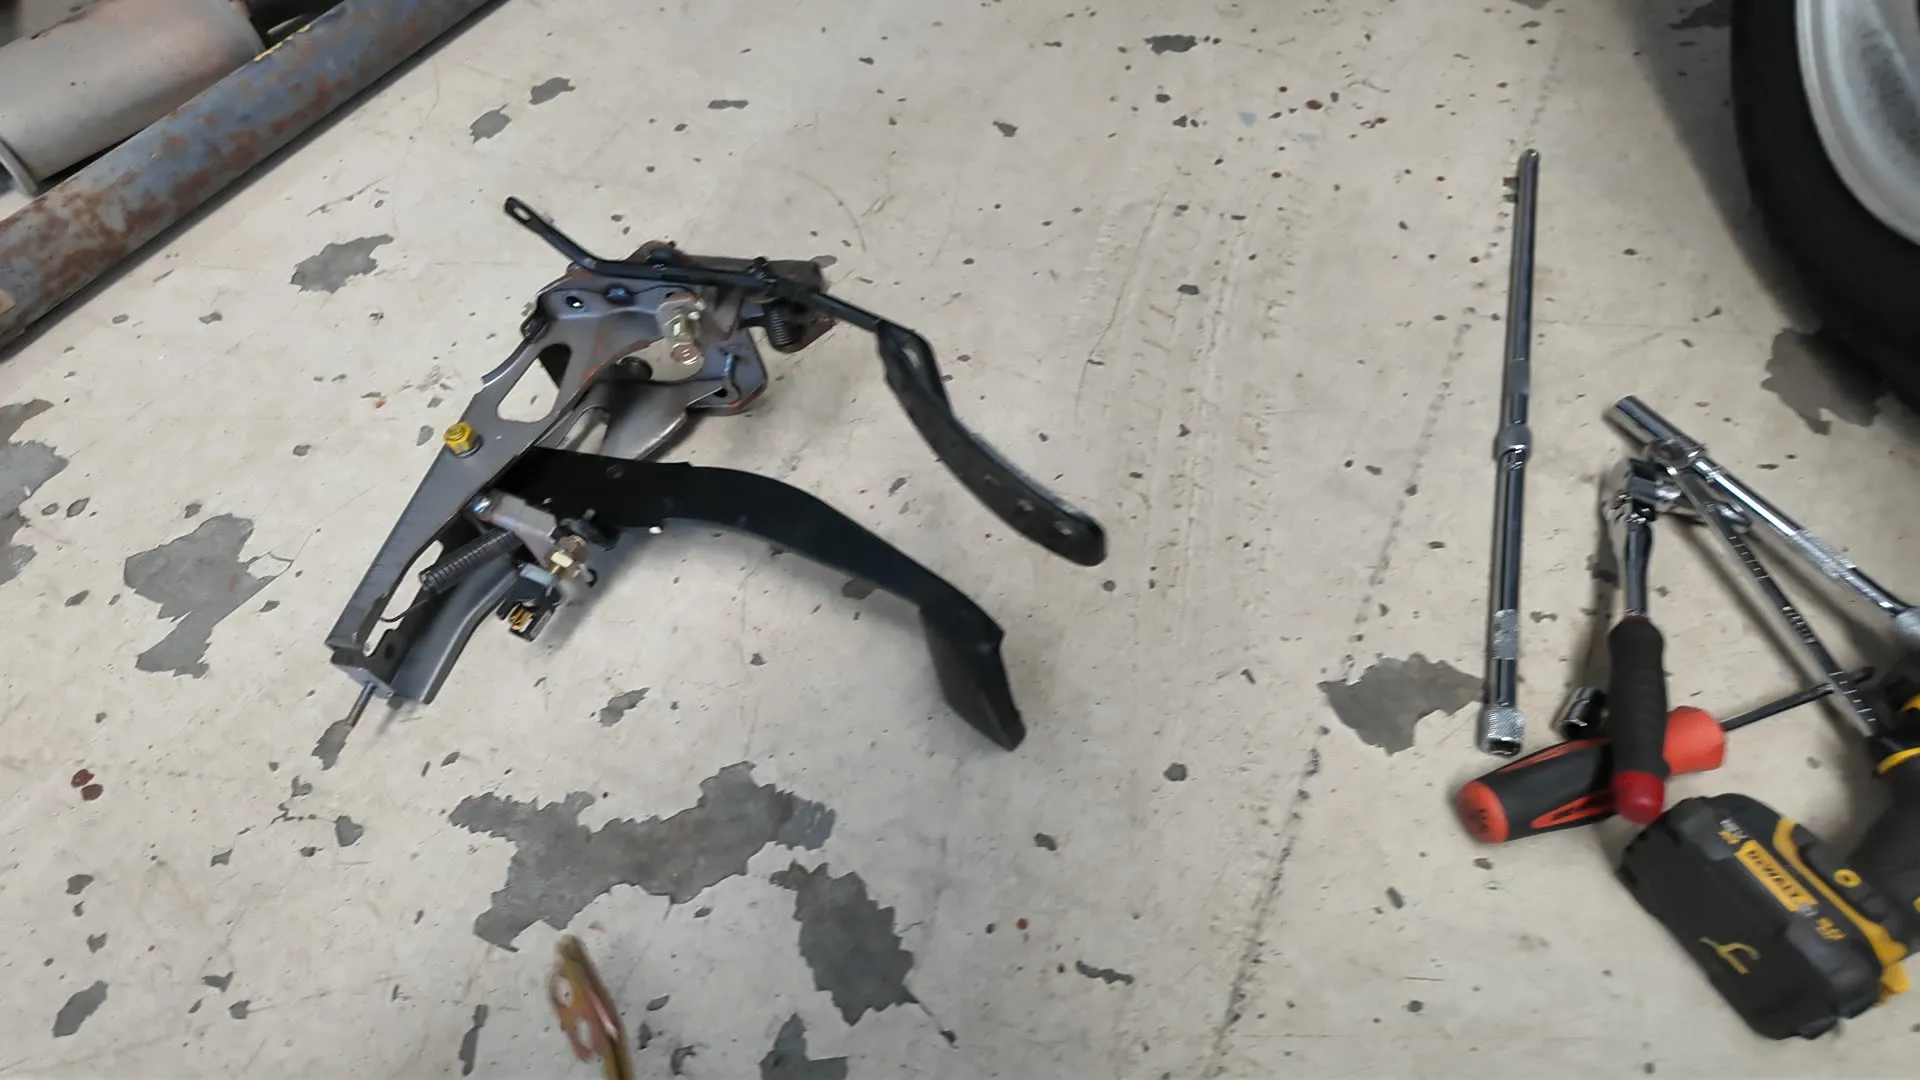
If you cannot get a manual pedal box, you can keep the auto throttle and brake assembly, cut the wide auto brake pedal down to manual width, and add the clutch pedal. A full manual pedal box is the tidier job, but the cut-down route works.
6. Gearbox in, then align the PPF
Offer the gearbox up, start it onto the dowels, and run the bellhousing bolts up to 65 to 88 N·m (48 to 65 lb-ft). Keep the wiring loom clear as it goes home so nothing gets trapped between the bellhousing and the block. Refit the starter, with the loom bracket back on the starter bolt where it came from.
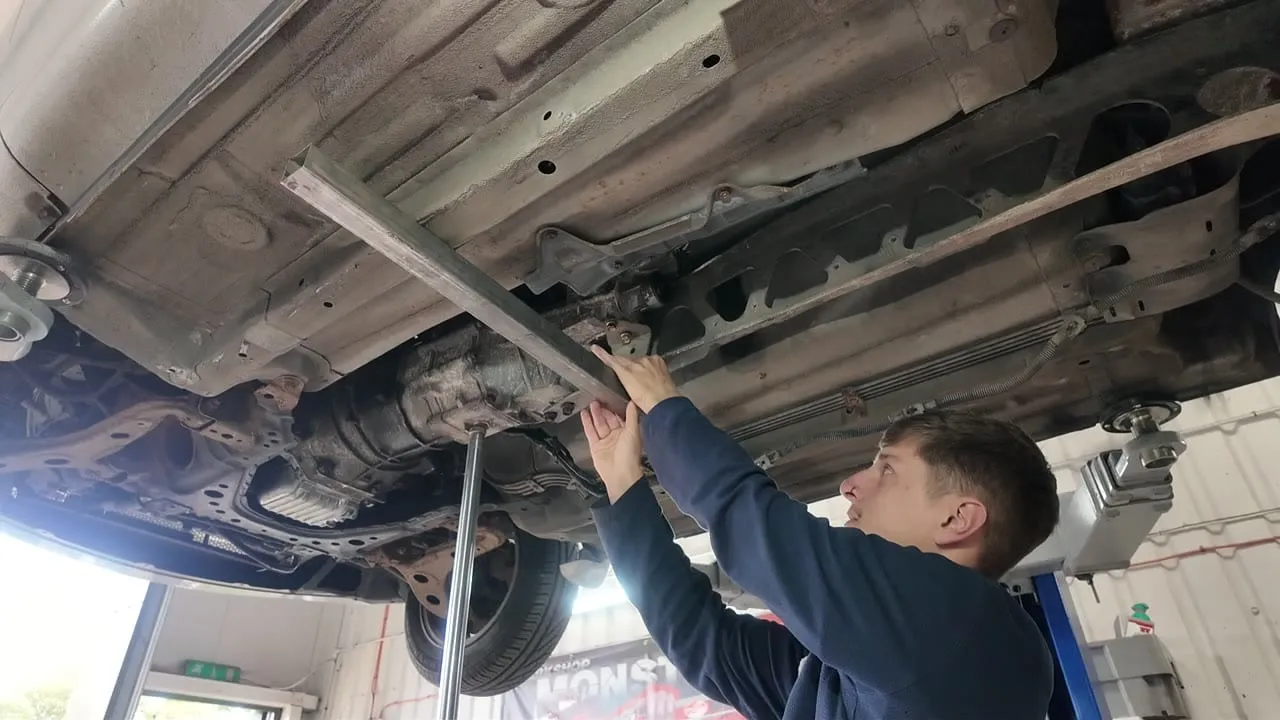
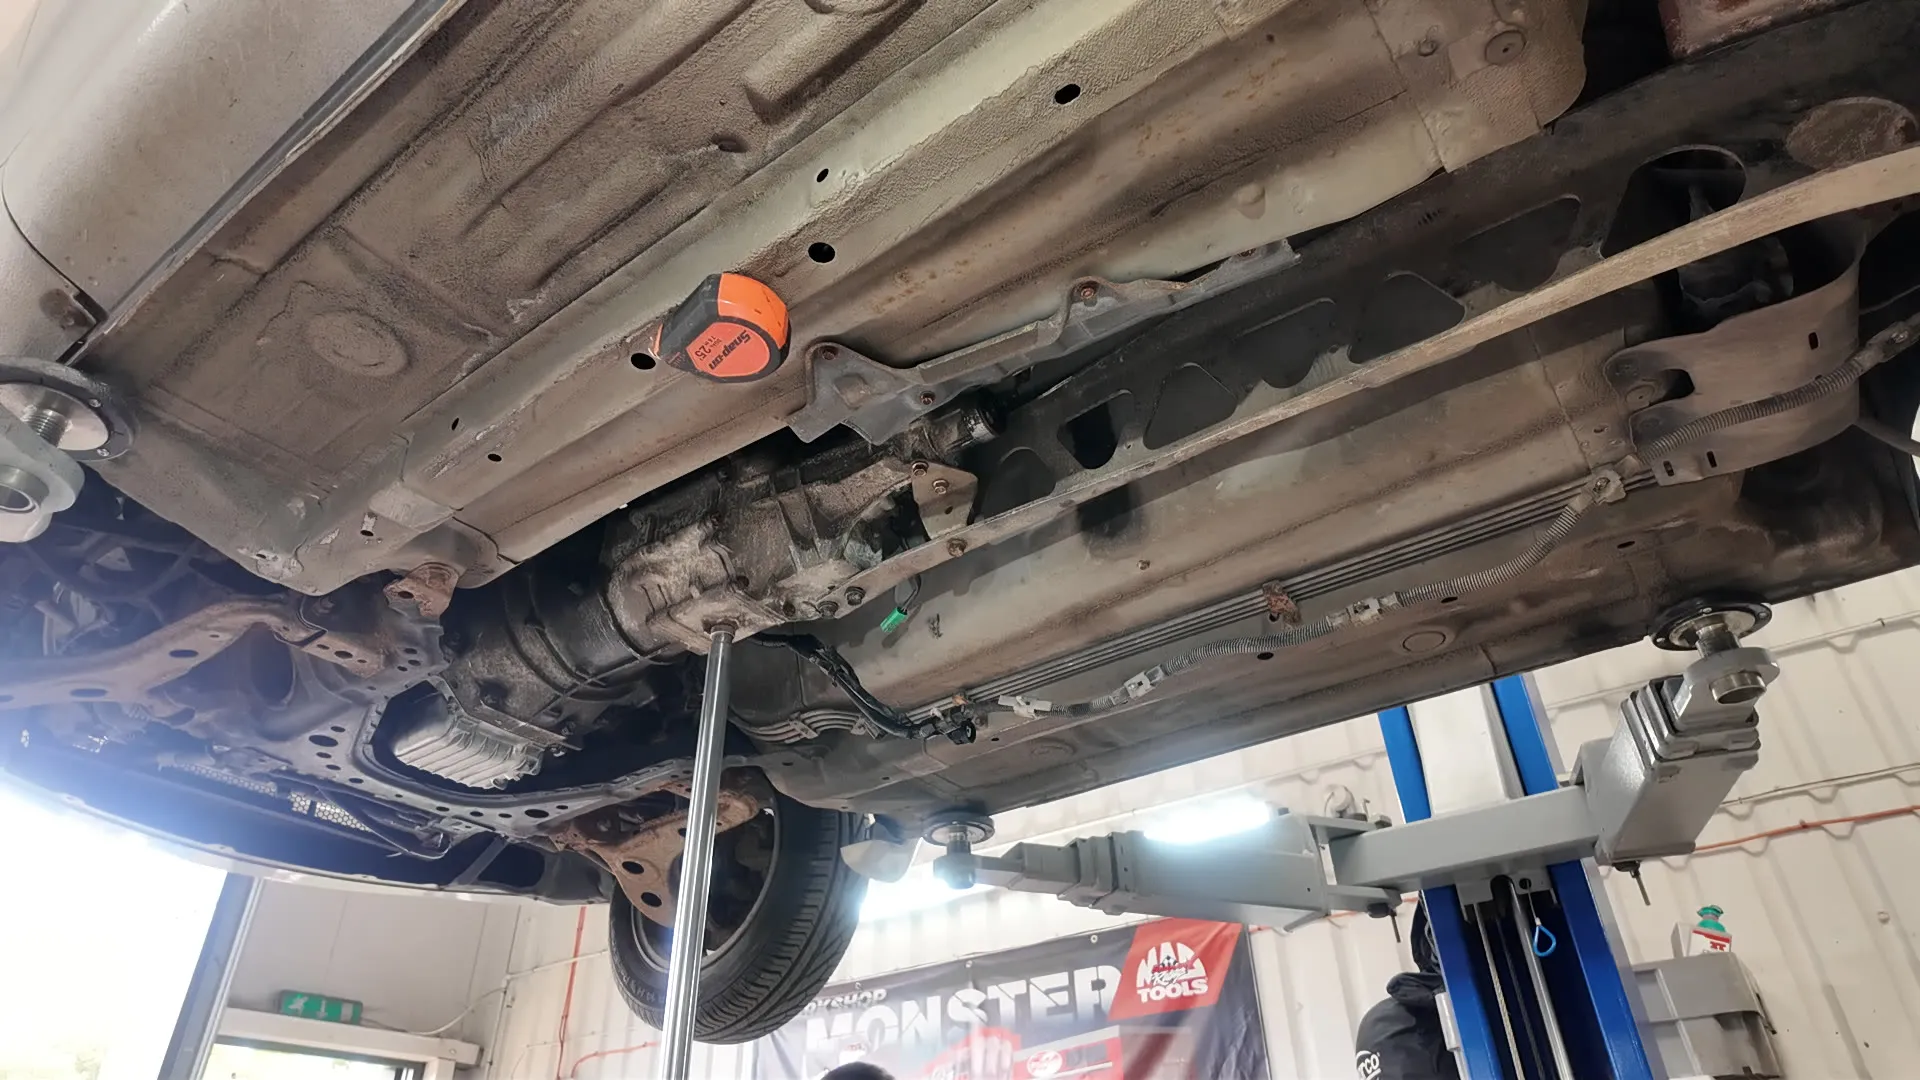
Now the step most people skip, and the one that causes a chattering or clunking driveline if you get it wrong: aligning the PPF. The PPF is what holds the gearbox and the diff in line so the propshaft runs true, there is no separate hard mount for the gearbox, so this is what sets the angle.
Lay a straight edge across the chassis legs, directly below the bolt head on the Z bracket (the bracket the auto PPF does not have). Jack the gearbox up almost to the top of its travel, nip the PPF bolts, then let the gearbox settle and sag onto the frame. Measure from the straight edge up to the bolt head. You want about 65mm, in a 60 to 72mm window, and the factory figure of 66.5mm plus or minus 5mm comes to the same. On this car we set it to 65mm, dead in spec. Torque the PPF mountings to 104 to 123 N·m (77 to 91 lb-ft) once you are happy. Every bolt that passes through the PPF takes that same figure: the two at the diff end, the two at the gearbox end, and the single Z-bracket bolt. The short spacer bolt at the diff and the Z-bracket's own bolts into the gearbox are the lighter ones, 37 to 53 N·m, not the big number.
7. Propshaft, hydraulics, oil
Fit the manual propshaft and torque the flange bolts to 55 N·m (41 lb-ft). The 27 to 30 figure you will see in older guides belongs to the early 1.6 small-case diff, not this large-case unit.
For the clutch line we run a braided line straight from the master to the slave, which deletes the hard line and its brackets across the bulkhead. It routes more neatly and lasts better than the factory hard pipe.
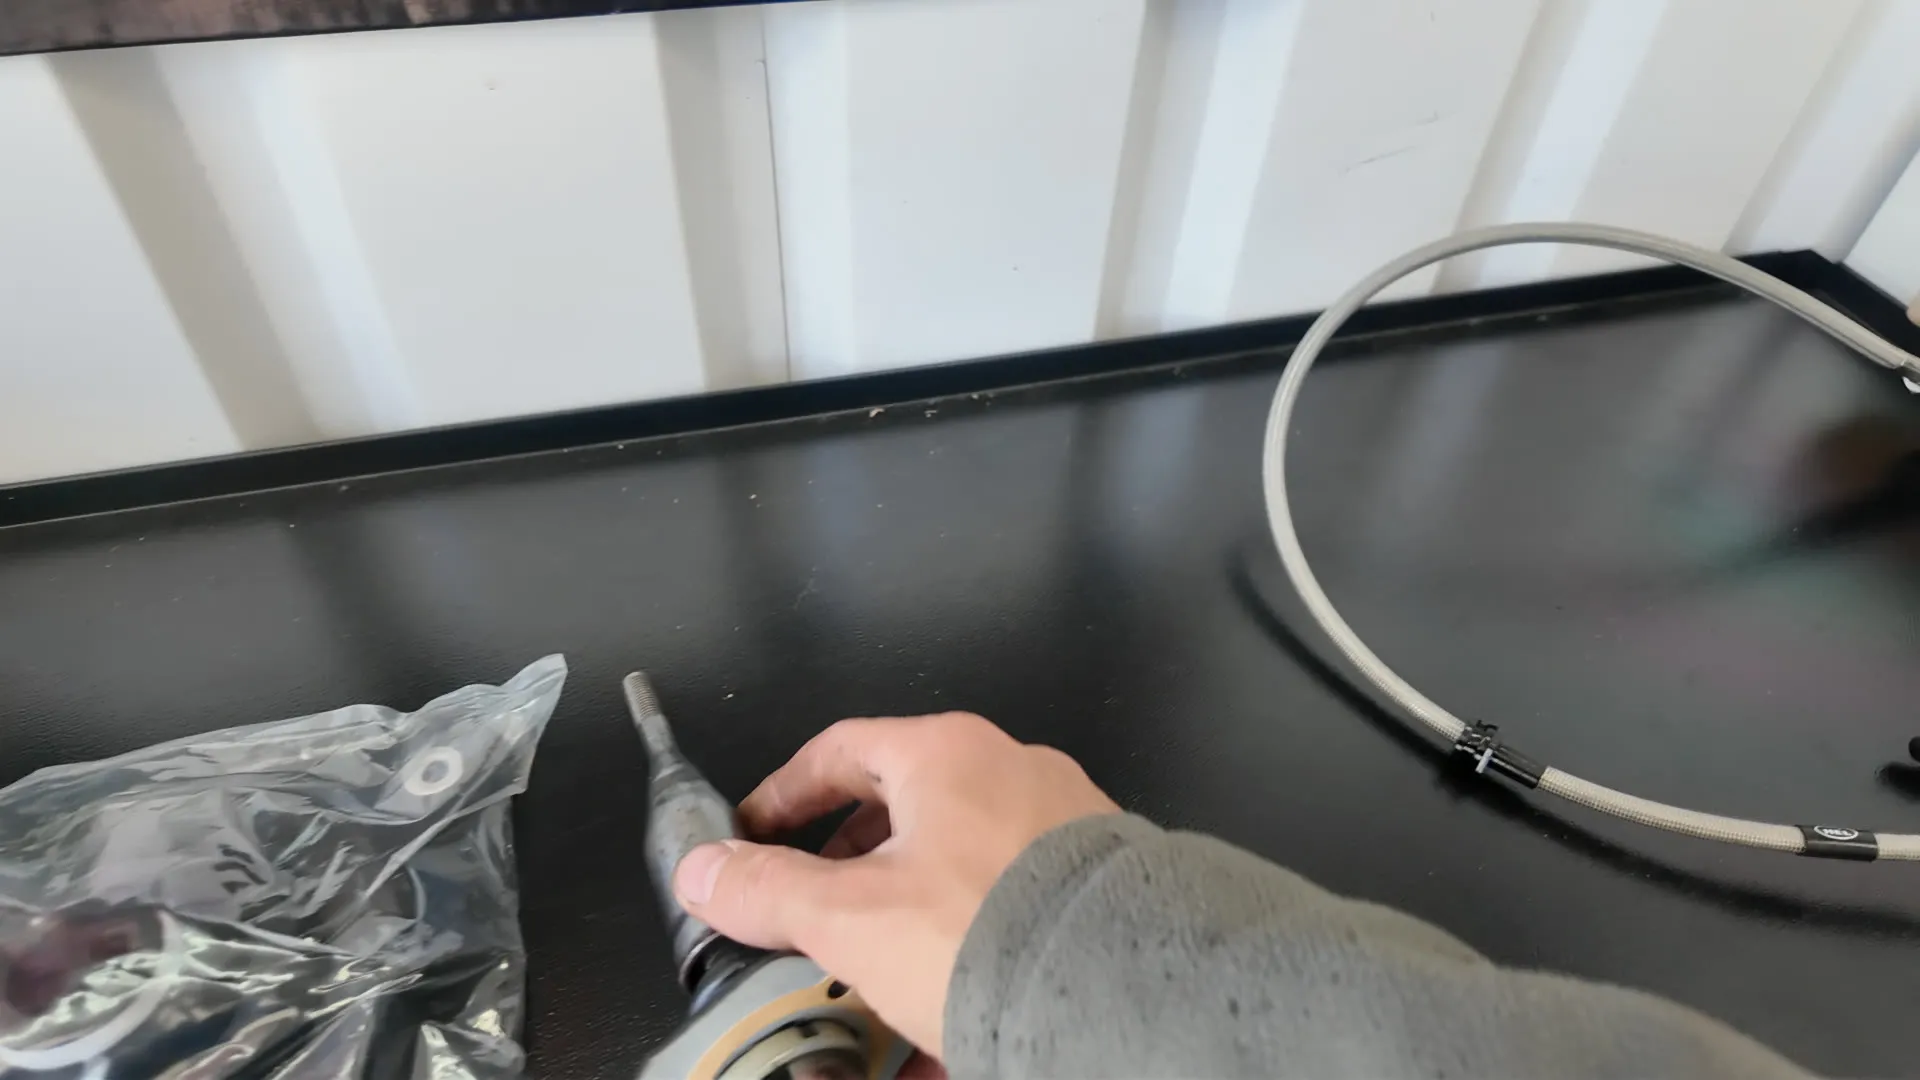
Bench-bleed the clutch master and slave before they go on the car. Bleeding a clutch in place fights gravity and takes forever, whereas a bench-bled master-and-slave assembly bolts on with a firm pedal already there. Fit the slave after the gearbox is in, never before. Cap off the old cooler pipes you disconnected at the start.
Fill the gearbox with 75W-90, about two litres, until it is level with the filler.
8. Shifter and interior
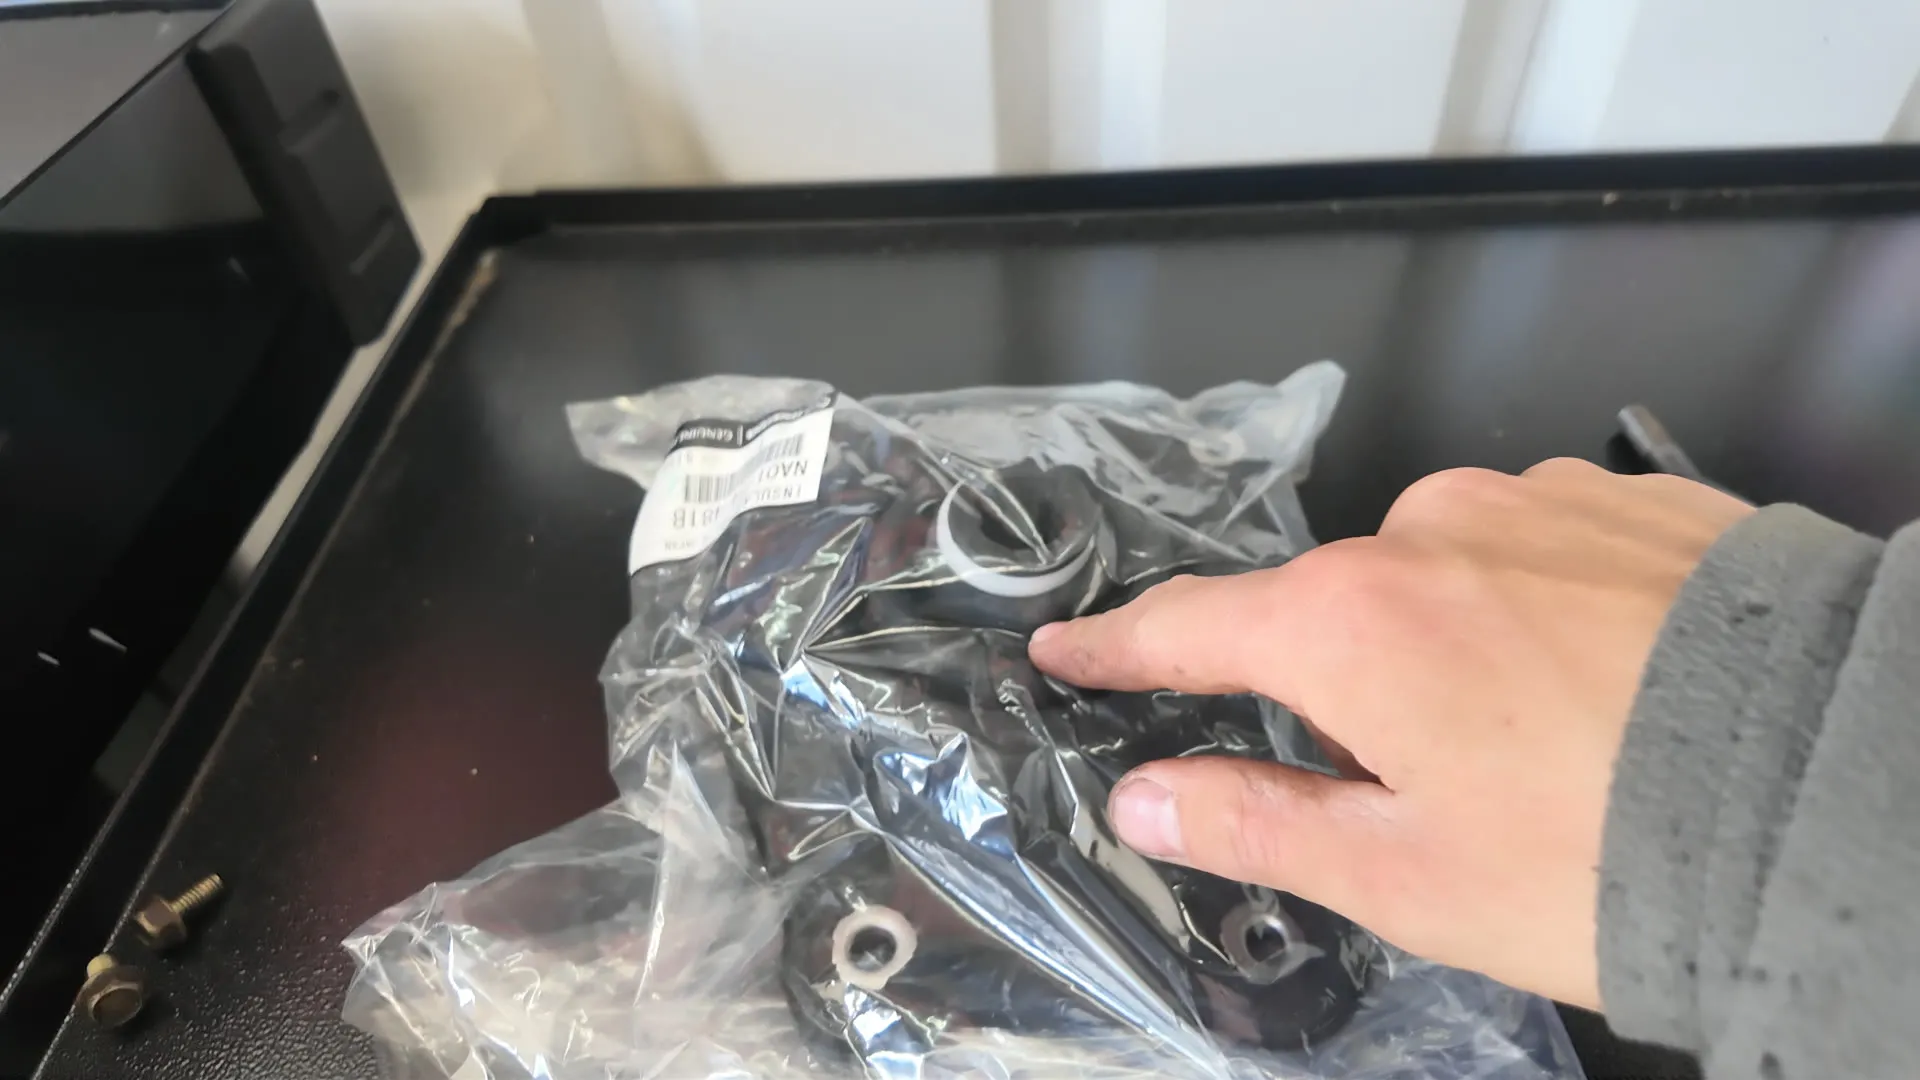
Build the shifter back up with a fresh gaiter and a genuine Mazda shifter boot, fit it to the gearbox from inside, and put the centre console back together.
9. First start, set-up, and test
With the wiring done, start the car and confirm it runs and the dash behaves before you button it all up. Set the clutch by adjusting the pushrod pin to take out the dead play before the clutch starts to work, and give the throttle cable a small adjustment, both are normal on a fresh swap.
Once it is running and warmed through, set the base idle. The battery has been off through the conversion, so the idle wants resetting, and we set it the same way we set base timing on a Mk1: bridge the diagnostic connector to put the ECU into its base state, then bring the idle to spec so it settles cleanly. Our ignition timing note covers the diagnostic-connector method.
Up on the ramp, check the speedo reads, the wheels drive and stop, and there are no clunks or odd noises through the driveline. Then take it for a proper test drive.
That is a complete auto-to-manual Mk2, done in the order that keeps the awkward jobs easy: rear main seal while the box is out, wiring before the box goes back, and the PPF set in spec so the driveline runs quiet.