
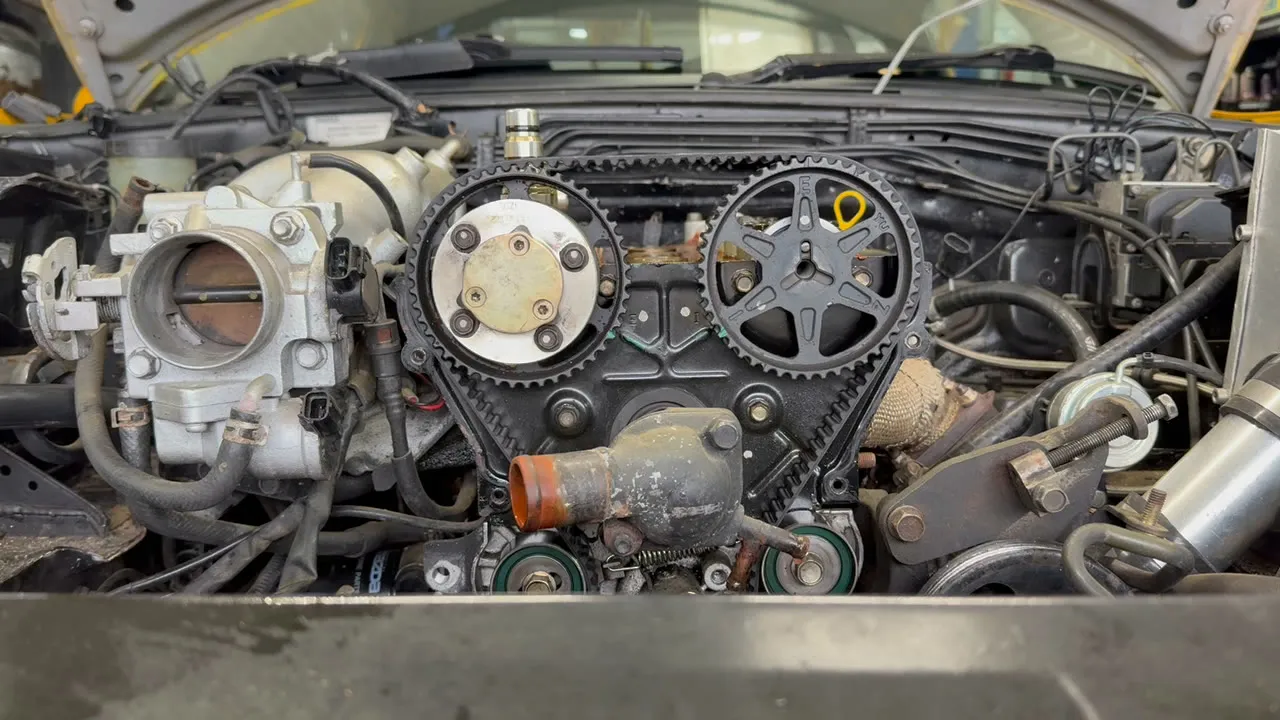
The cambelt on an MX-5 is one of those jobs that is simple to describe and easy to get wrong. Get the timing marks right, set the tension properly, change the parts that live behind the same covers while you are in there, and it is a job that lasts. Rush the reassembly and you can be back in there in a weekend.
This car is a Mk2.5 1.8 with the VVT engine, turbo converted. The method is the same across the range though. The 1.6, the 1.8 and the 1.8 VVT are all very similar, and the only real difference on the VVT car is the intake camshaft, which carries the variable timing gear. Everything below applies to a Mk1 just the same.
What the VVT is, and what it changes
VVT stands for variable valve timing. On the Mk2.5 1.8, Mazda fitted it to the intake camshaft only. Instead of a plain sprocket, the intake cam runs a sprocket with a small hydraulic actuator built into it. Engine oil, fed through the VVT solenoid, lets that actuator rotate the camshaft a few degrees against the sprocket while the engine is running. It advances the intake timing low down for a bit more torque and backs it off higher up. The exhaust cam is a plain sprocket, the same as any non-VVT car.
For the cambelt that matters in three small ways, and none of them are hard once you know them:
- The intake cam oil seal does not seal on the camshaft, it seals on the VVT gear. So it gets greased and seated on the gear, not the shaft.
- The timing mark on the VVT gear can sit a few degrees off the line and still be right. That is the actuator, not a mistake. You are checking the gear is on the correct tooth, not chasing a perfect needle line.
- The VVT solenoid is the oil valve that drives it. If you take it out while you are in there, its o-rings get a dab of oil and it goes back with a light nip only.
On a 1.6, or a non-VVT 1.8, there is no actuator and no solenoid. Both cams run plain sprockets and the marks line up exactly.
Is the 1.8 an interference engine?
In standard form, the 1.6 and 1.8 MX-5 engines are non-interference. The pistons do not rise far enough to meet the valves at full lift, so if a belt ever lets go on a stock engine, you usually get away with it. That is good to know, but it is not a reason to leave the belt past its life.
Two things change that picture. A head that has been skimmed sits the valves closer to the pistons, and a built or higher-output engine can lose that safety margin. This car is turbocharged, so we do not treat the stock clearance as a promise. We change the belt on schedule and we do not gamble on it.
What gets changed, not just the belt
The belt is held in by the same covers as a handful of other parts that are all near the end of their life at the same mileage. Going back in later to do them one at a time is wasted labour, so they come out together:
- Timing belt, tensioner pulley and idler pulley
- A genuine Mazda tensioner spring
- Water pump and its gaskets
- Front main (crankshaft) oil seal
- Exhaust camshaft oil seal
- VVT intake camshaft oil seal
- Cam cover gasket
We only fit genuine Mazda seals and gaskets here, never a pattern part. The budget paper gaskets rip and the aftermarket seals weep, and a seal that weeps behind the belt means the whole front is coming apart again. It is the one place there is no saving worth making. While the front is open we also change the cam cover copper washers and, on a Mk1, the cam angle sensor o-ring, which is very likely leaking by this age.
Stripping the front of the engine
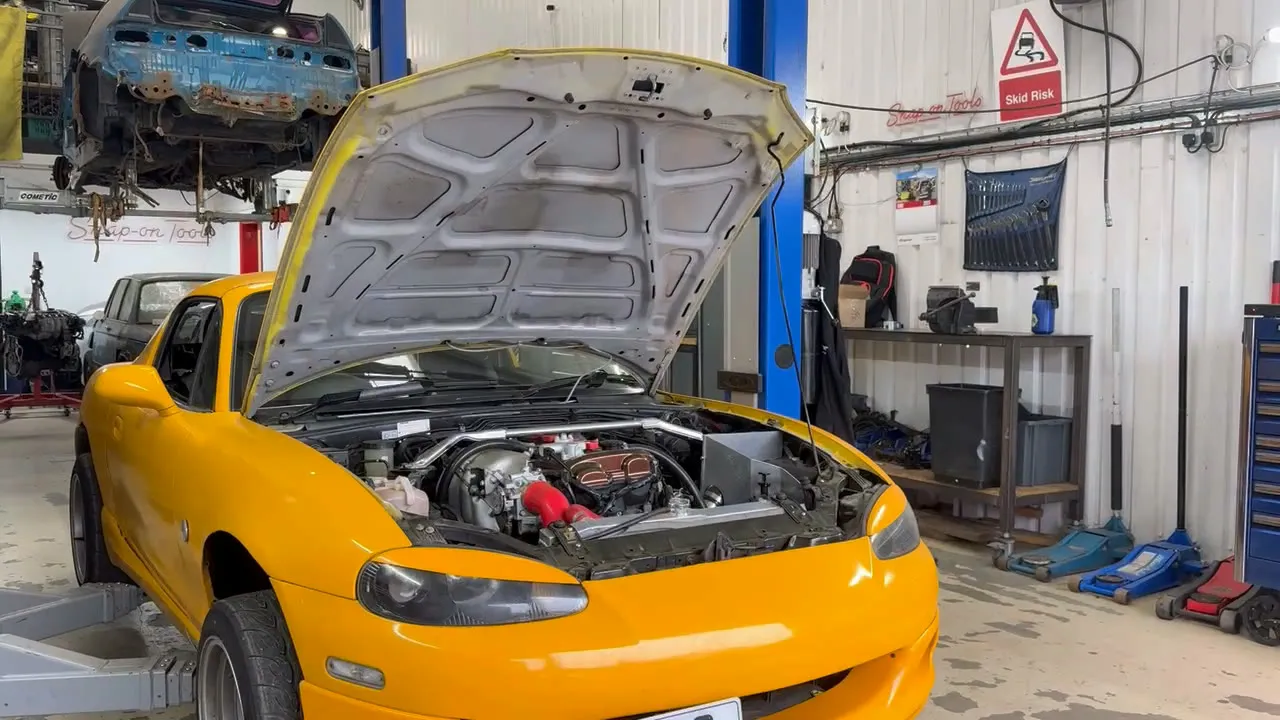
- Strut brace off, undertrays off, drain the coolant. Get the car level and the coolant out before anything else. A jubilee clip tool makes short work of the radiator hoses, and you will still make a mess, so have a tray under it.
- Radiator out. Pull the upper hose, remove the coolant overflow, undo the two brackets and lift the radiator out. Put the cap back on the bottle and the drain bung back in once it has stopped draining, so nothing gets lost or left open.
- Front dress off. On this turbo car the boost pipe comes off to get access; on a standard car the intake can stay. Then the accessory belts (alternator and power steering), the water pump pulley, the crank pulley and the timing covers.
- Cam cover off so you can see the camshaft sprockets and their timing marks.
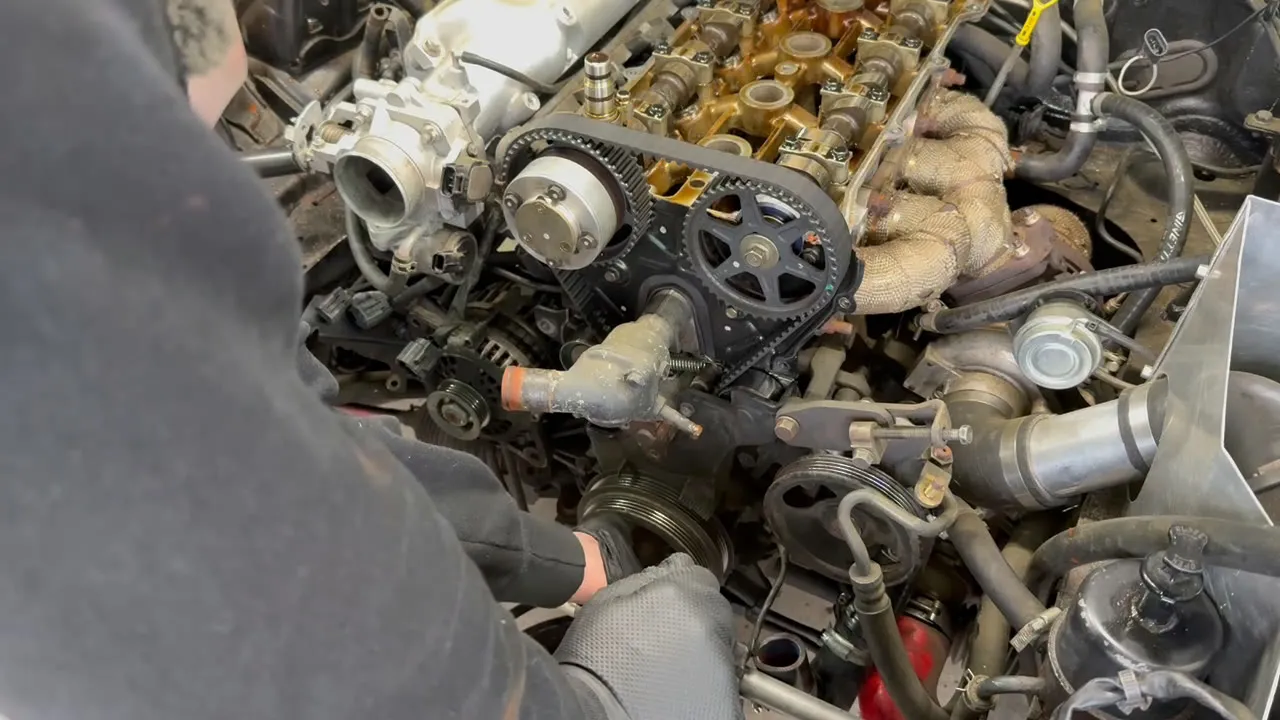
Clean down and reset before you reassemble
This is the part people skip and it matters. With everything stripped, clean the engine front, and clean every cover, pulley and bracket you have taken off before it goes back on. Then stop. If it is getting late, this is the place to break and come back fresh. The strip is the easy half. The reassembly is where the timing has to be exact, so do it when you are sharp, not when you are tired.
Fitting the seals
With the front bare, the oil seals are easy to do and stupid to leave. There are three: the front main behind the crank sprocket, the exhaust camshaft seal, and the VVT intake camshaft seal.
The old front main seal can fight you. If a pick will not hook it out, drill a small hole in the seal face and wind a screw in to draw the seal off it, but keep the screw between the lips of the seal so the drill and the screw never touch the crankshaft or the oil pump face behind it. Clean every trace of swarf out afterwards.
Watch the crank nose while you are here. A previous hammer strike can leave a burr on it that stops the timing pulley coming off. Dress that back very lightly rather than forcing anything, and do not lever hard on the front pulley or the timing gear, because you can crack the timing backing plate behind them.
Pre-grease each seal, push it on square, and tap it home gently with an extension if it is tight, keeping it square so it seats evenly all the way round. One detail on the VVT car: the intake seal does not seal on the camshaft itself, it seals on the VVT gear, so grease the outer lip and seat it the same way. Wipe off any excess grease so it does not get flung about once it is running.
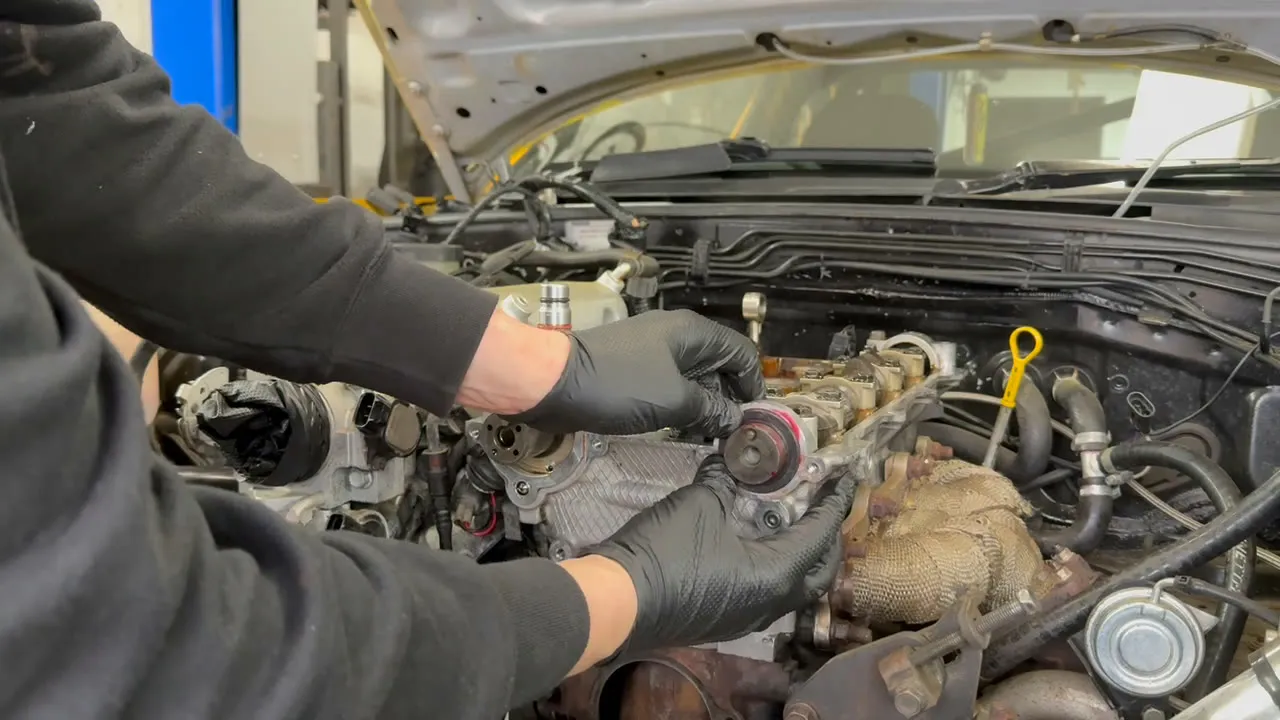
The cam caps, if they have been disturbed, go back to 11 to 14 Nm (100 to 125 in-lb), tightened evenly in sequence. If you are in the VVT solenoid while you are here, its o-rings get a dab of engine oil and the solenoid goes back with a light nip only, it does not want much torque at all.
Two small fasteners here are easy to strip, so go gently. The seal plate behind the cam sprockets is only 8 to 10 Nm (70 to 95 in-lb), and the cap screw on the VVT sprocket is 5 Nm and no more. Both are wrist-tight, not arm-tight. They take a T25 and the steel is soft, so lean on them and you round the head clean off, and then you are drilling them out with a left-hand bit to get them free. We have had exactly that on a car that came in over-tightened, so the low figure is not a suggestion.
Water pump
The water pump sits behind the same belt, so it gets changed now. Clean the faces, fit the new pump with fresh gaskets and a thin film of sealant on the gaskets, and torque it to the block evenly.
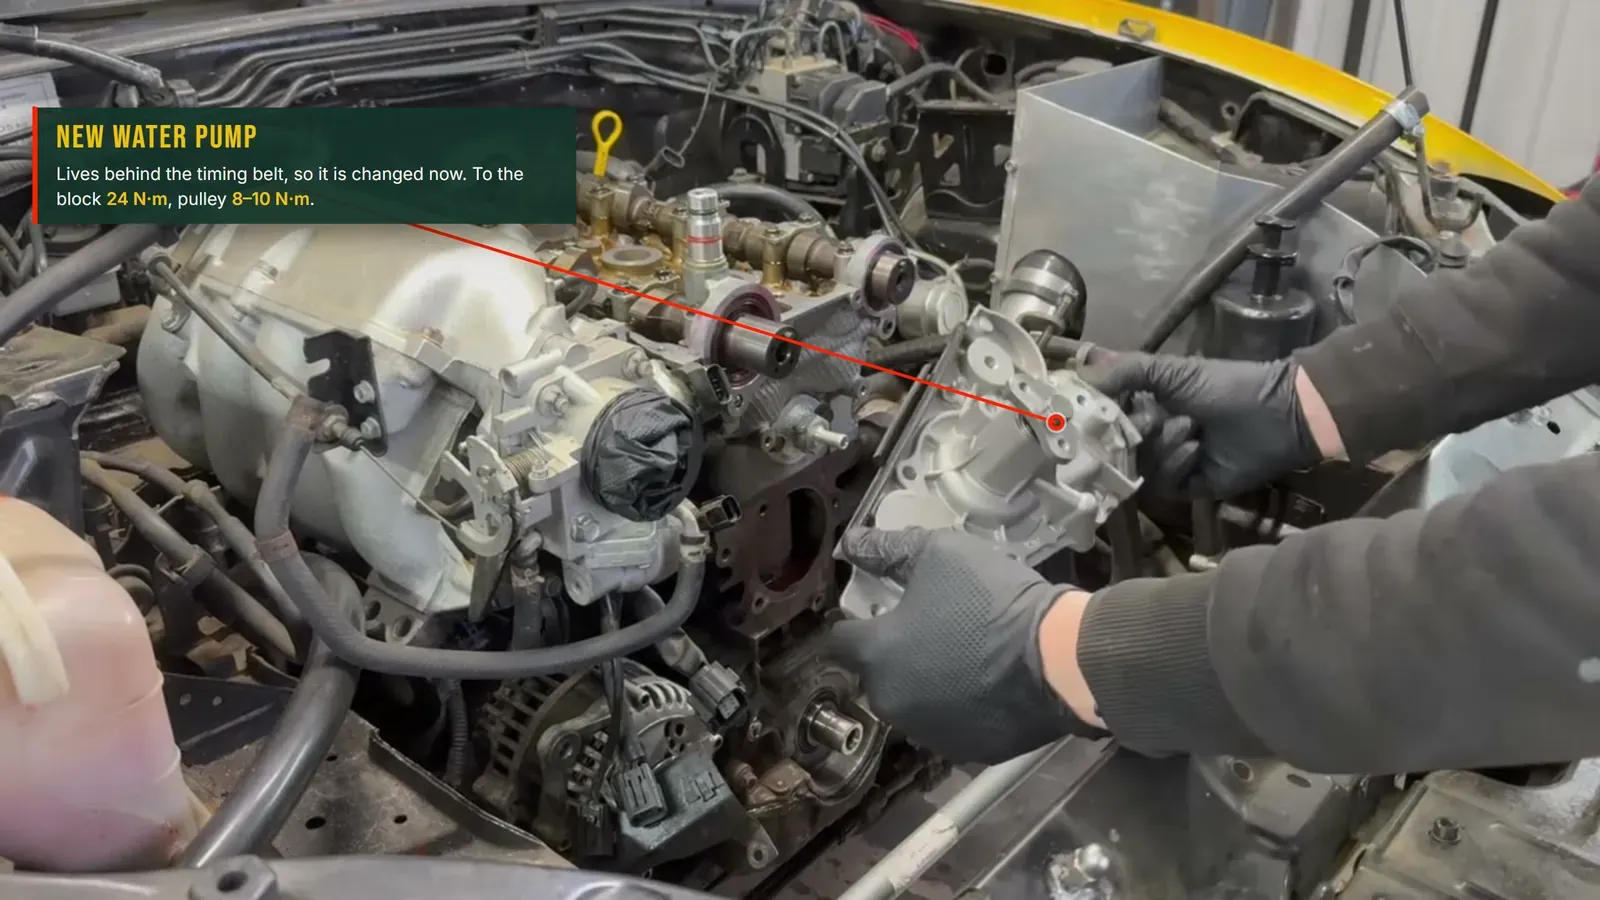
| Fastener | Torque |
|---|---|
| Water pump to block | 20 Nm (15 ft-lb) |
| Water pump pulley | 8–10 Nm (6–7 ft-lb) |
Timing marks
This is the part that has to be right. Set the engine to its timing position and line up all three marks before the belt goes near it.
- Crankshaft: there is a small nub on the housing above the crank sprocket. Line the notch on the crank sprocket up to that nub.
- Exhaust camshaft sprocket: the "E" mark at 12 o'clock, with "I" sitting at the mark between the gears.
- Intake (VVT) camshaft sprocket: the "I" mark at 12 o'clock, with "E" at the mark between the gears.
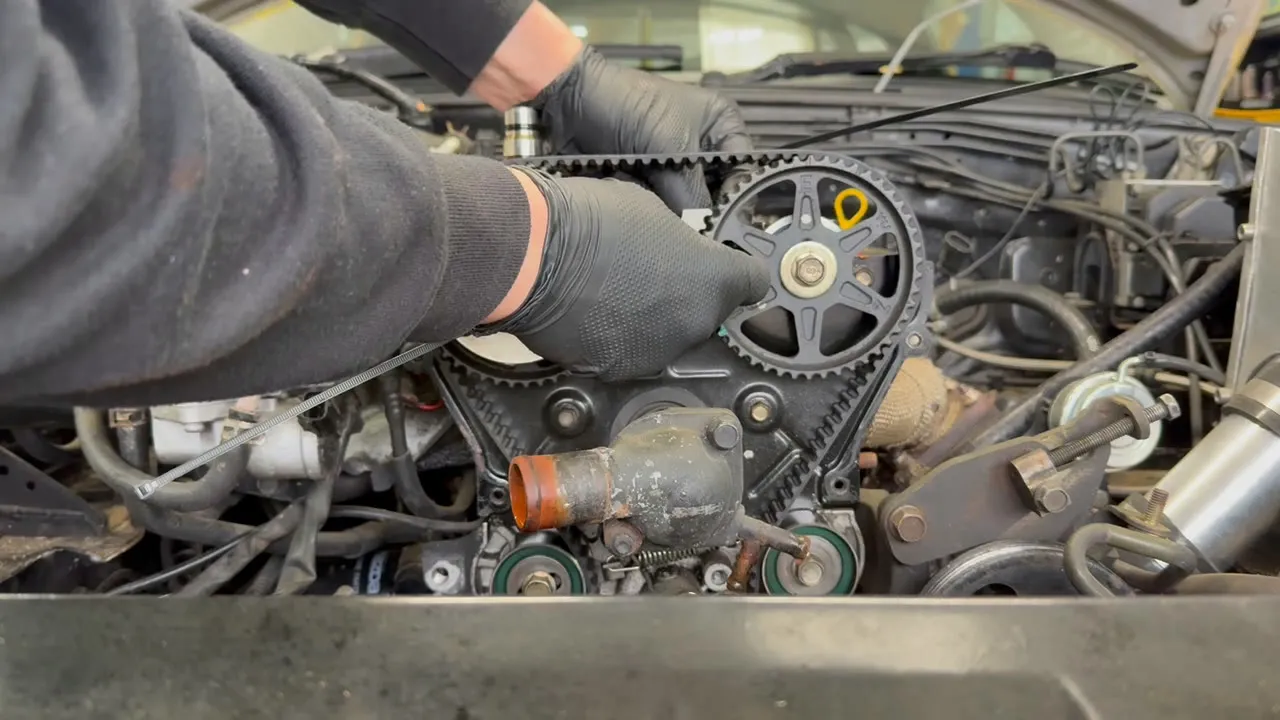
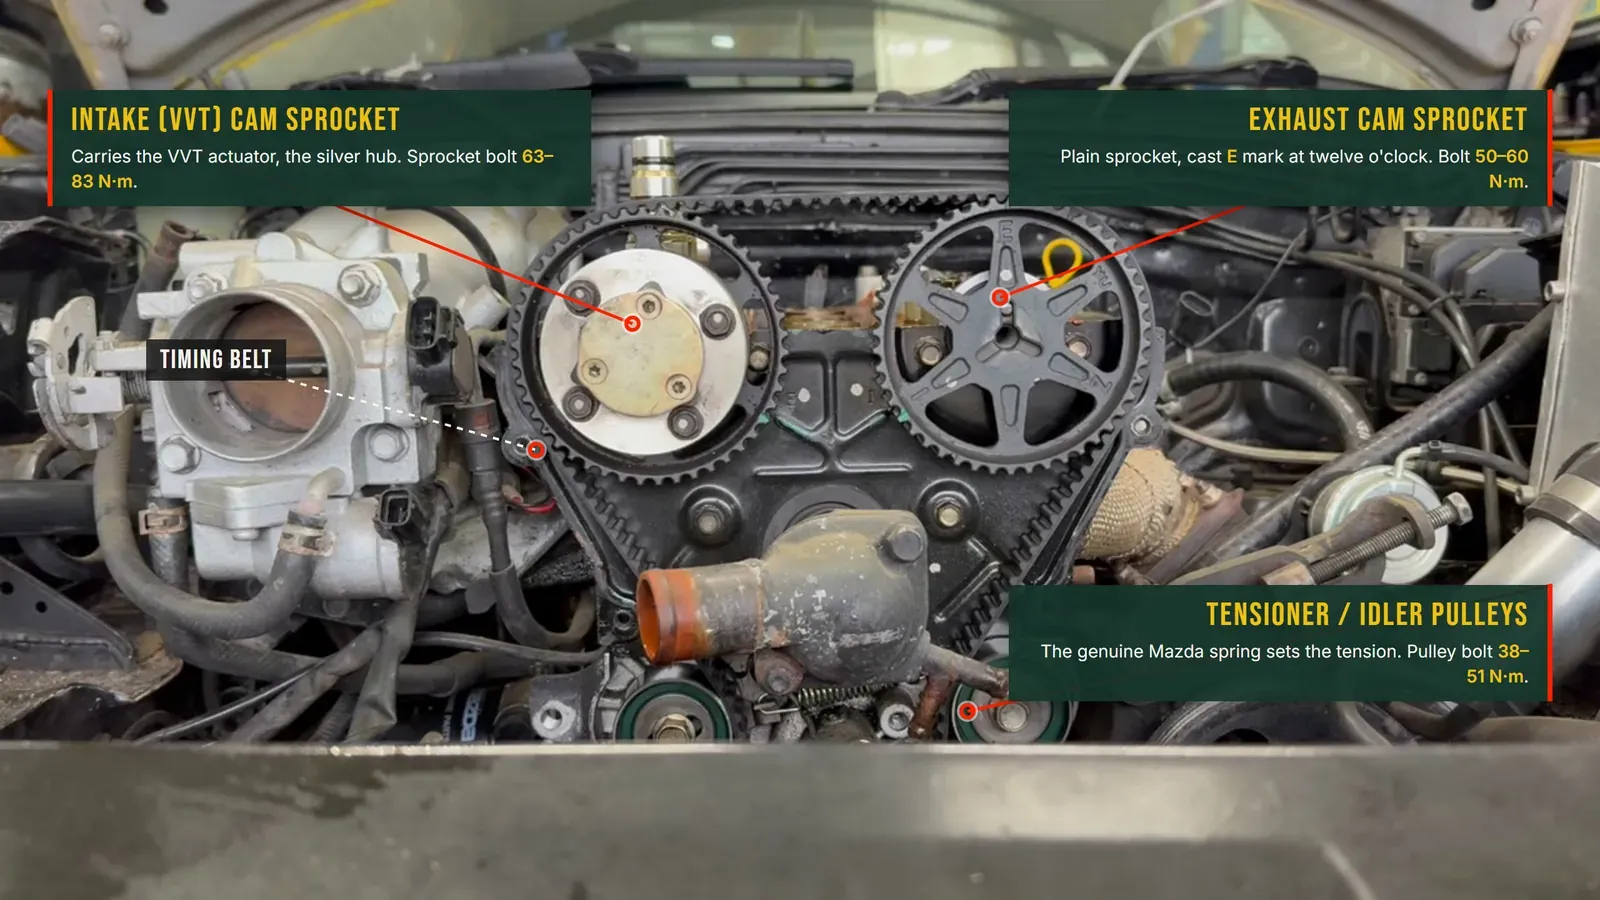
On the VVT gear the mark can look a few degrees off and still be right, that is the actuator. What you are checking is that it is on the correct tooth, not a tooth either side. A good habit before you strip the old belt is to mark the old belt and the sprockets with correction fluid at the timing position, so the new belt can be matched tooth for tooth.
Belt and tension
Route the new belt keeping the slack on the tensioner side, marks held in place. The tensioner is spring-loaded with a genuine Mazda spring, so with the tensioner pulley bolt loose, let the spring pull it against the belt and take up the slack, then torque the bolt. The spring sets the tension, you do not lever it tight by hand.
| Fastener | Torque |
|---|---|
| Tensioner / idler pulley bolt | 50 Nm (37 ft-lb) |
| Exhaust cam sprocket bolt | 50–60 Nm (37–44 ft-lb) |
| Intake (VVT) cam sprocket bolt | 63–83 Nm (47–61 ft-lb) |
A word on those two sprocket figures: on the VVT car the intake sprocket carries the actuator, so its bolt torques higher, 63 to 83 N·m, where the plain exhaust sprocket is 50 to 60 N·m. You only disturb these if the sprockets came off for the cam seals.
Now turn the engine by hand a couple of full turns to settle the belt, and check two things. First, that every timing mark comes back to where it should be. Second, the tension: press the belt in at the middle of its longest run, between the two cam pulleys, with firm pressure (about 22 lb, or 98 N). It should deflect 8.5 to 11.5 mm. If a mark is out, or the belt is tighter or looser than that, set it again from the timing position and recheck. Never turn it over with the belt off and the marks unset, and do not call it done until the marks line up and the tension is right after rotation.
Dressing it back up
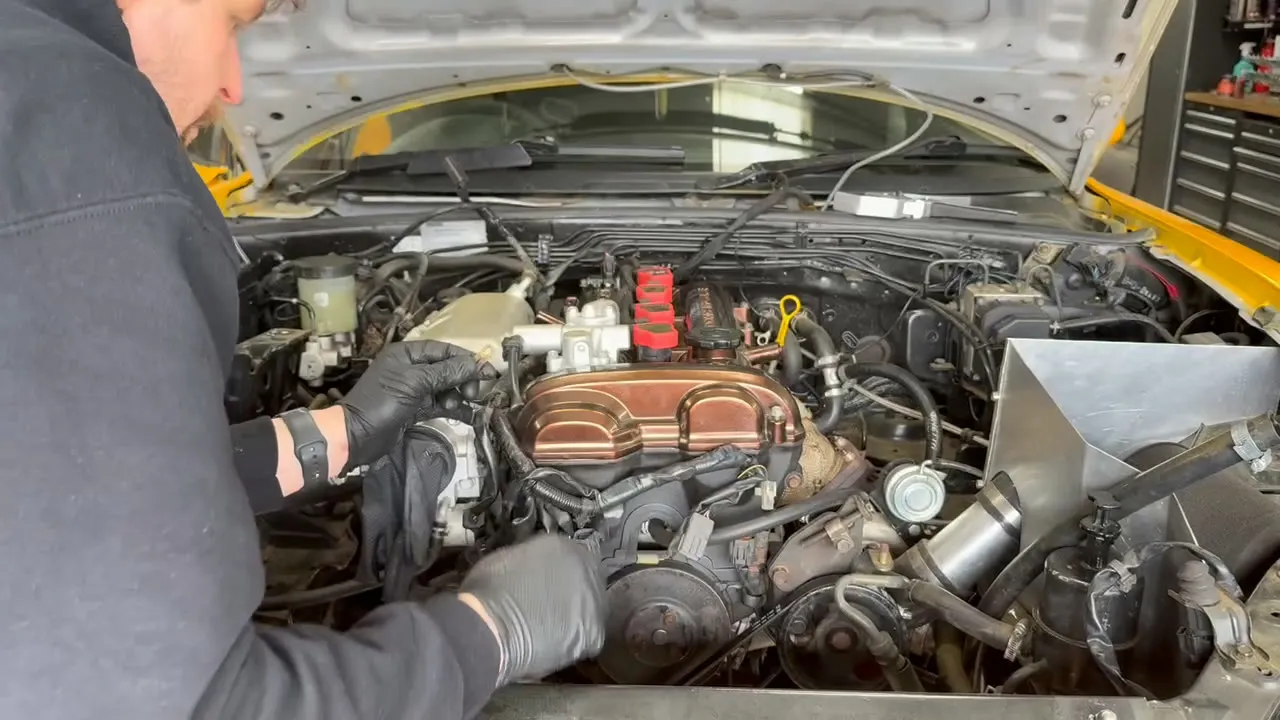
With the belt on and checked, refit the timing covers, the crank pulley, the cam cover, the water pump pulley and the accessory belts.
The VVT oil feed pipe goes back with new copper washers on its banjo bolts, and the two ends take different torques. Do the lower banjo first at 20 Nm (15 ft-lb), then the upper at 40 Nm (30 ft-lb). The head on that feed banjo is a 19mm. Never reuse the old copper washers, a weeping oil feed here starves the VVT and makes a mess of the front you have just cleaned.
On a Mk2 the crank angle sensor has to be set back to the right air gap after it goes on: 1mm from the nipple on the front pulley. Set it with a feeler or a shim, or a snapped-off blade slid in as a gauge, then nip it up. Get it wrong and the car simply will not run, so you will know soon enough.
| Fastener | Torque |
|---|---|
| Crank pulley boss (centre) bolt | 157–165 Nm (116–122 ft-lb), blue threadlock |
| Crank pulley outer bolts (4) | 13–17 Nm (9–12 ft-lb) |
| Timing cover bolts | 8–10 Nm (6–7 ft-lb) |
Coolant and bleeding
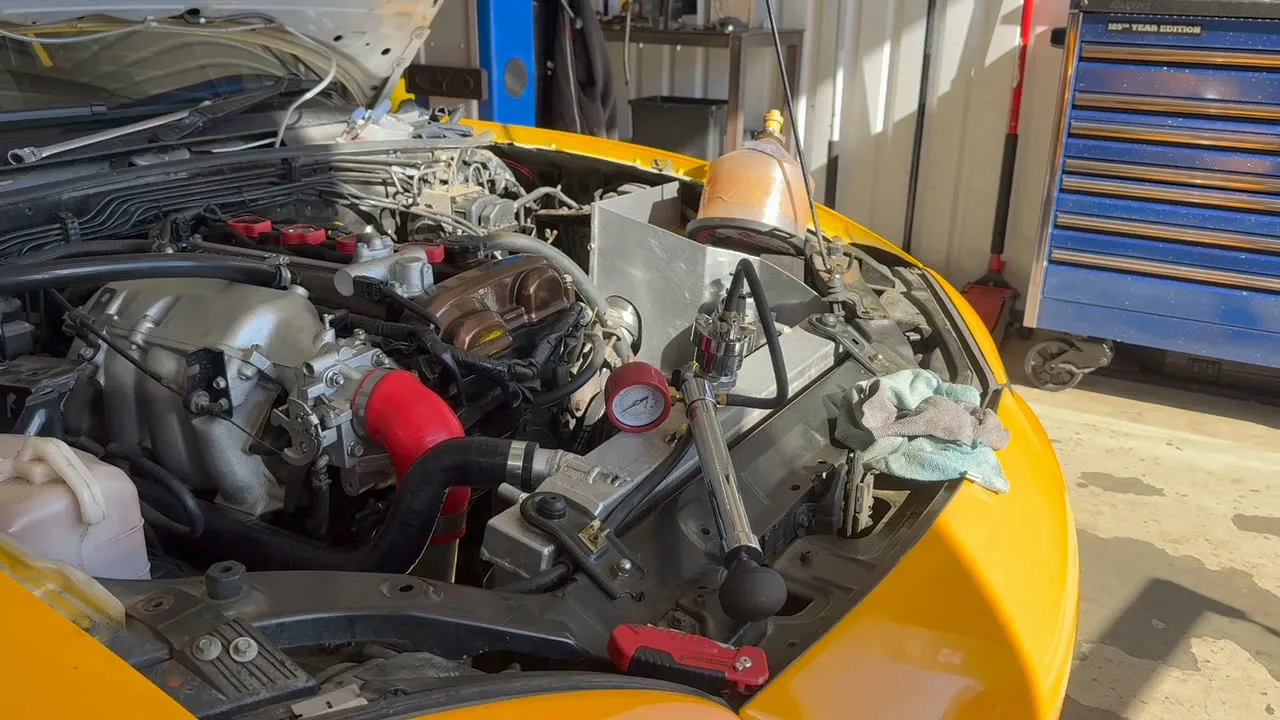
This car also gets a coolant reroute, which is a separate job, but whatever the plumbing, the finish is the same. Before filling, pressure-test the radiator and the cooling system and make sure it holds. Then fill it, start it, and bleed the air out as it warms so you are not left with a hot spot or an airlock.
Why the order matters
None of the individual steps here are hard. The standard you do them to is the whole job. Clean parts, OEM seals, marks checked twice, tension set by the spring not by feel, and the cooling system proven before it goes back together. That is a cambelt that you fit once and forget about for the life of the belt.